
In the world of wines, labels play a very important role. Primarily, they are for attracting the attention of buyers. However, you can also the labels to distinguish them from one another. The label also contains vital information about the wine. They are usually a basic legal requirement. When you’re trying to understand wine labels, you might find that it’s not always easy.
Contents
A few countries keep their wine bottle labels simple and easy to understand. While other countries make labels which contain a lot of information. Such labels may seem very complex and are a challenge to understand.
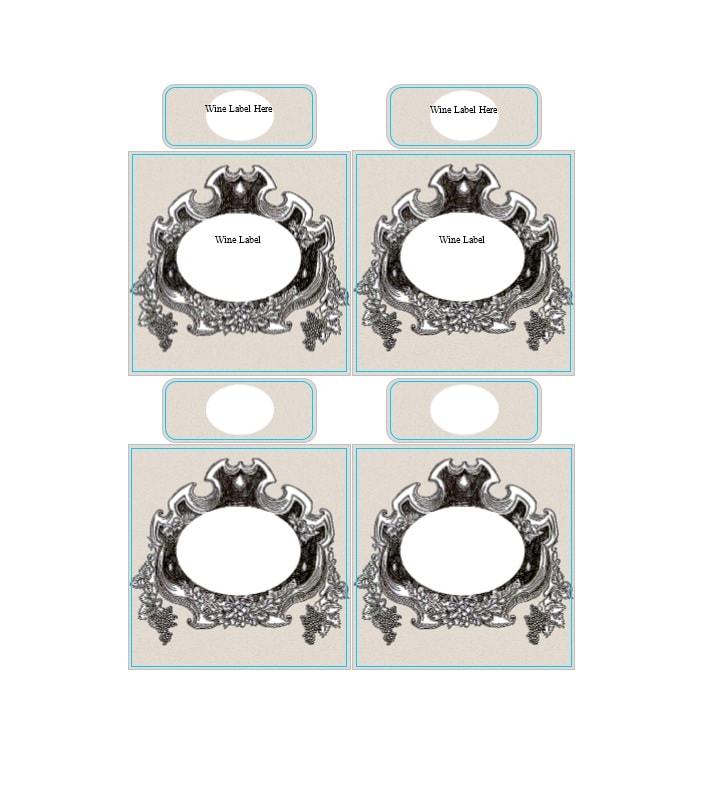
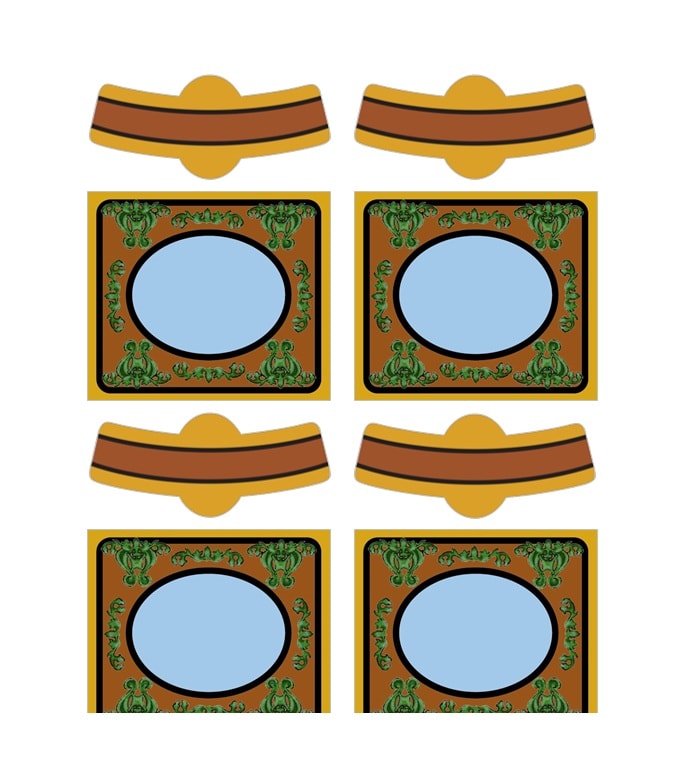
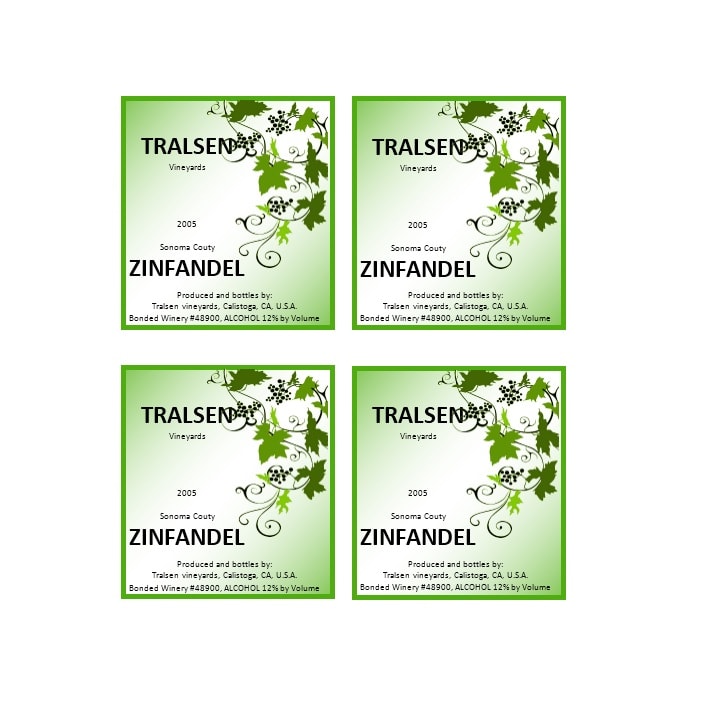
Wine Labels Templates


What information should be on a wine bottle label?
Usually, wine bottlers make two wine label templates for their bottles. The label on the front features the name of the wine. It’s also the label meant to catch your eye as you’re going through the bottles. The label on the back contains a lot more information.
These include useful data as well as helpful suggestions about the wine. Some countries require bottlers to include certain information on their front labels. This includes the wine type, alcohol content, and the wine’s country of origin.
Here are some other kinds of information you may find on the typical wine labels:
- The name of the wine’s brand.
- The type of wine (sparkling, dessert, table, etc)
- The percentage of the alcohol by volume.
- The bottler’s name and address.
- The net contents of the bottle.
- The government warning.
Aside from these, you may find some terms you’re not really familiar with. That is unless you’re a wine connoisseur. Here are some of those “unfamiliar terms” and their definitions:
- Estate-bottled refers to the company which bottled the wine and also grew the grapes.
- Reserve indicates that the wine went through extra aging. The bottlers did this before they released it from their winery.
- Vintage year is the year in which bottlers harvested the grapes for the wine.
As you can see, there is a lot of information on the labels of wine bottles. But now what? Aside from knowing the information, you also need to know how to read the wine bottles. Let’s discuss that next.
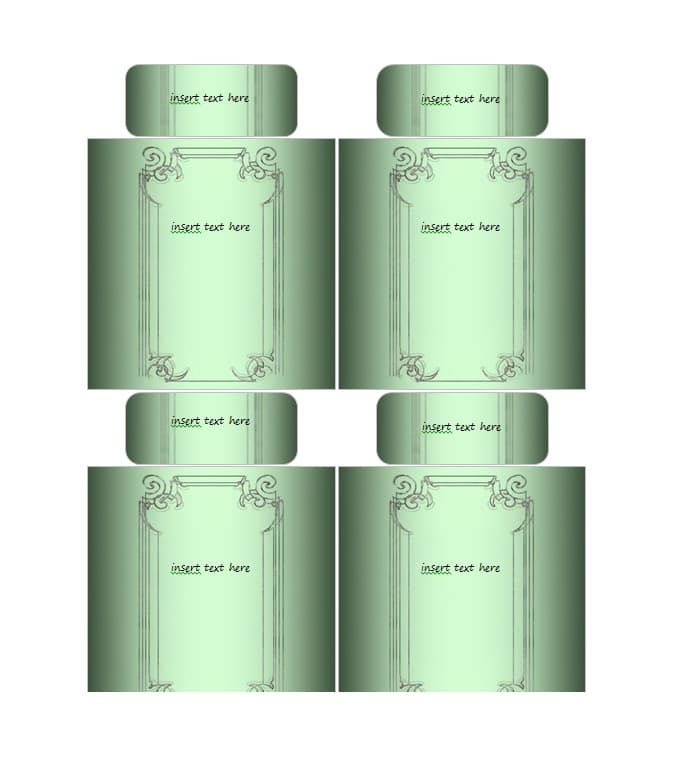
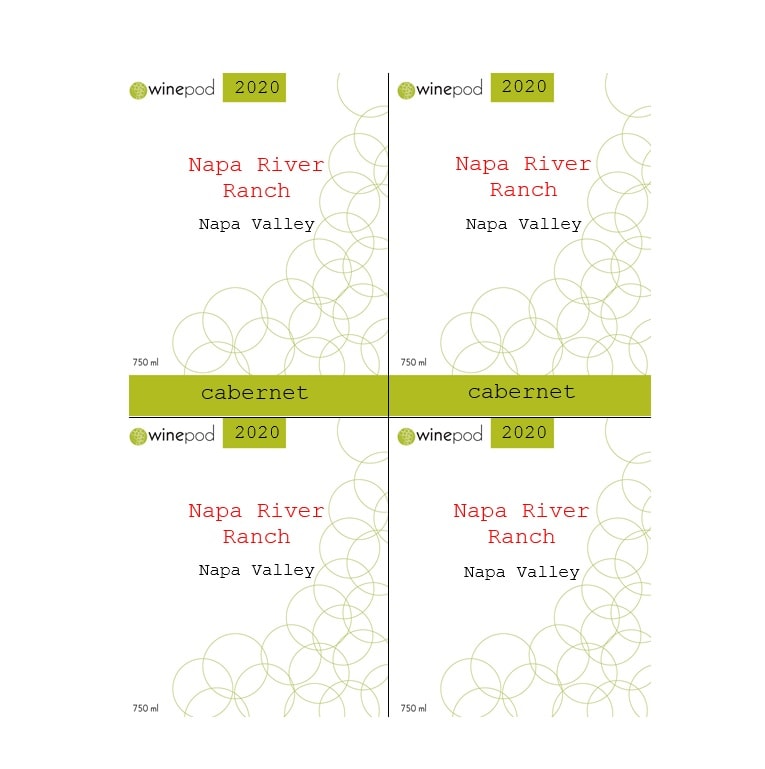
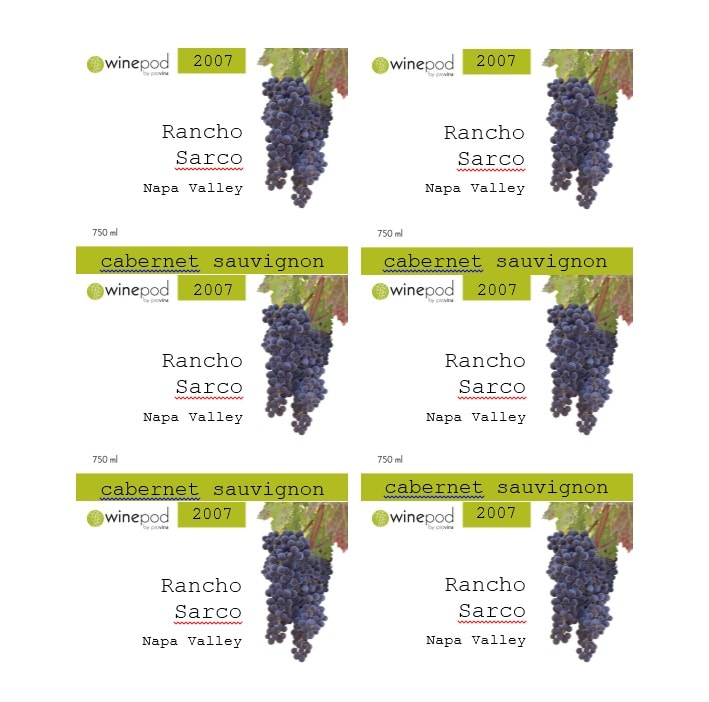
Custom Wine Labels

How to read wine bottle labels
Wine labels contain a lot of information on them. Some labels are quite easy to read while others need more effort to comprehend. If you really want to start making your own labels, you must first learn to read the labels correctly.
Here are some guides for you about the typical information written on wine bottle labels:
Alcohol by volume or ABV
The level of alcohol says a lot about the wine. A lot of high-quality wines have an ABV of 13.5% or above. In some countries, ABVs may be even higher. A higher value means that they made the wine with riper grapes. Because of this, they would have fruitier flavors.
Appellation Credential
When regional producers follow all the strict rules, they receive an appellation credential. These rules apply to the types of grapes, the quality level of the alcohol, and the percentage. And these strict rules vary from country to country.
You can usually find 2 major wine styles in stores. You can identify the wine by its brand name or its appellation credentials. When a wine’s label contains the brand, it would also indicate the grapes they used to make it.
When you identify the wine by its appellation credentials, it indicates other things. These include the quality level rules and regulations of the appellation. It would also indicate what’s exactly in the wine bottle.
When you can understand the wine label, that doesn’t mean you’ll know how it tastes. But, it would help you get a better idea of what you’re buying.
Contains Sulfites
These words are a requirement for domestic or imported wines. Most varieties of grapes naturally contain sulfites from the vineyard. And so it’s important to indicate this on the label.
- Estate Bottled Wine
This means that the wine-makers grew, produced, and bottled the wine right on their estate.
- Old vines or vielles vins
When you buy wines with this information on the label, it means you’re getting wines made from older vines. These would usually have more concentrated flavors.
However, there aren’t any standard rules which say how old the vines must be to get this designation. In fact, some wines have a combination of grapes taken from young and old grape vines in them.
- Producer or name
This information may either be in bold, obvious lettering or a smaller font. You can either find it at the top or bottom of the label. This information indicates who produced the wine.
Some wine labels only contain the wine name while other contains the brand.
- Region
This information indicated where the producers sourced the grapes for the wine. When a wine comes from a larger region, it’s usually a more valuable type of wine.
But if a wine comes from a vineyard site, the information is usually indicated in quotations.
- Vintage or non-vintage
This indicated the year when the producers harvested the grapes. This says a lot about the wine especially if you know about vintage variations. Generally, non-vintage wines have lower values.
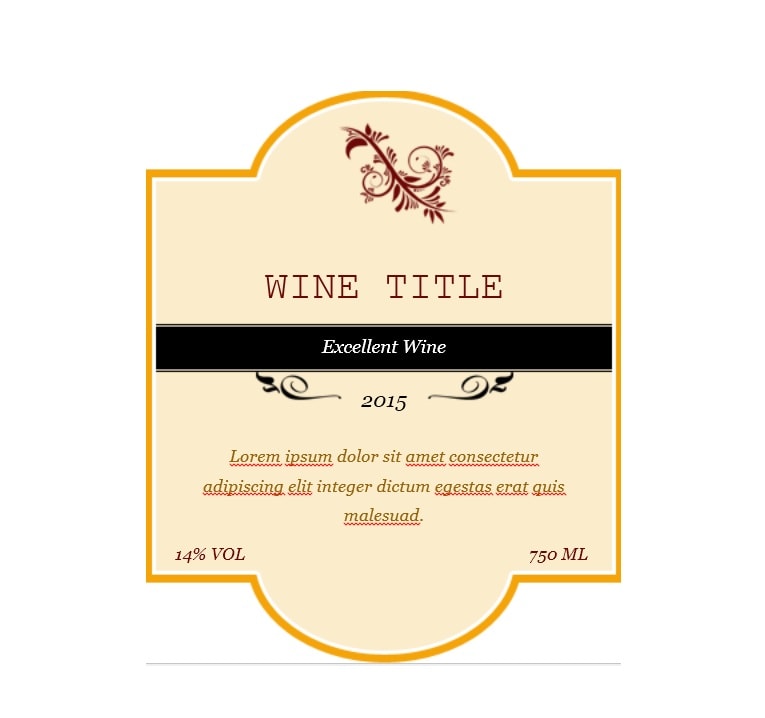
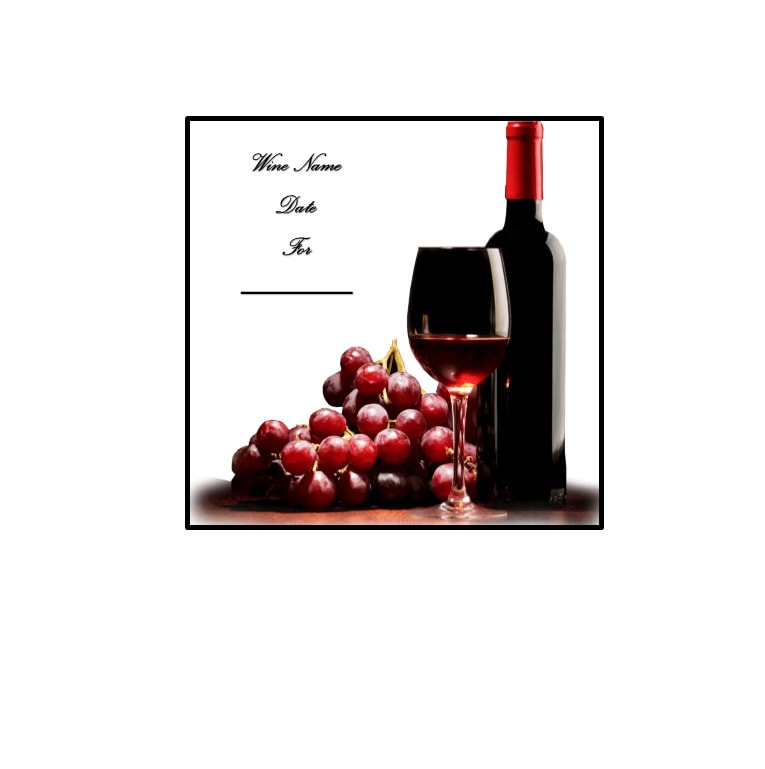
Wine Bottle Labels


How to make your own wine label template
Wine adds an element of sophistication to any meal. And the very first impression a wine makes on a person is through its label. Wine bottles already come with labels but there are occasions where you might want to make your own.
You can design and print out a wine label template and stick it on a bottle of wine. You can do this to make some classy souvenirs for your special events. Here are some different ways you can make such labels:
Make your bottle labels template by hand
- The first thing you have to do is think about your design. Think about what wine you’ll use as well as the purpose of your label. You can make a label for a special occasion or as a fun souvenir for your friends or family.
- To help out, make a list of ideas you want to include in your design. You can also look through different design labels online. Either that or look at labels in craft shops to find inspiration.
- When you have a design in mind, choose the size of your label. You can purchase some labeling paper and experiment with labels of different sizes. Then you can test the practice labels on your wine bottle and see which one you like best.
- On a plain piece of paper, sketch your label according to your preferred size and design. You can sketch a few designs and keep on making modifications. Do this until you’re happy with the final design. The final design will serve as a template for your label.
- Make use of transfer paper to print the template on the labels. Use some artist’s tape to attach the transfer paper on top of the label. Make sure that all of the edges are tightly secured. Place the design template on top them start tracing it firmly using a pencil. In doing this, you’ll be able to transfer your design onto the label flawlessly.
- When you’re done, trace the design using a permanent marker. Then, use colored markers to add elements to your design.
- Attach the label to your wine bottle. Take off the backing of the label to expose the adhesive side. Then, press the label carefully over the bottle’s surface. Make sure that there aren’t any air bubbles in the label.
- Once that’s done, seal the label to avoid water damage. Make use of a clear acrylic sealant for the job. For best results, make sure you follow all of the instructions for using the sealant.
In doing this, you can make your label waterproof.
Create your bottle labels template digitally
- Before you can start designing on your computer, conceptualize your design first. Think about what kind of label you’d like to make. Consider the style, the colors, and any other design elements you’re planning to use.
- List down all your ideas so you don’t forget any of them when you’re ready to start designing. If you find yourself stuck, you can check out some designs online for inspiration.
- Make use of your preferred design software to create your label. You can use any software you’re comfortable with to craft your wine bottle label. If you know how to make a label digitally, go ahead and create one. But if not, you can watch some online tutorials for designing wine labels on the computer. When you create the label on computer software, you have more options. It allows you to incorporate some photos and fun graphics.
- Purchase some label sheets. You can find these sheets in craft stores and bookstores too. They come in different sizes and colors and you can easily use them on your printer.
- When you’re done with the design, print out your labels. Load the sheets into your printer and print out a sample first to check the alignment. Then you can start printing the final labels. Set them aside to dry completely before you handle them.
- Once they’ve completely dried, stick the labels you’ve made on the wine bottles. Remove the protective backing from the label. Then press it carefully over the bottle’s surface. Again, make sure that there isn’t any air bubbles trapped in the labels.
- After sticking the labels, seal them to make them waterproof. You can purchase sealants from craft stores. Follow the directions for use and also, take note of the curing time.
Download a bottle labels template service
- If you don’t want to design labels on your own, you can download it from the website. You can pick a template from the available choices. Either that or upload your own design on the templates. Then you can have your labels printed professionally.
- Next, you have to input all the information in the downloaded template. Type the name of your wine and all other information you’d like to add to your label. But if you’re using your own customized label, it should already have the needed info.
- Once you’re happy with your design, place your order. Before clicking that final button though, give your design a final look. Check all the information and the alignment too. If everything’s okay, then you can finalize your order.
- When you receive your labels, check them for accuracy. If you get exactly what you ordered, then you can start sticking the labels on the bottles. Just like with other labels, carefully stick them on the bottles.
- Then apply some sealant in order to protect the labels from water damage. Usually, though, commercially-made labels are already waterproof so you may skip this step.
Make sure of the waterproof feature first though, before you skip the sealant.
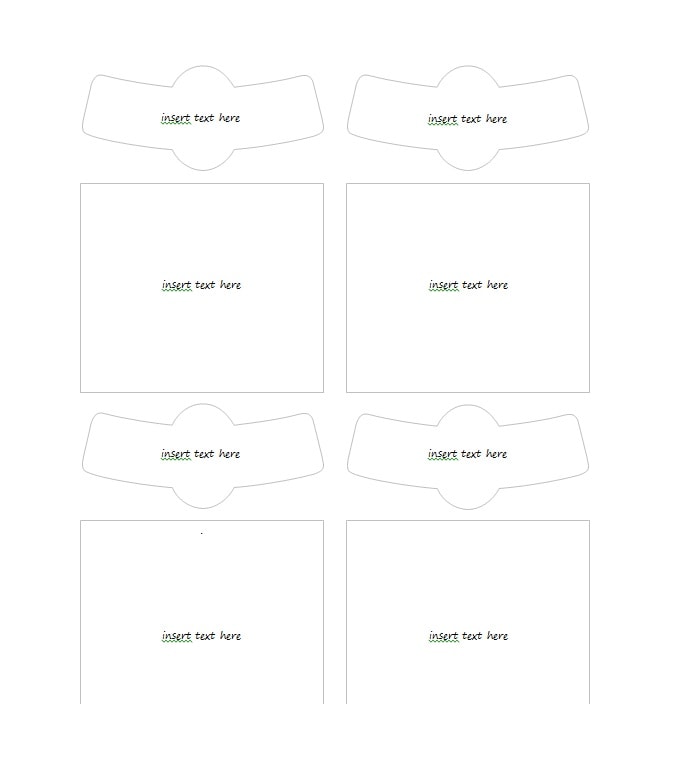
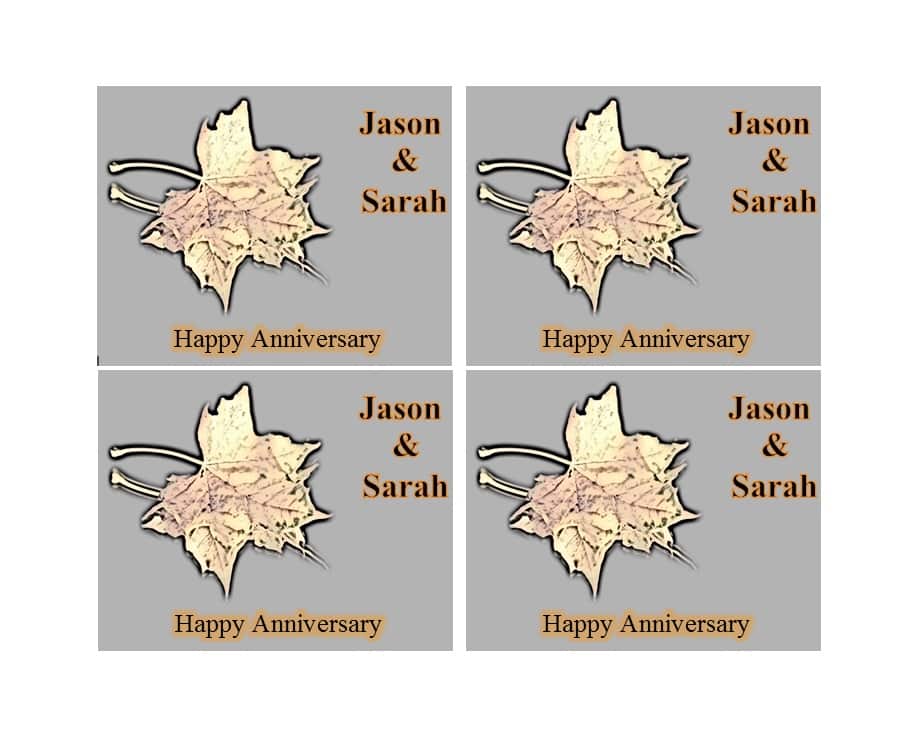
Bottle Labels

Applying the wine label template on the bottle
You may want to label your own wine bottles for special events. By now, you already have different ideas on how to go about it. You can use special wine bottle labels to celebrate special occasions or to give as a gift.
When you’ve already made your label, you may be thinking about how you’ll apply it onto the bottle. Here are some ways you can do this:
When you use blank paper
You may use regular paper to print out your wine labels. If you do, cut the labels out then apply them to your wine bottle. You may use glue to accomplish this. When you’re choosing a type of glue, make sure it can withstand moisture.
After you’ve glued the label on, apply some sealant to coat it and make it waterproof.
When you use adhesive labels
You can also use some adhesive labels to make it the process a lot easier. There are label sheets manufactured specially for wine bottles.
These labels will stay on the wine bottles a lot more effectively than other adhesive labels.
")
")
")