
Writing a book for children is not much different from writing books for adults. The most important thing to remember is to understand your reader. Many aspiring children’s book authors don’t find success since they assume that they can appeal to children by making their stories too complex. Although it seems like a simple task because of the target audience, writing children’s books is as challenging and complex as writing for grown-ups. For starters, you need to use the proper format. To make things easier, you can use a kid’s book template instead of starting from scratch.
Contents
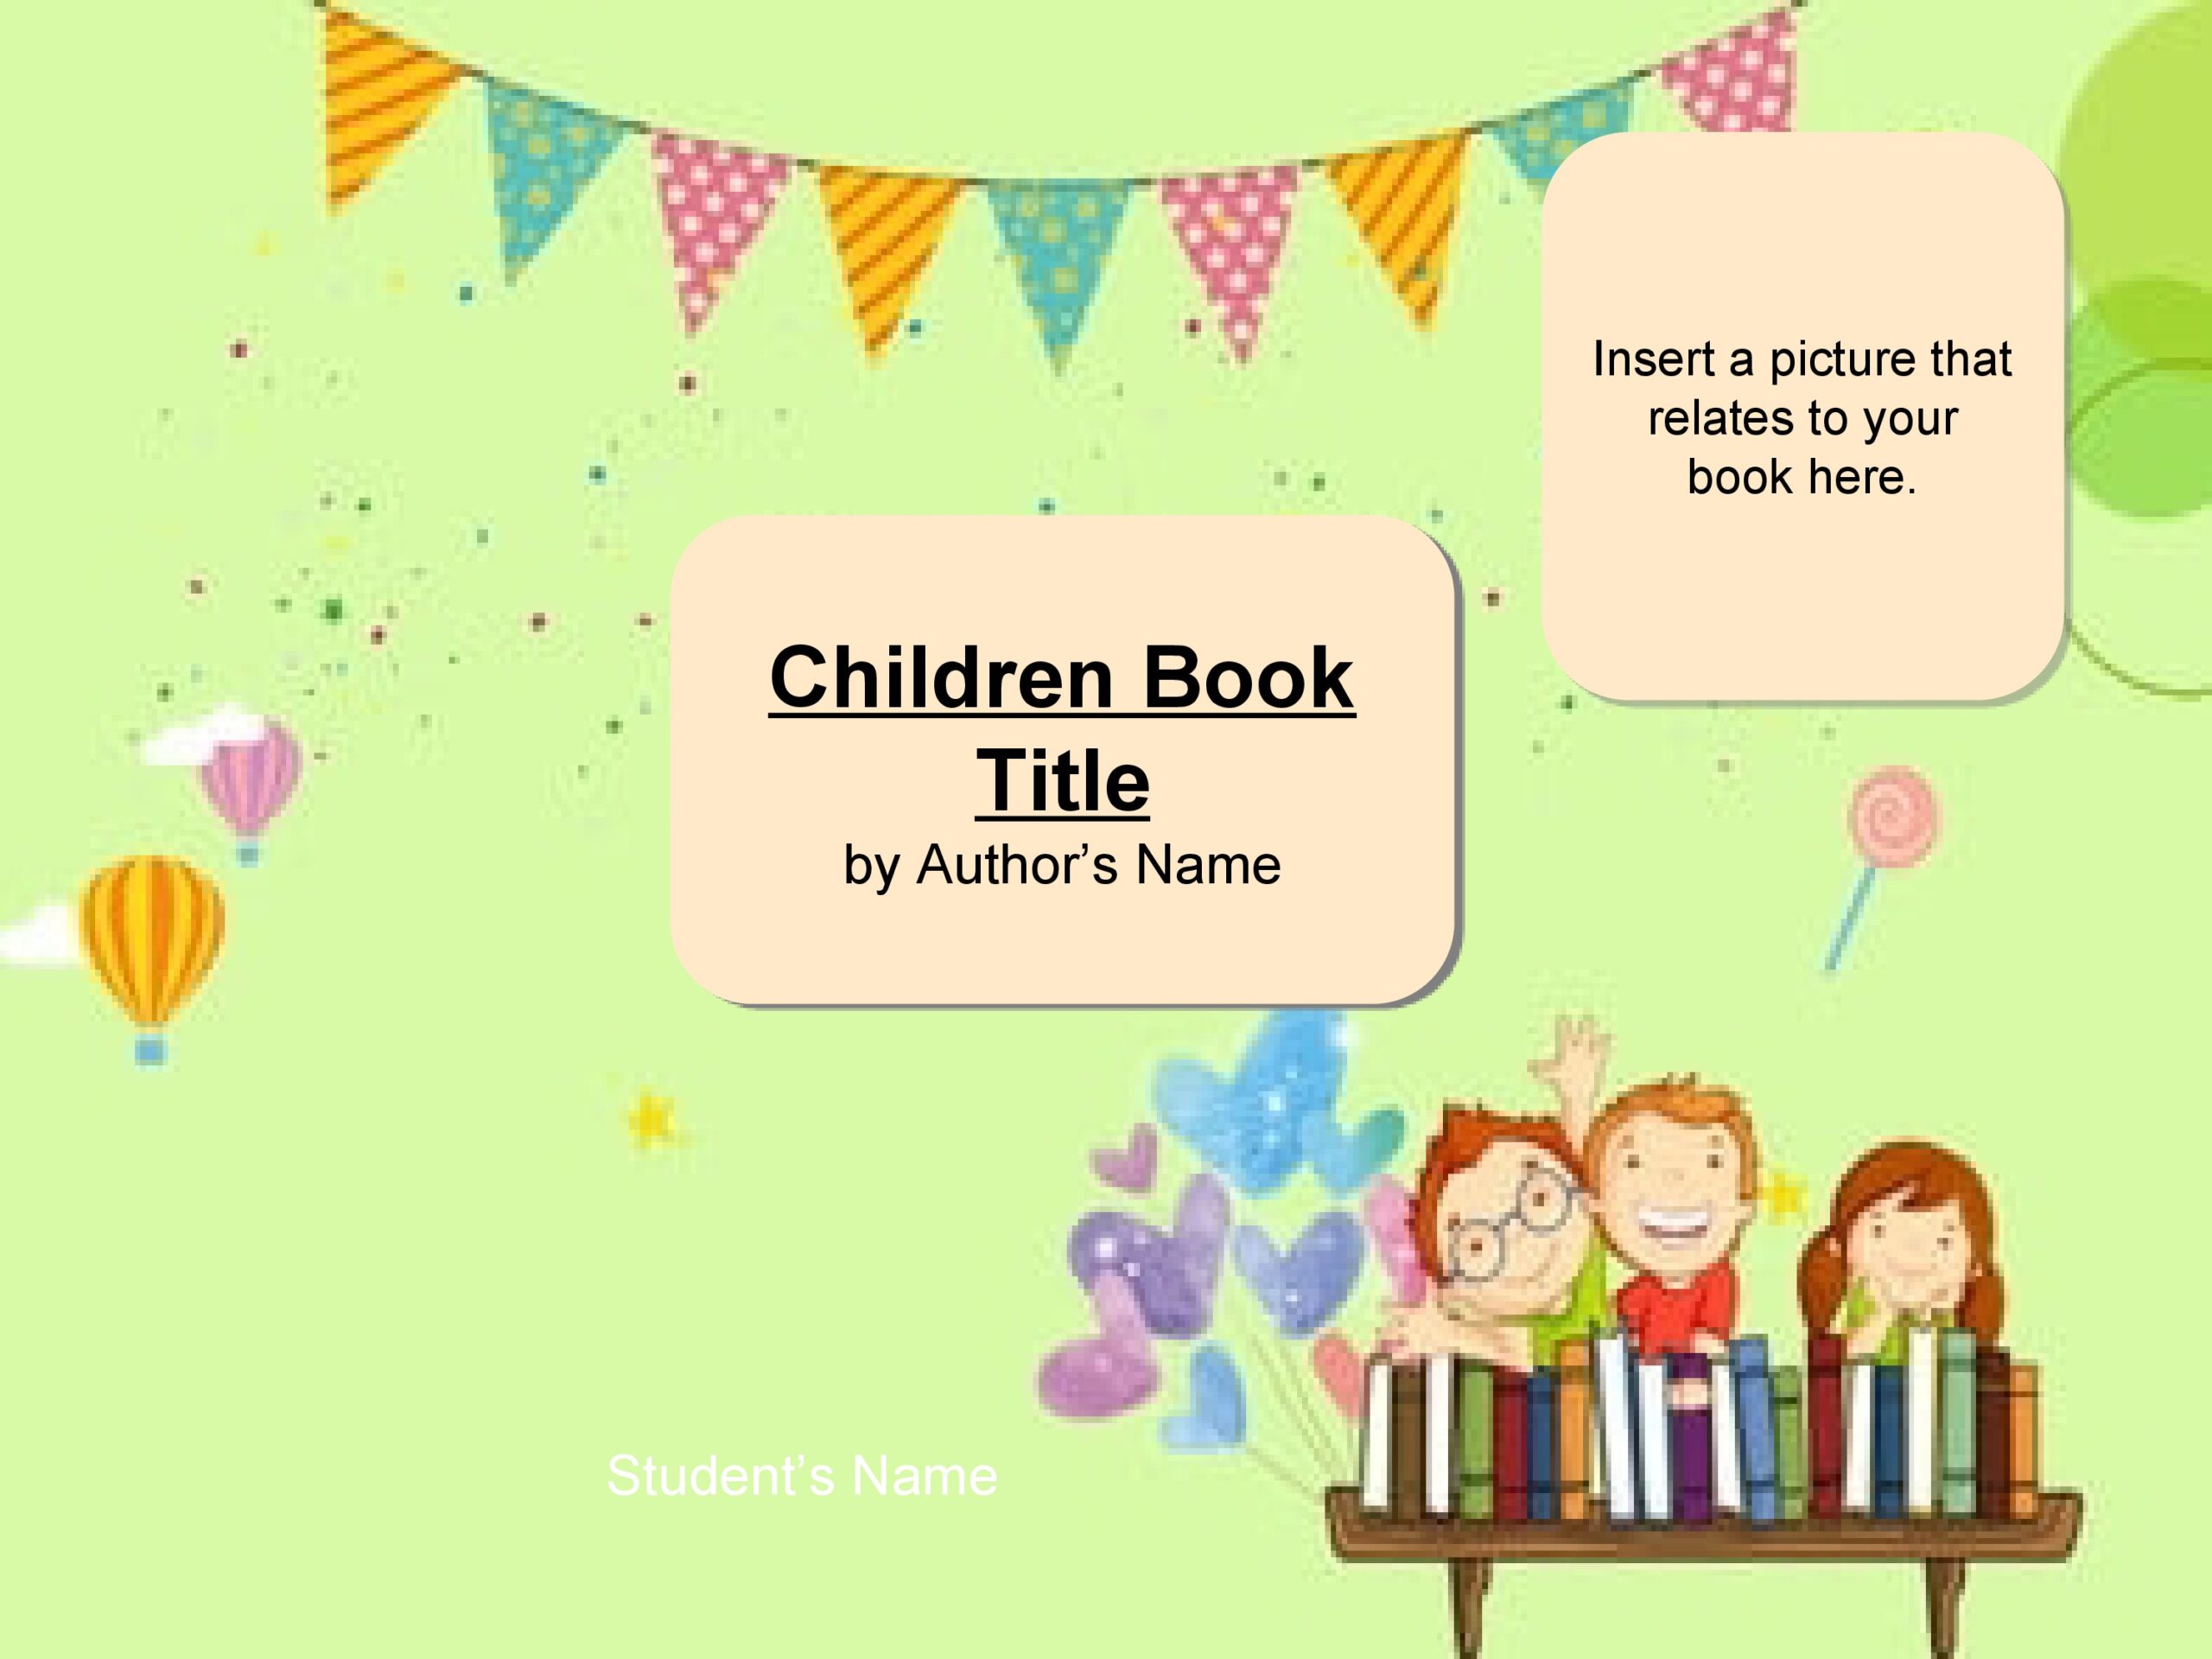
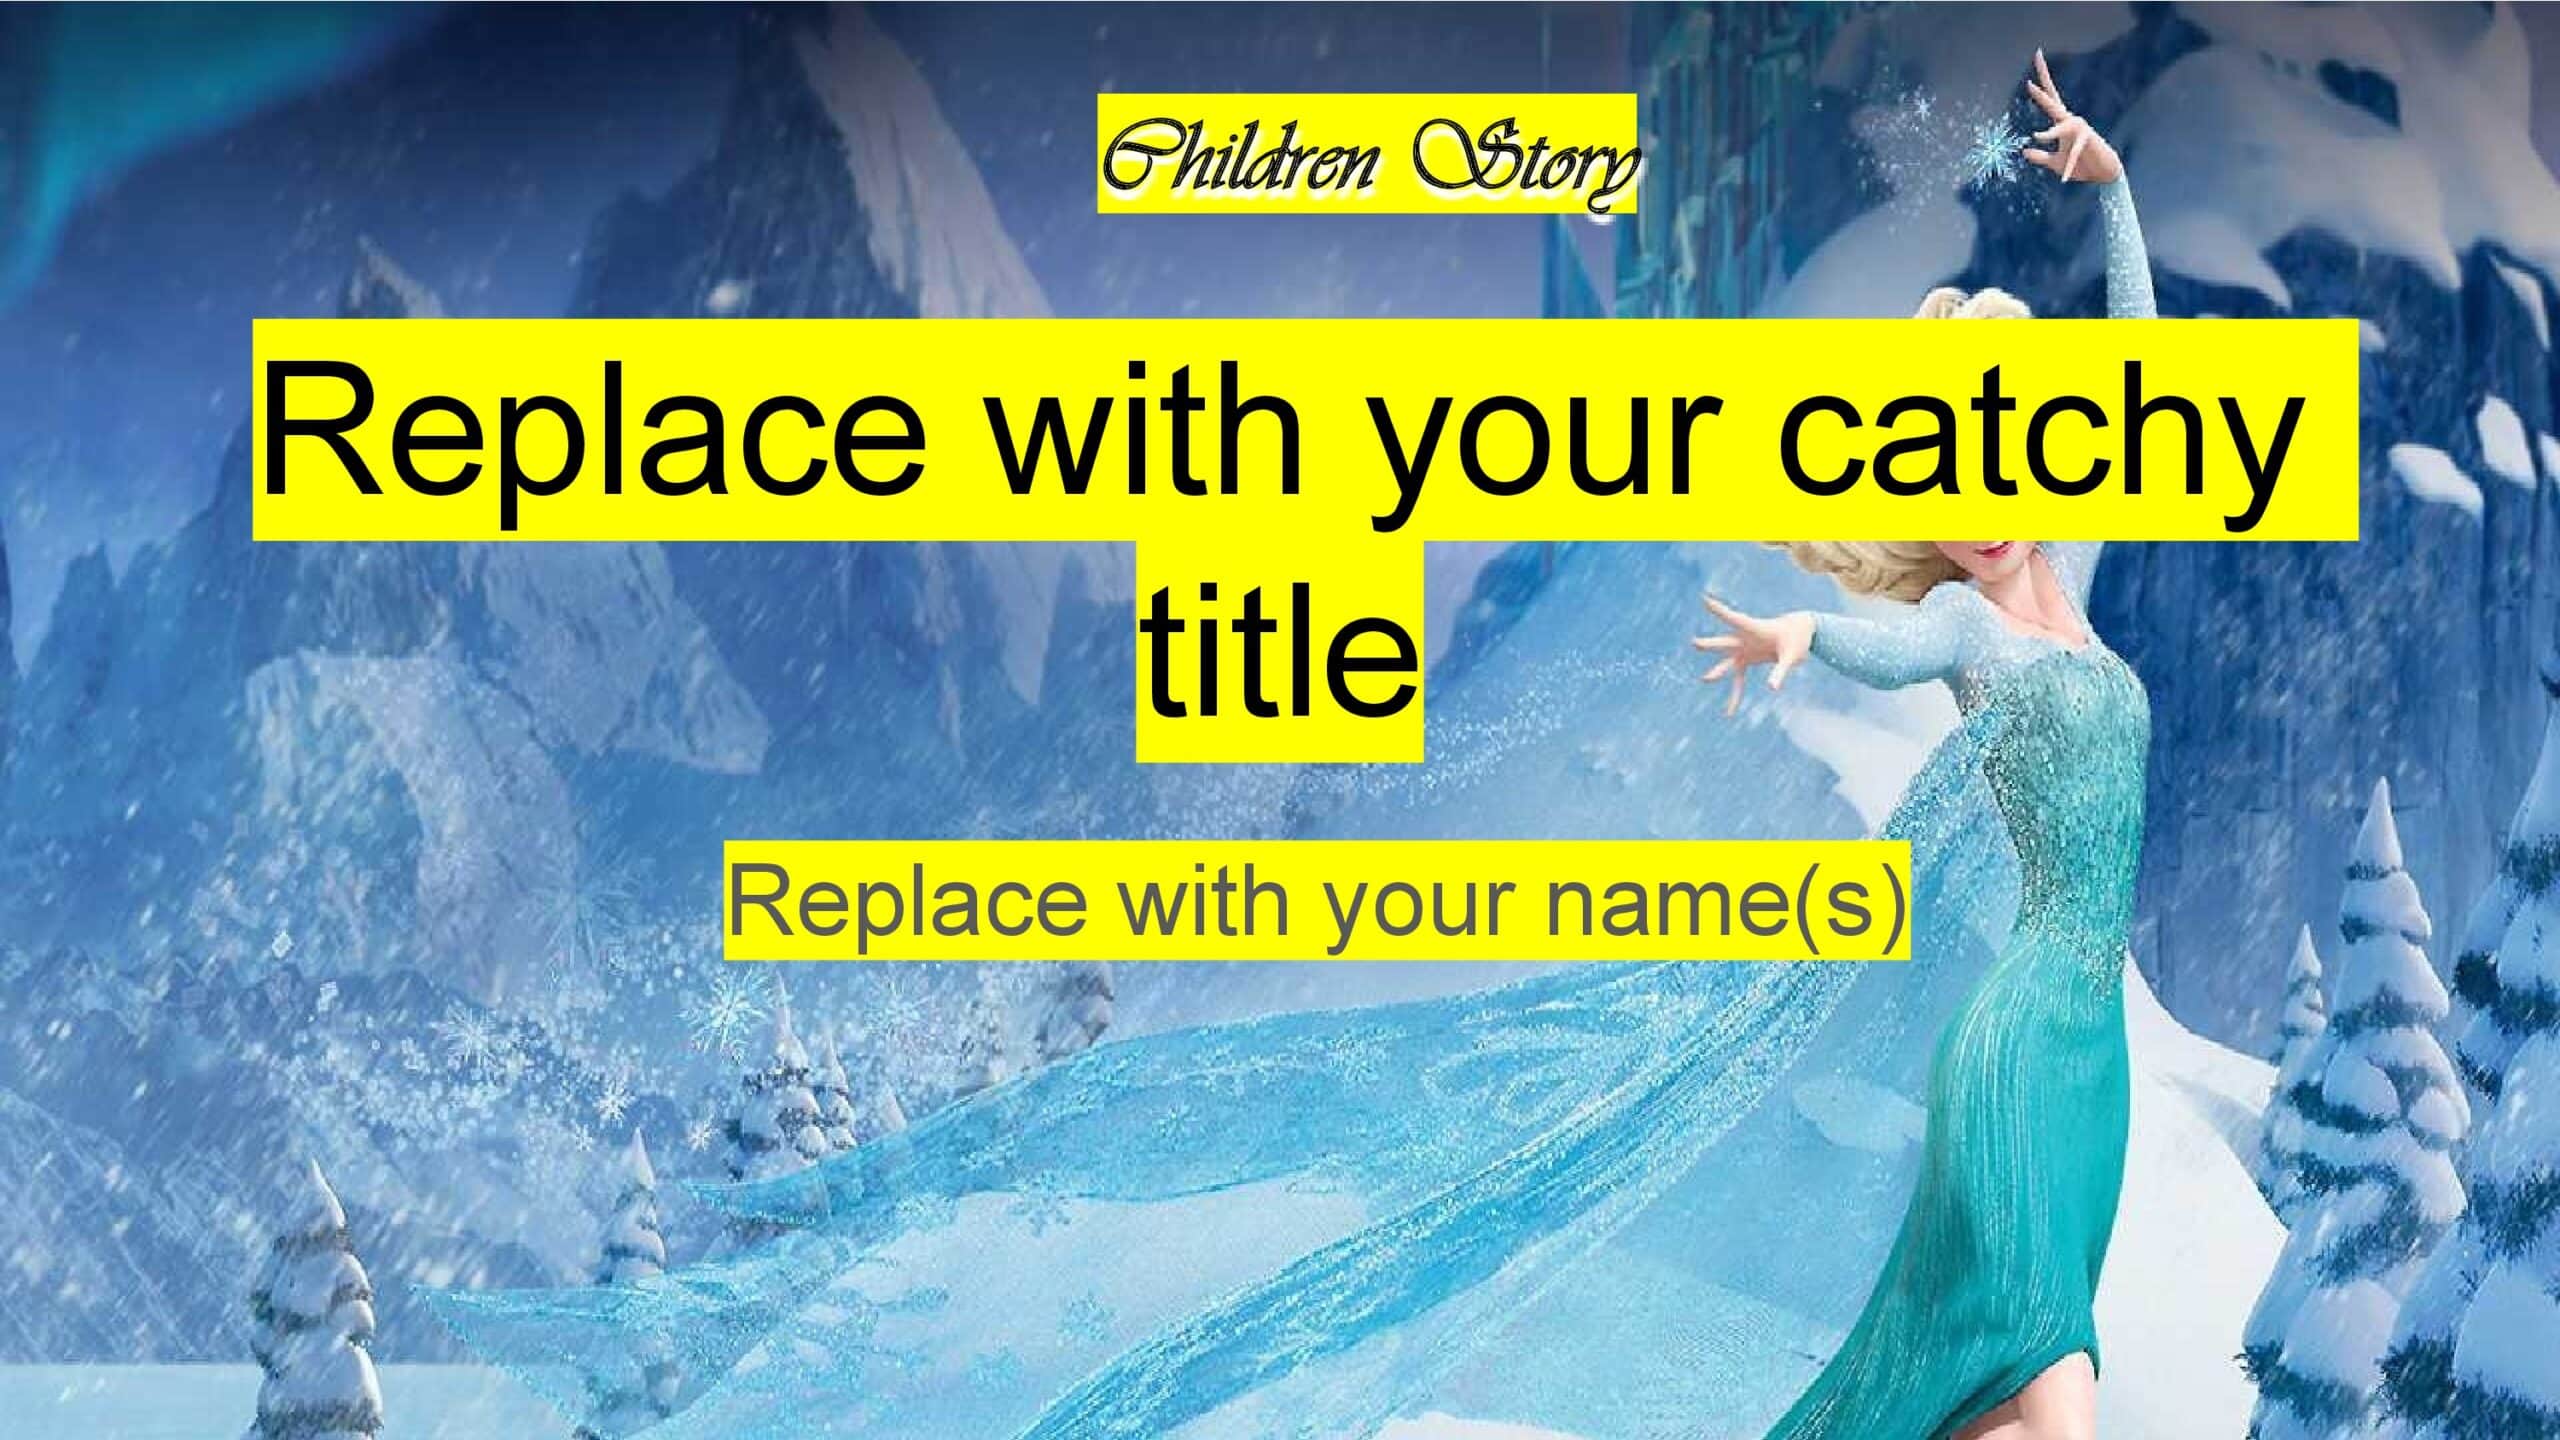
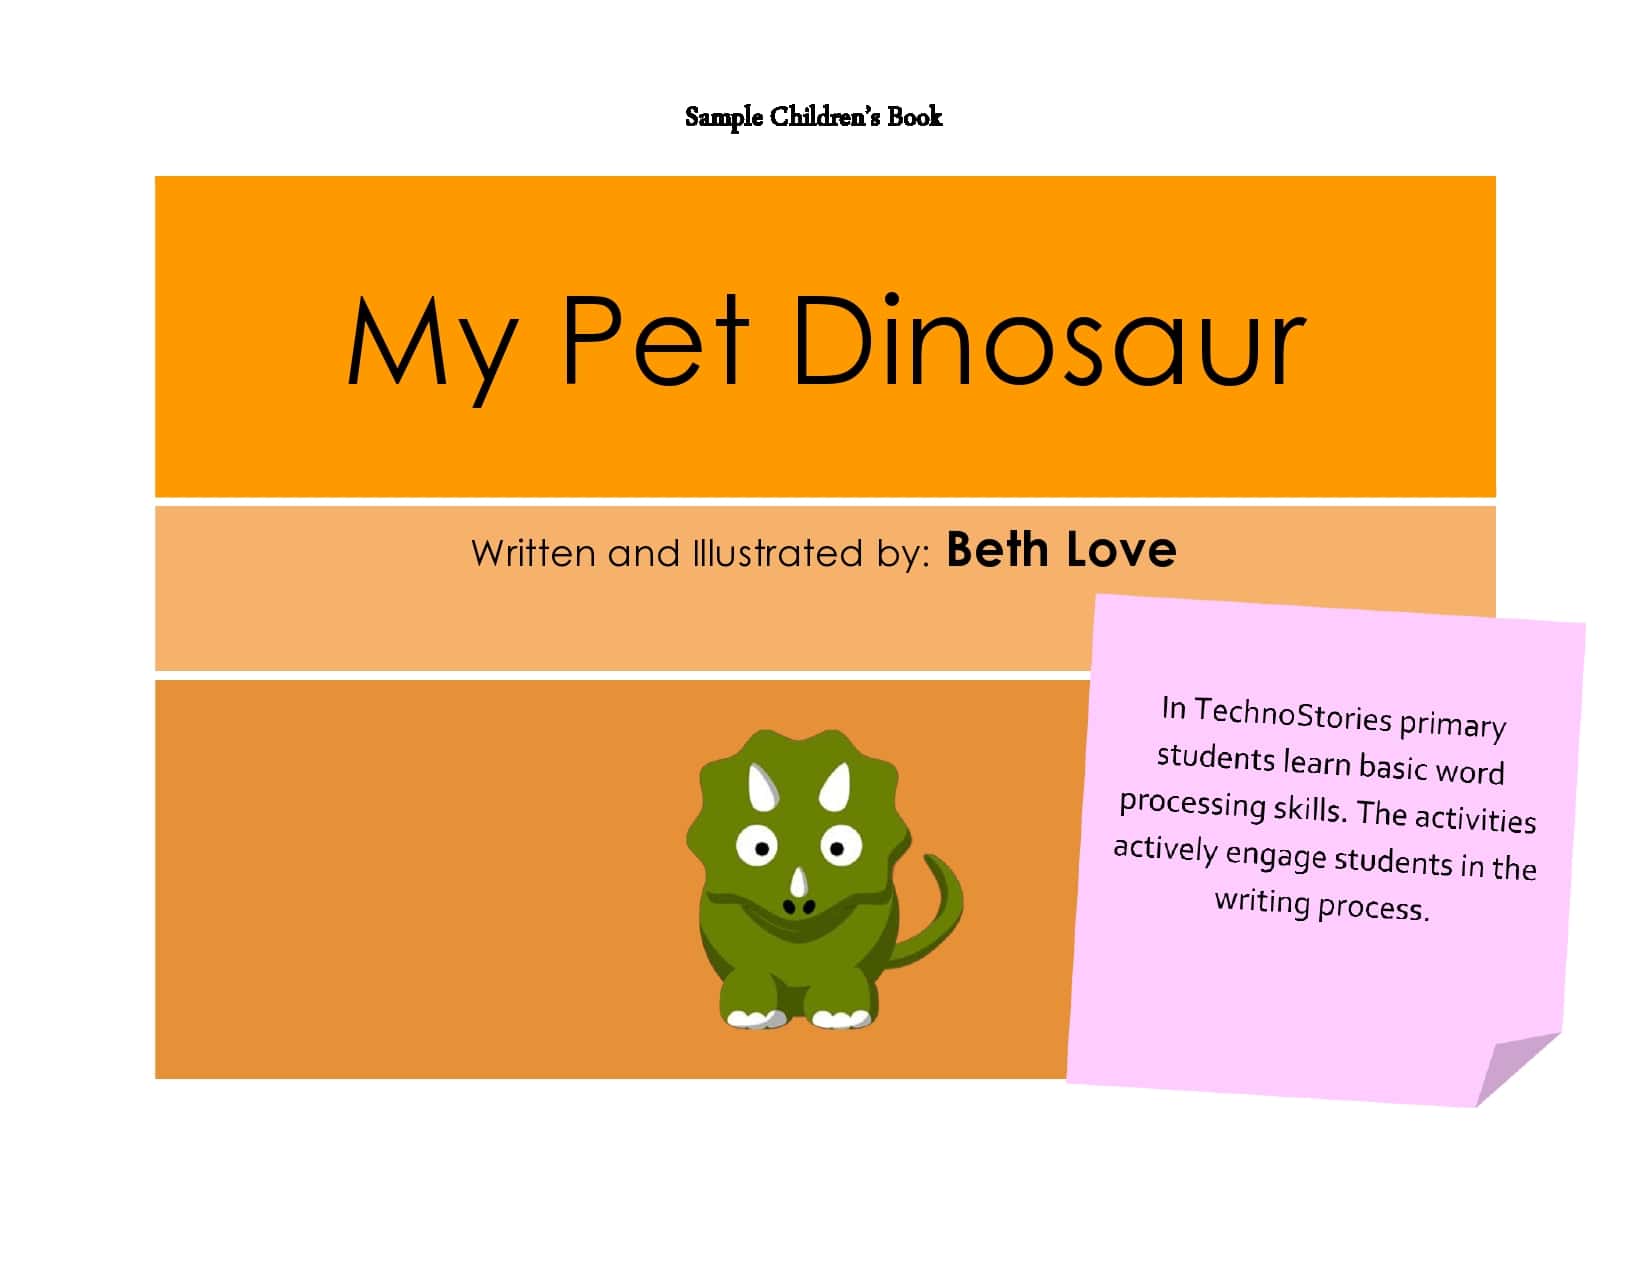
Children’s Book Templates


What is a children’s book template?
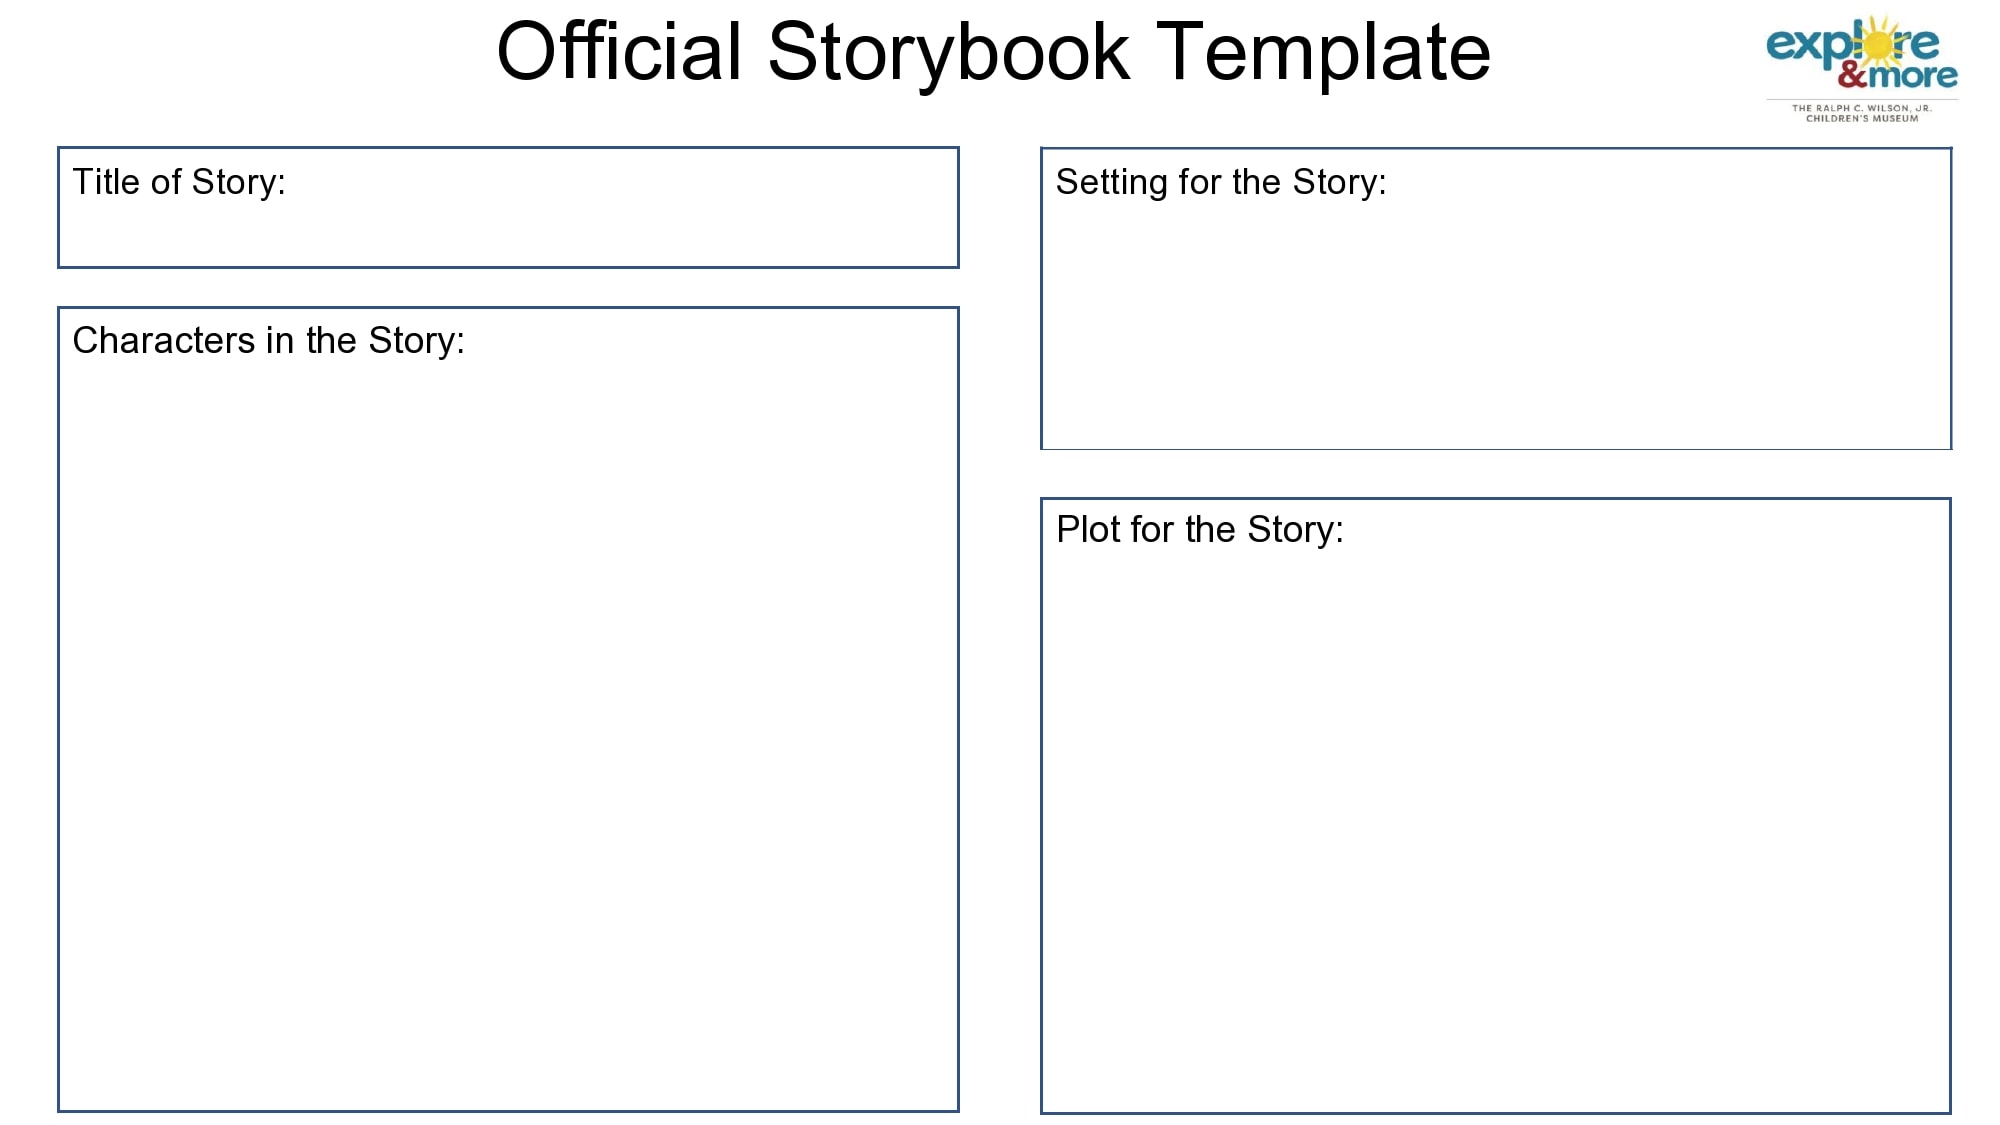
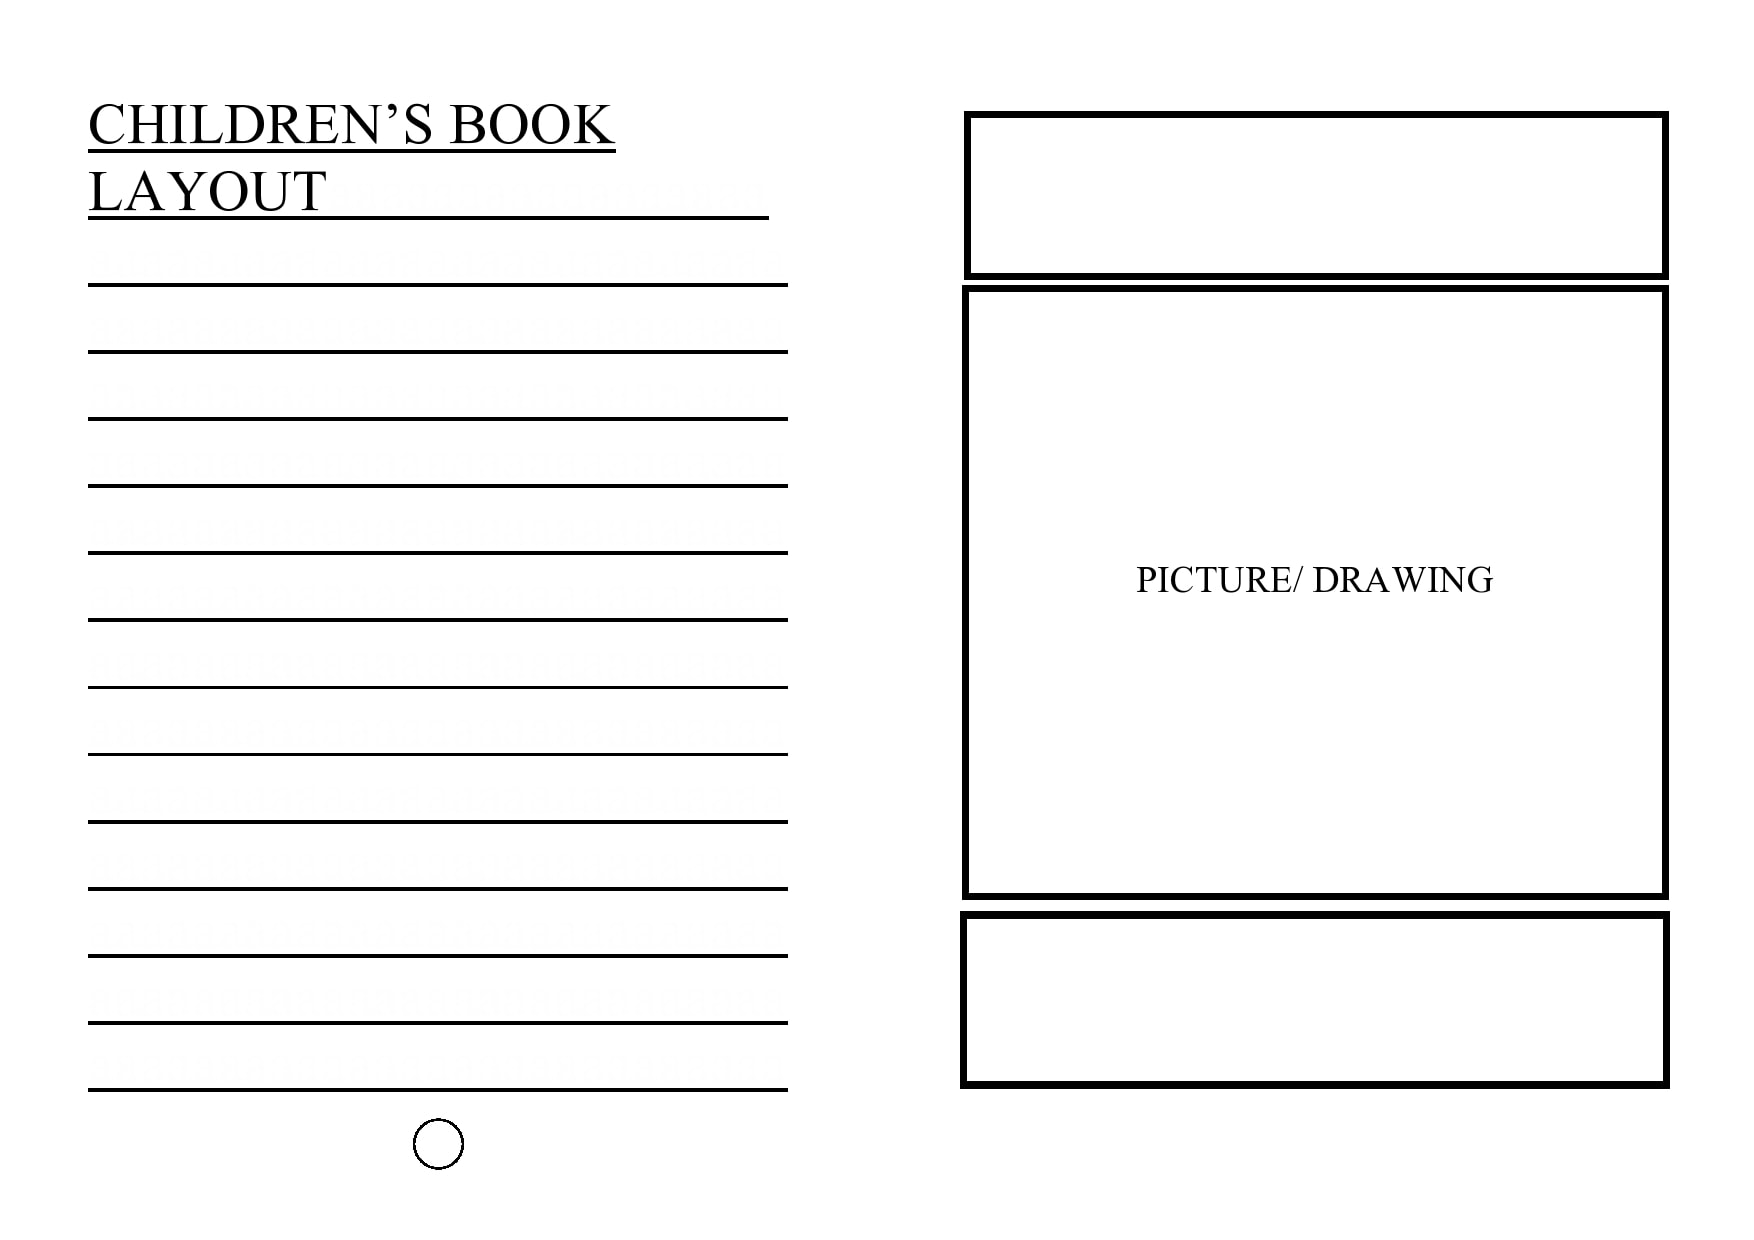
A storybook template is a plan for what you want to include in the book and where each element should go. Using a template simplifies the entire process. It also saves you a lot of time. You can find many book templates online for different categories and genres. Think of the template as your guide. Knowing where you’re going enables you to predict any obstacles along the road so you can plan in advance and achieve your goal faster.
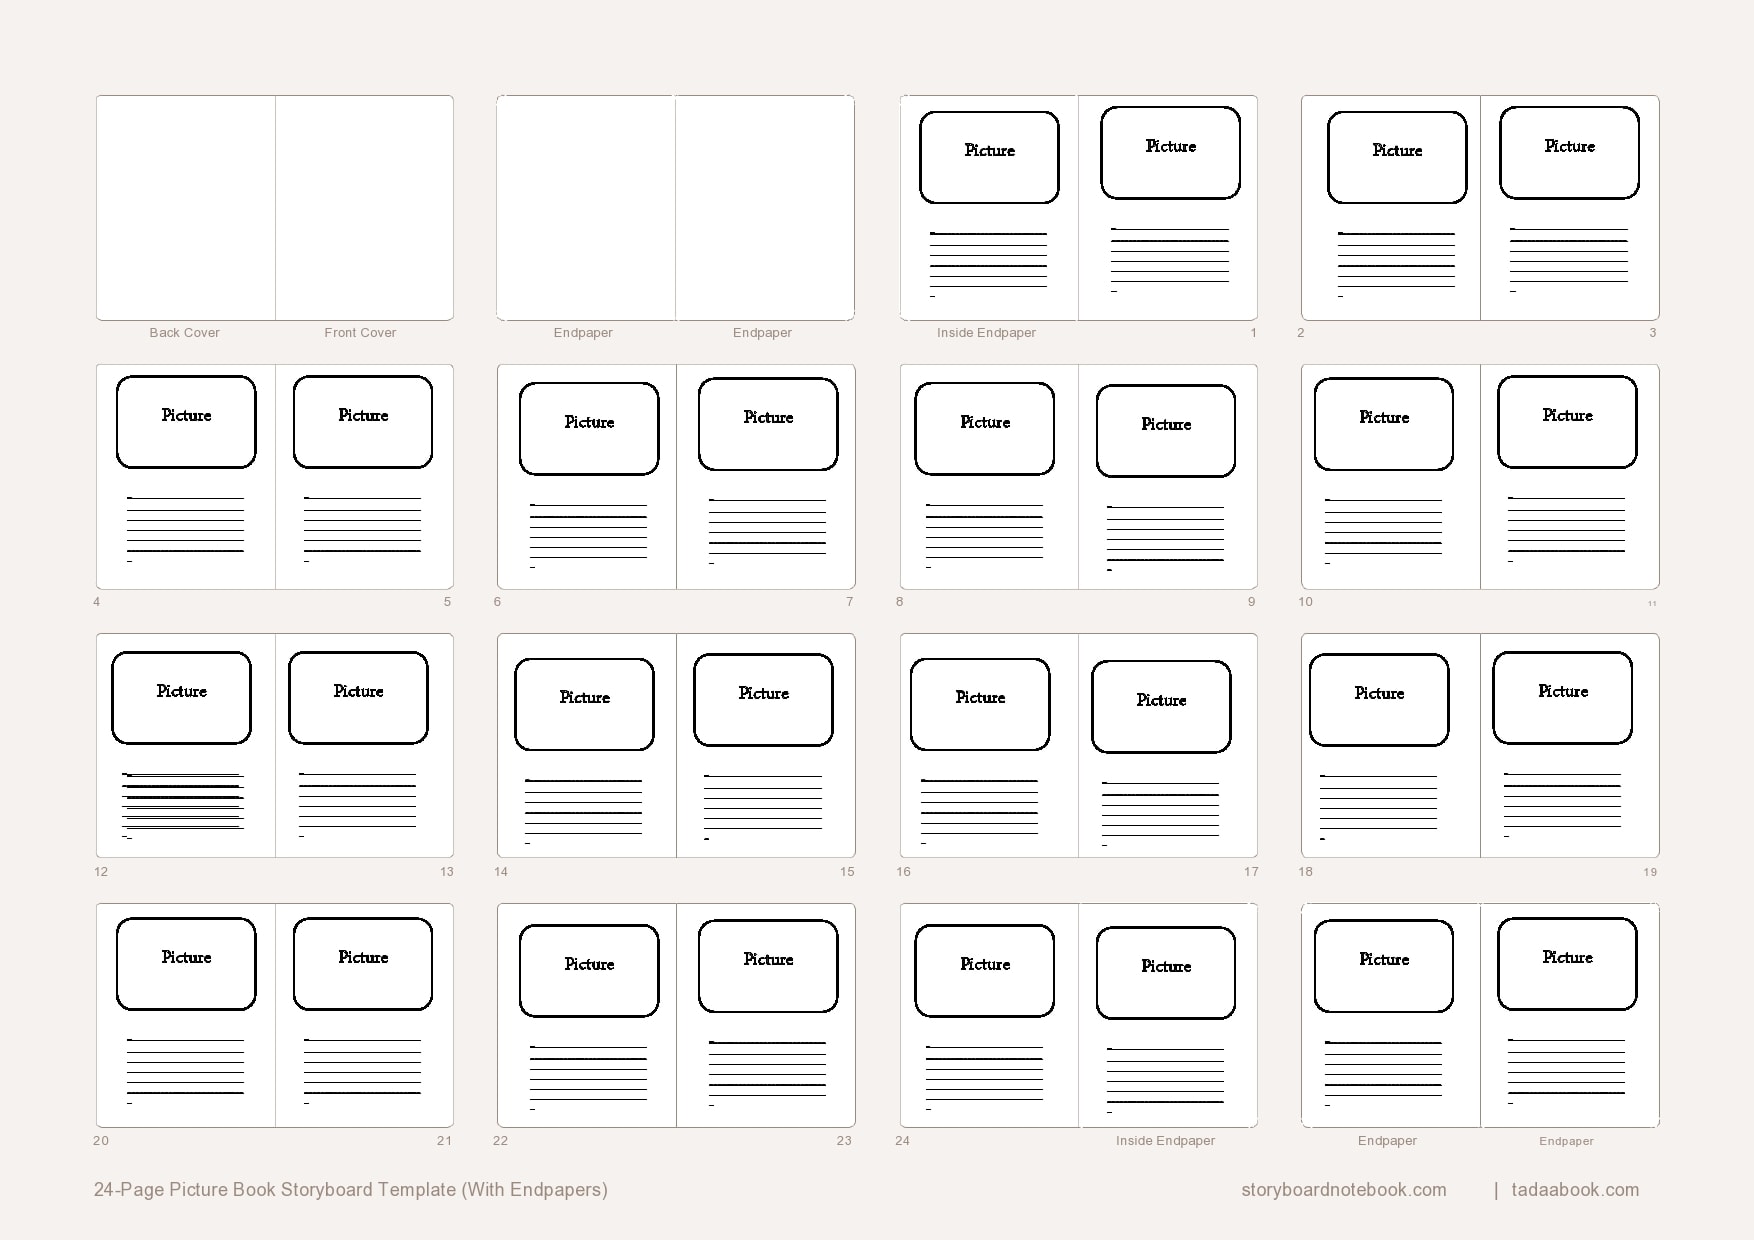
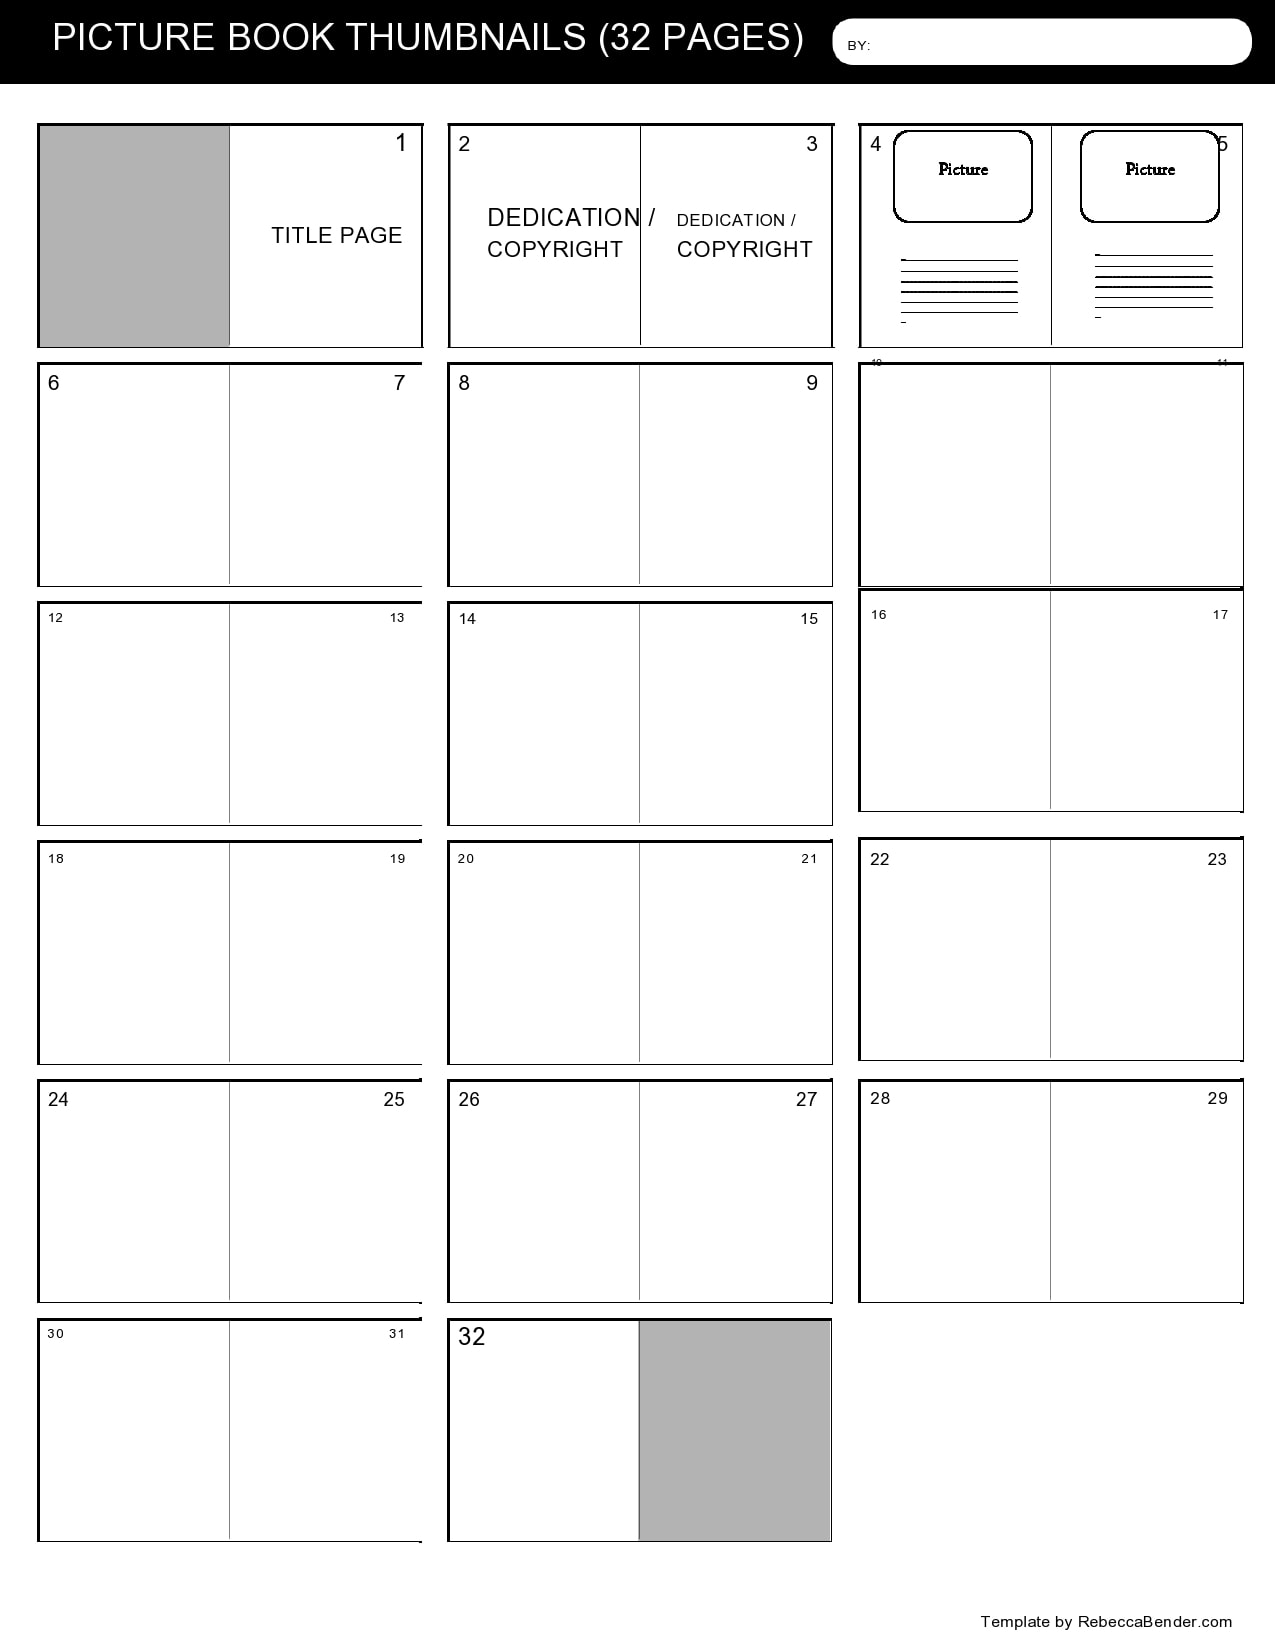
Without a template, you need to spend more time creating the format and order of your book. The contents of your template may vary depending on your preference and genre. For instance, fiction has fewer headings and subheadings. You would also separate the story by chapters since fiction is usually meant to be linearly read. Here are the basic elements of a children’s book template:
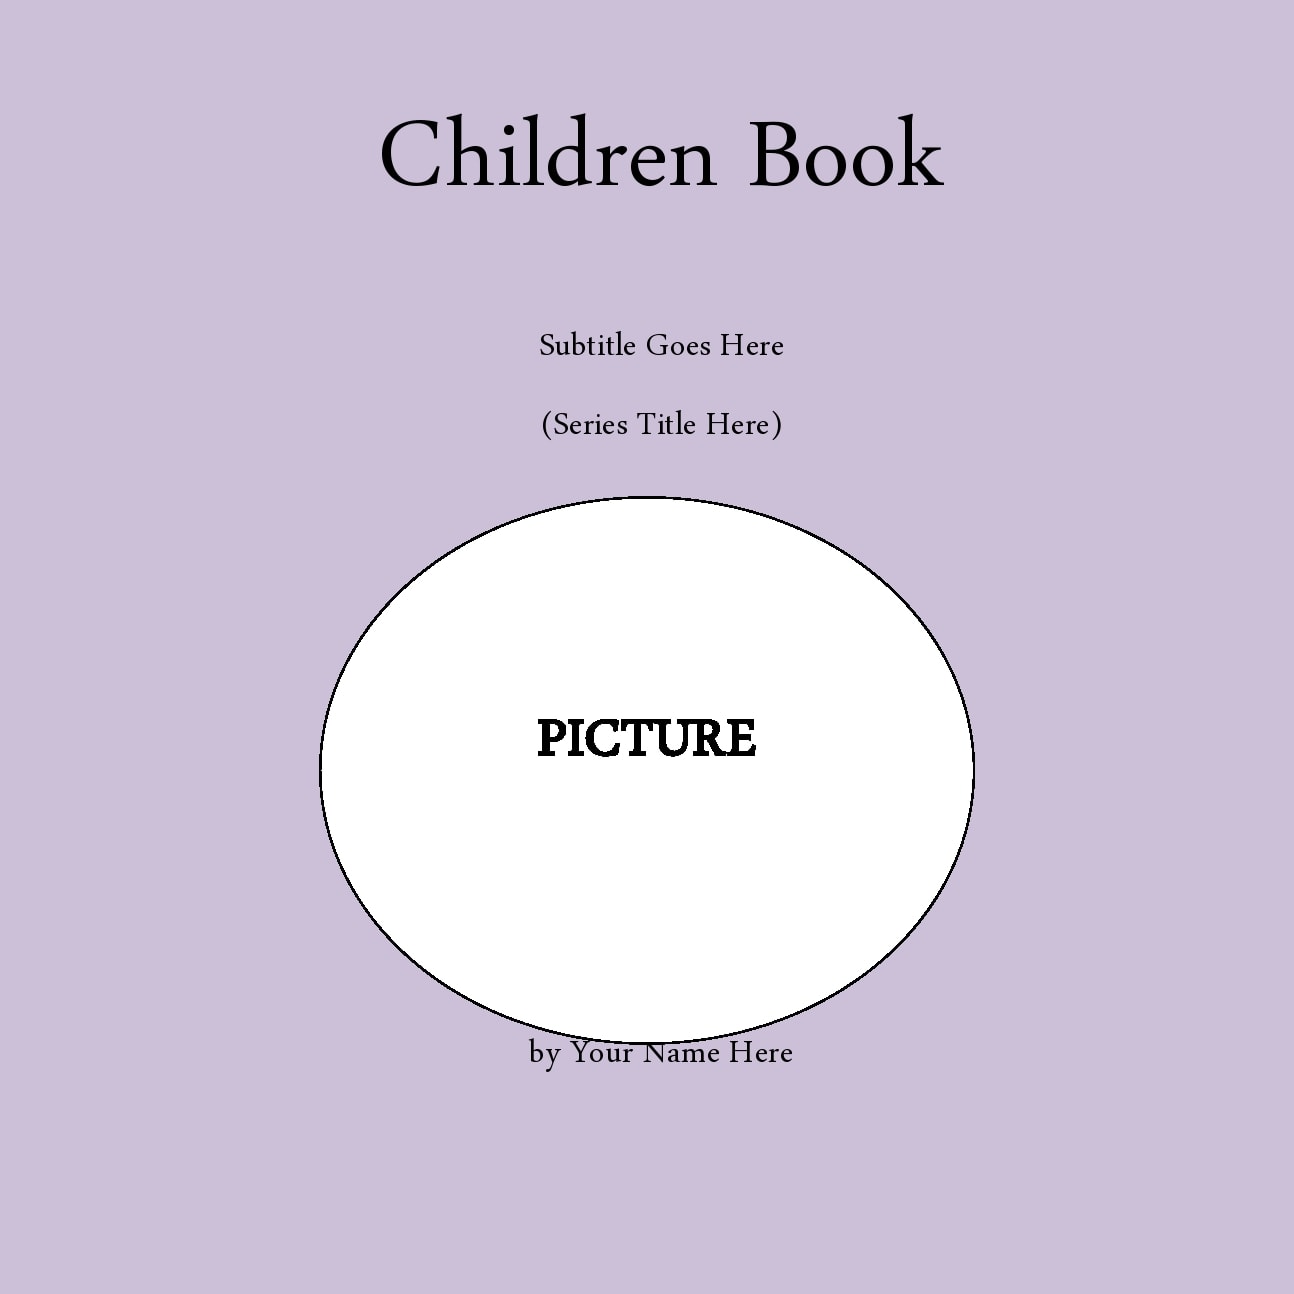
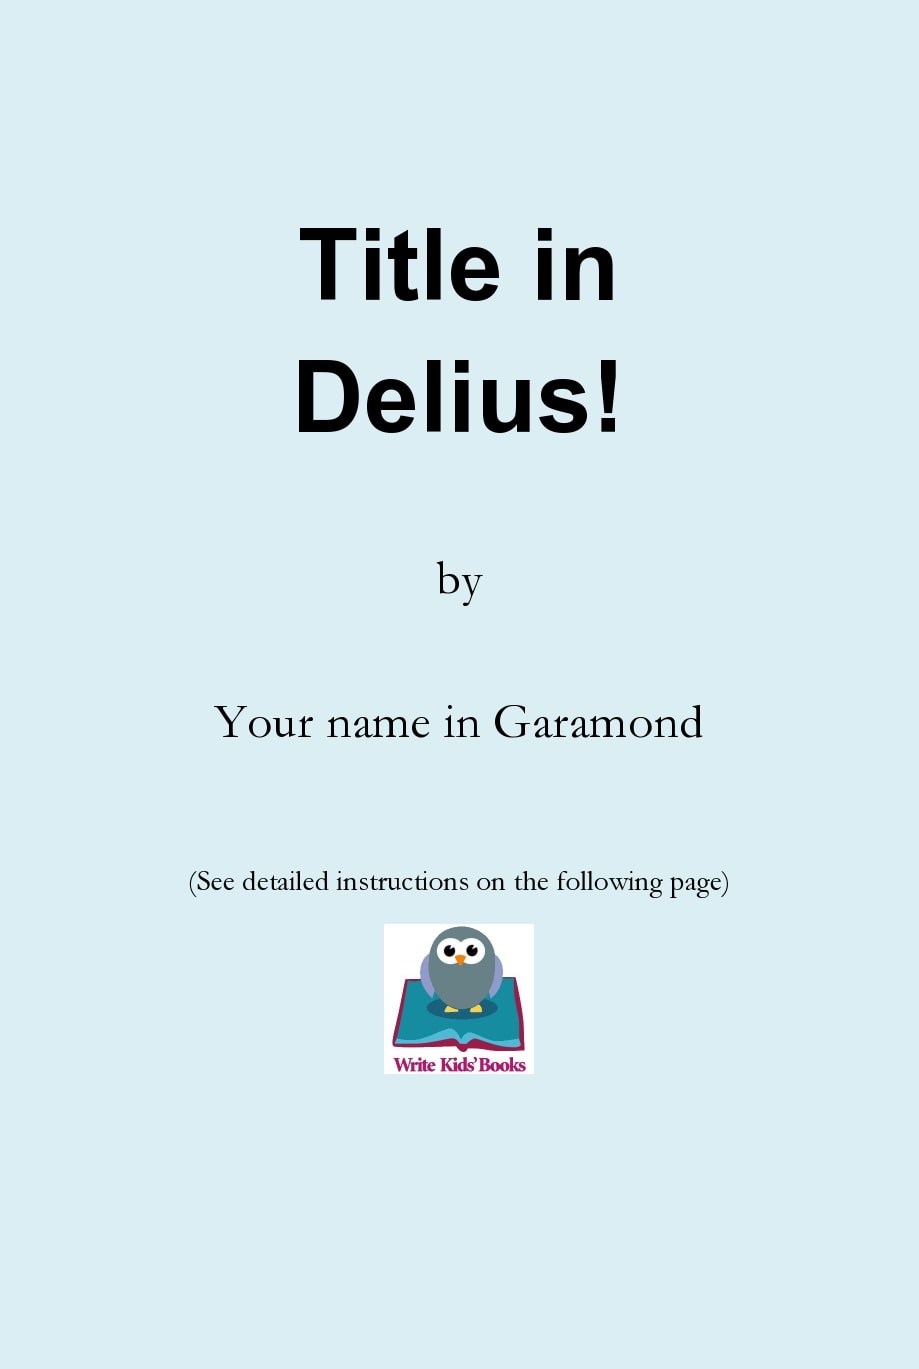
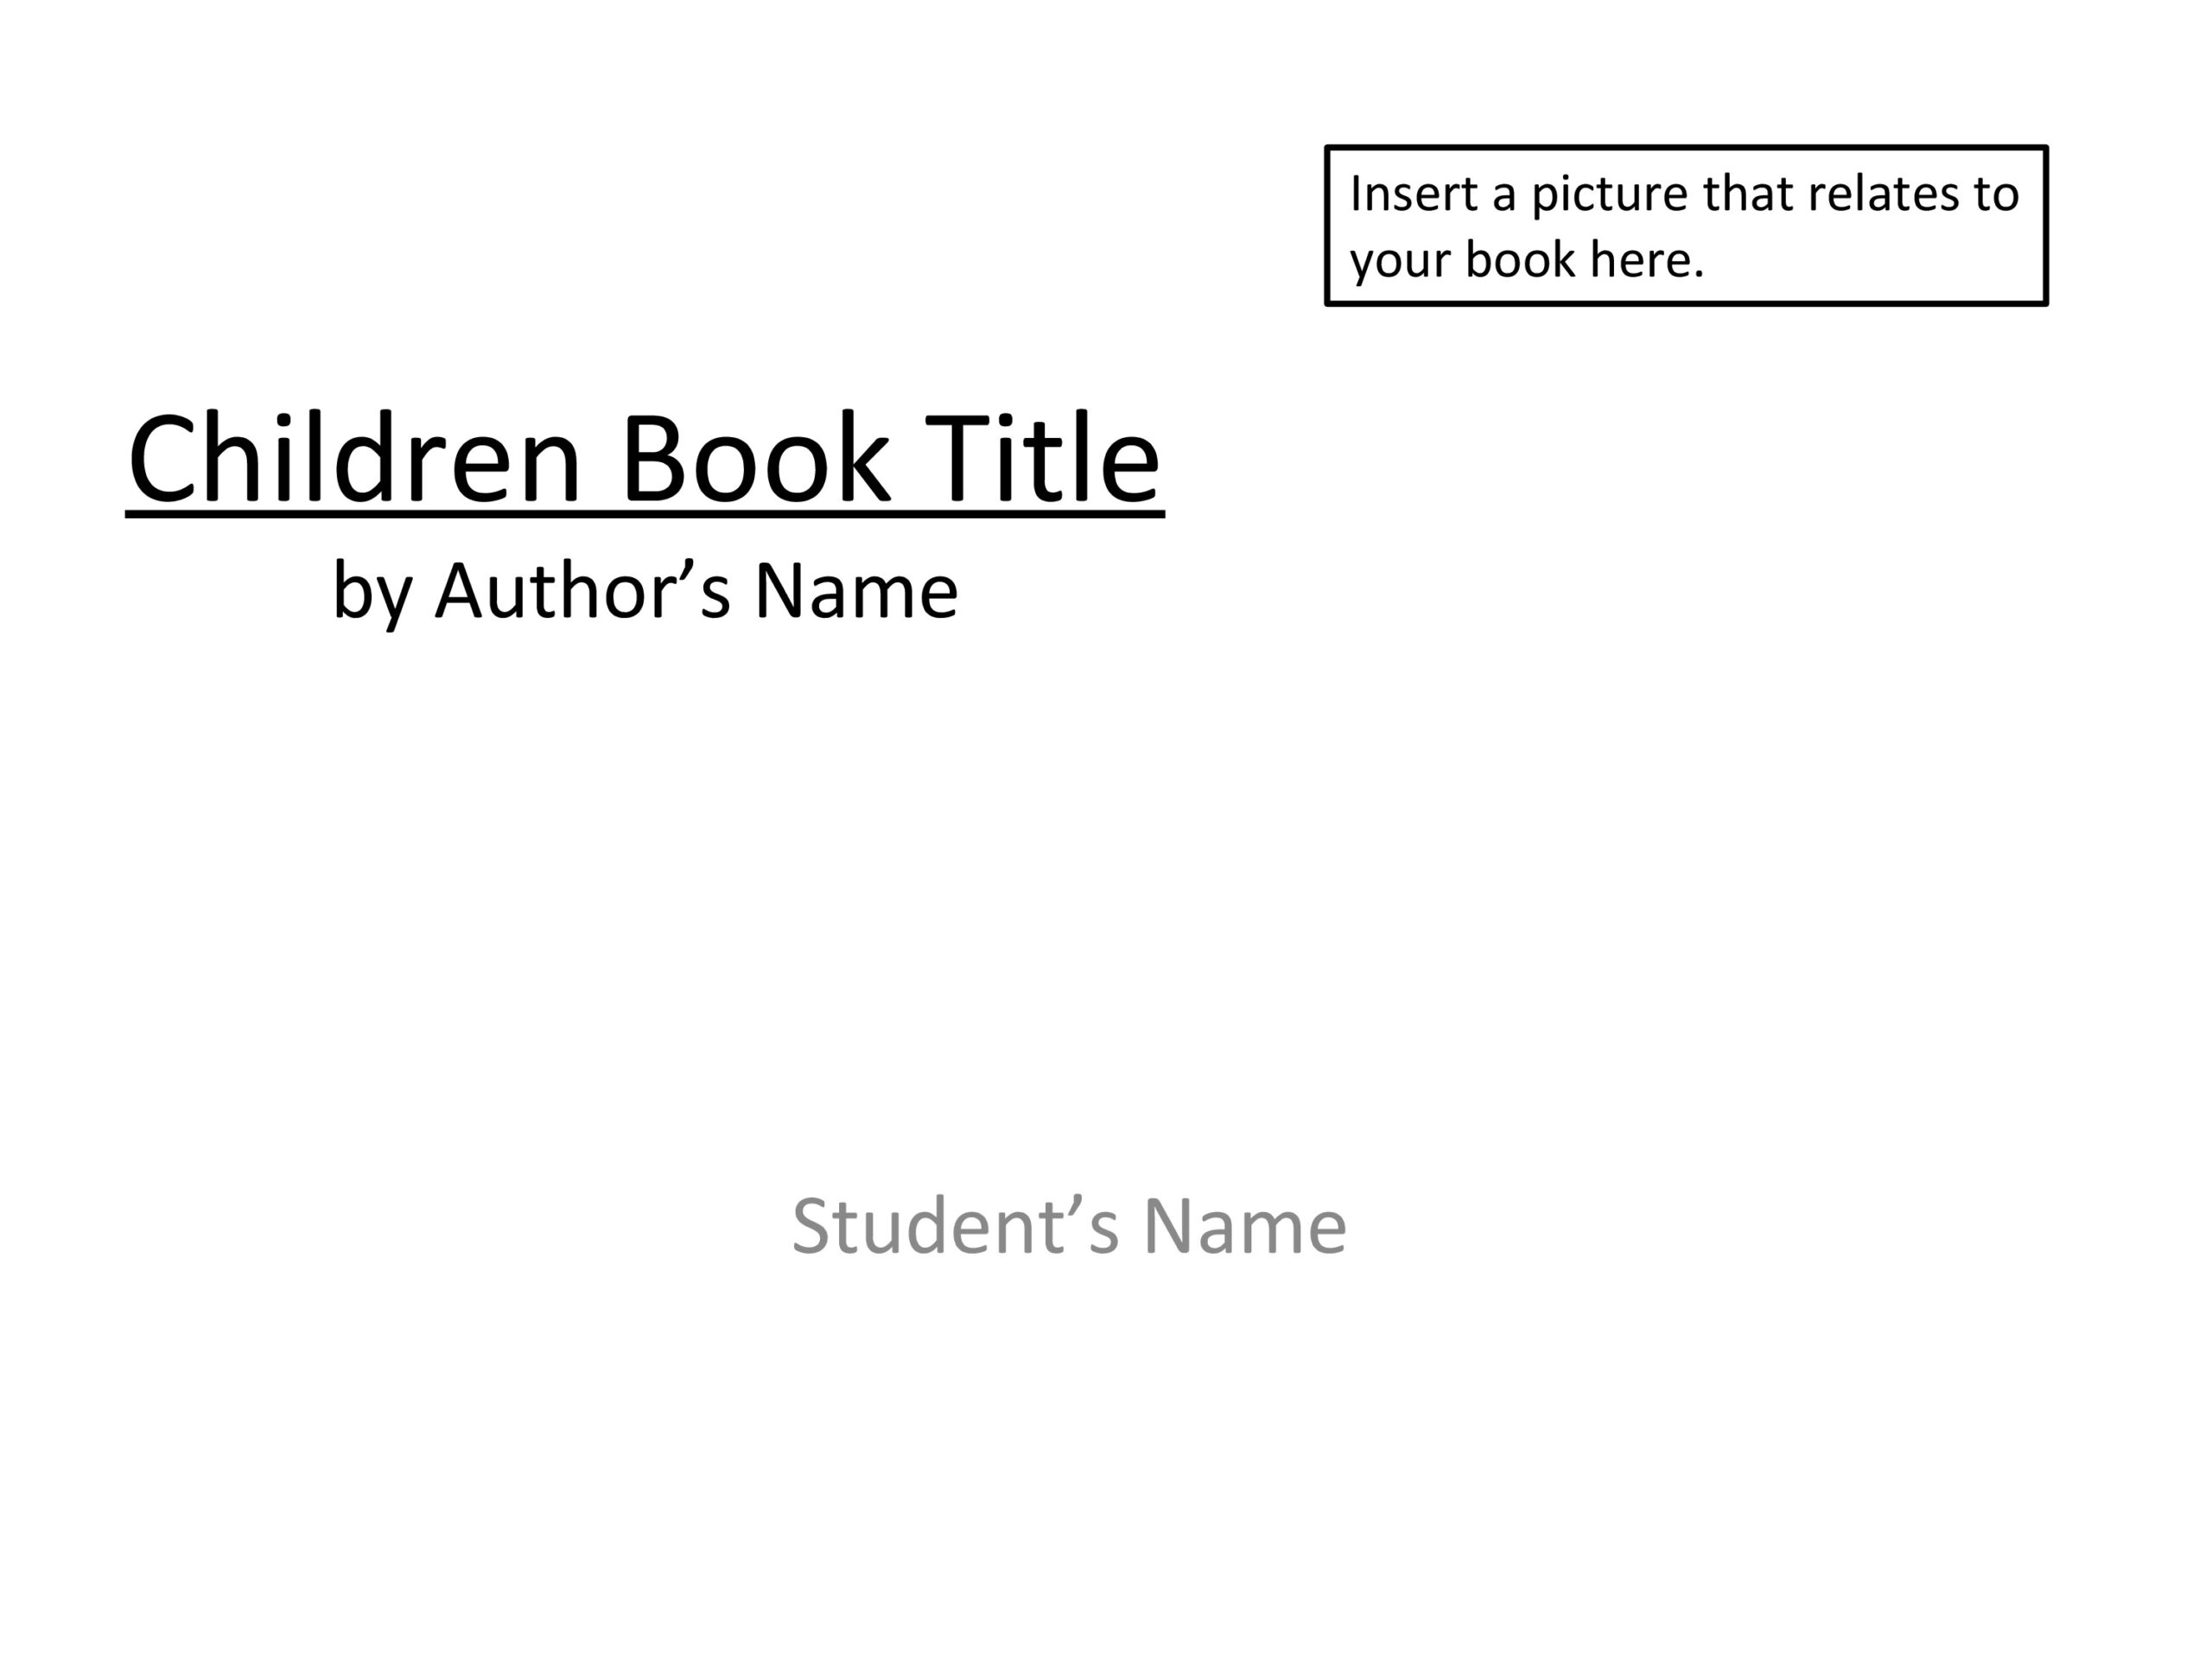
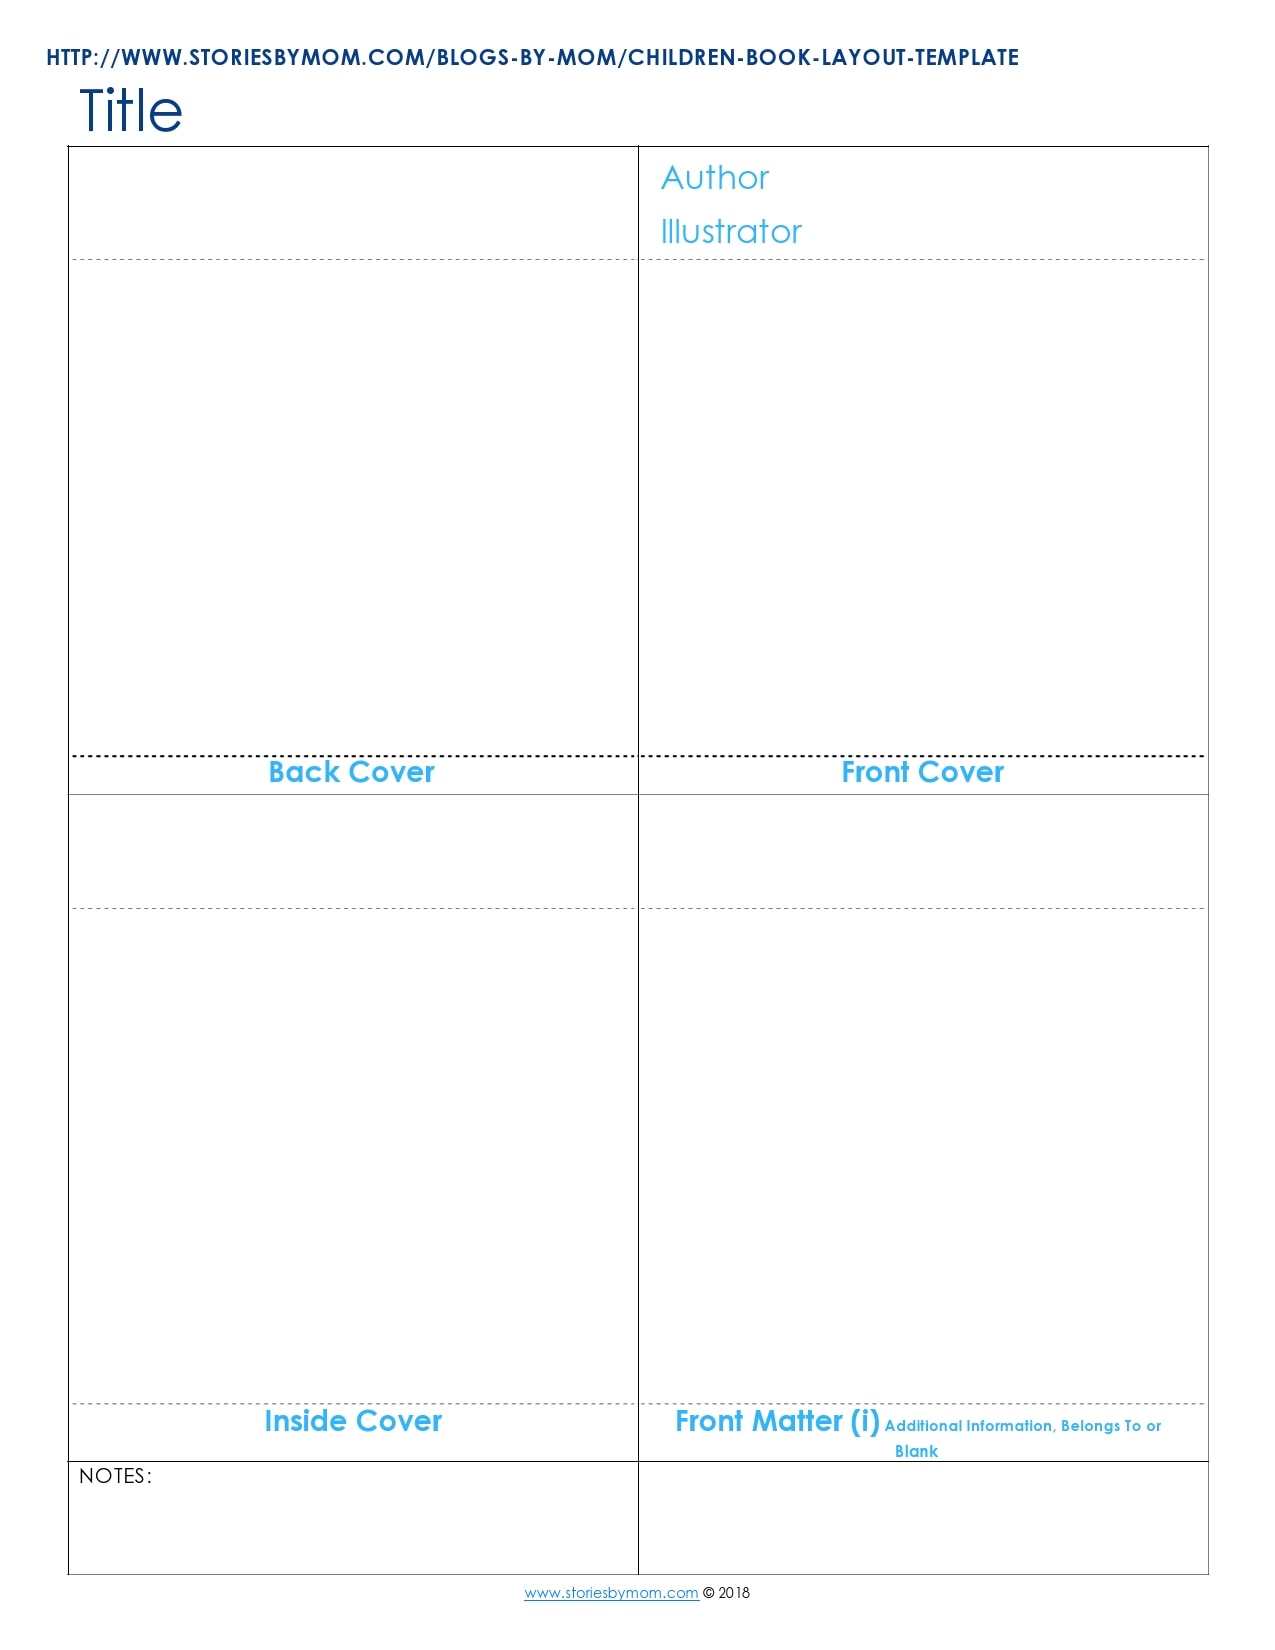
- Title. All books need a title. Aside from the cover, the title should also appear on the title page and a half-title page inside the book. Include any subtitles along with your pseudonym or real name as the author.
- Copyright page. This refers to the fine print of all legal details. Includes a copyright statement and other significant details like your editor, other contributors, content warnings, and disclosures.
- Table of contents. This refers to the breakdown of the contents of your book and where your reader can find these contents. With fiction, you just need to list the chapters. In some books, the chapters don’t have titles. You can fill out the table of contents depending on how your story flows.
- Author bio. A solid bio can be a powerful tool that can snag your reader’s interest (or their parents since children aren’t too interested in authors) to find more books you’ve written. Spend time writing this section to come up with a cleverly written bio.
Kids Book Templates
How do you structure a children’s book?
It’s important that the manuscript you will share with publishers or literary agents follows the proper format. These people review so many submissions regularly. A clean and professionally-written manuscript makes it easier for them to read. Having a clear children’s book layout also makes a good first impression. Here are some pointers for structuring your template:
- Create a file and save it right away. Before you start editing, save your template file first, especially if you’re working in MS Word, where you can’t recover your files if something happens. You may also choose to work on Google Docs, which saves your work automatically. Still, it’s a good idea to double-check to make sure that your work is safely stored.
- Choose the right settings for your template. Unless the guidelines for submission specify otherwise, the dimensions of your template should be letter size if you reside in Canada and the US or A4 if you reside in other territories. The template should have 1-inch margins on all sides. Don’t alter these margins just to hide your word count. Publishers can easily spot this as it’s part of their job to check.
- Set the font size. Many consider Times New Roman with a font size of 12 pt as the universal standard when you plan to publish your book. You can use this font unless your publisher or agency states otherwise. Even if you want your final book to have a handwritten font, your manuscript must use the basic font. Many writers tend to use whimsical fonts but this won’t look too professional.
- Include the most information on the 1st page. After fixing the settings, you’re now ready to start writing. But before you start with the story, you need to list the following in the top left-hand corner of the 1st page:
- Your name as the author
- Your address
- Your contact number
- Your email address
If you have an agent already, they will submit your manuscript to a publisher along with these basic details. On the top-right corner of the page, indicate the word count of your manuscript. If it’s a picture book, round up the word count to the nearest ten. For anything longer, round up the word count to the nearest hundred or thousand.
- Add the title. Go to the center of the page and type the title of your story. Input your title around 6 lines below your personal details. When typing your title, use All Caps and make sure it’s centered. Directly below the title, add your subtitle if you have one. Around 2 lines below that, add your name or pseudonym.
- Format the body correctly. At this point, everything you have typed should be single-spaced. Now that you will write the main content (your story), you should switch to double-spacing. You can do this by clicking Format > Line spacing when using Google Docs or Home > Line and Paragraph Spacing when using Word.
- Automate the headers. Each page should have its own headers including the title of your book, your last name on the left side, and the page number on the right side. This is especially important for your editor, who might mix up the pages of your manuscript while editing. Adding page numbers is also important in case your agent or publisher calls you to discuss your manuscript and some of the details of your story.
- Use a page break to begin each chapter on a new page. Be very consistent when you signal chapter breaks in your template. Remember that there are a couple of things that could impress your agent. For instance, you should align your first chapter header in the center below the title, subtitle, and author’s name on the 1st page of your manuscript. It’s recommended to use 12 pt font (Times New Roman), All Caps, and leave a double-space between the chapter header and your name as the author. Do the same again for the header and the body of your text. Although this isn’t a strict rule, it keeps your template clean and easy to read. Whenever you begin writing a new chapter, add a page break so you can start on a new page.
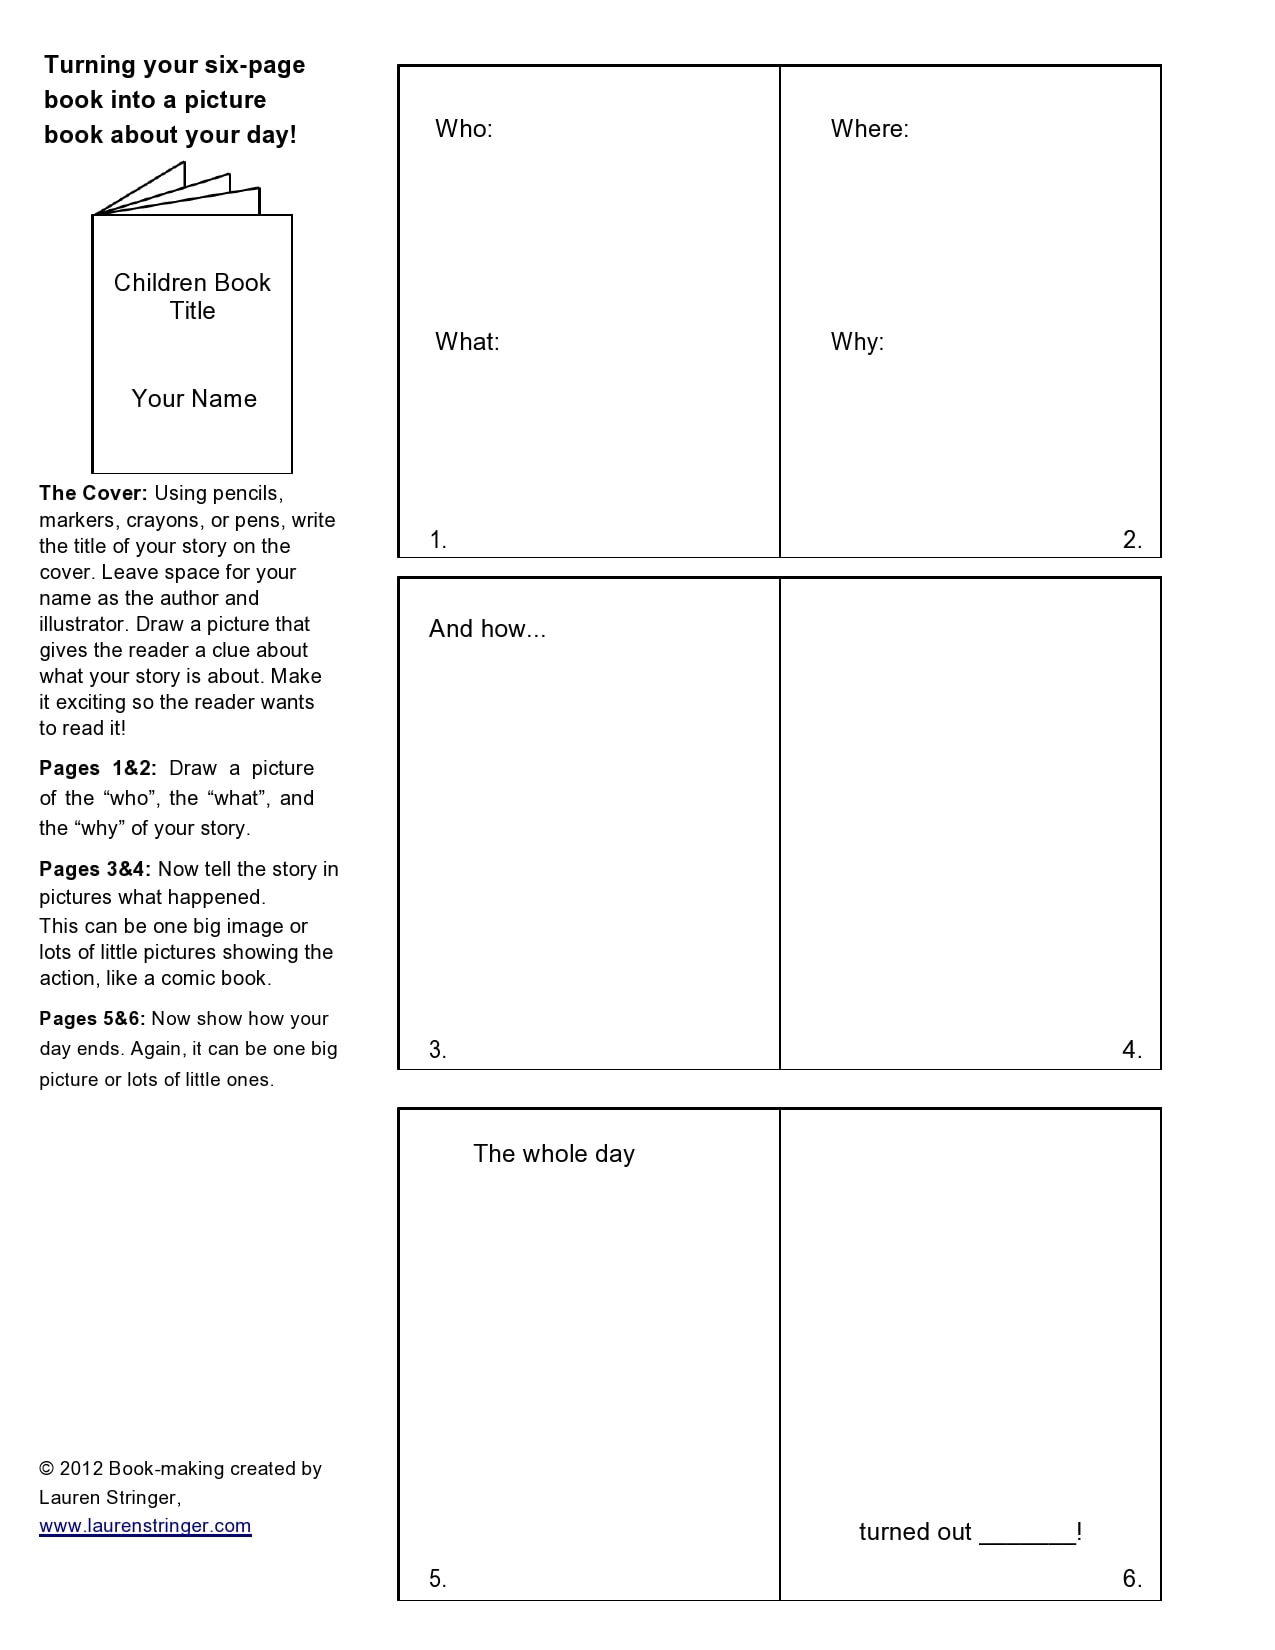
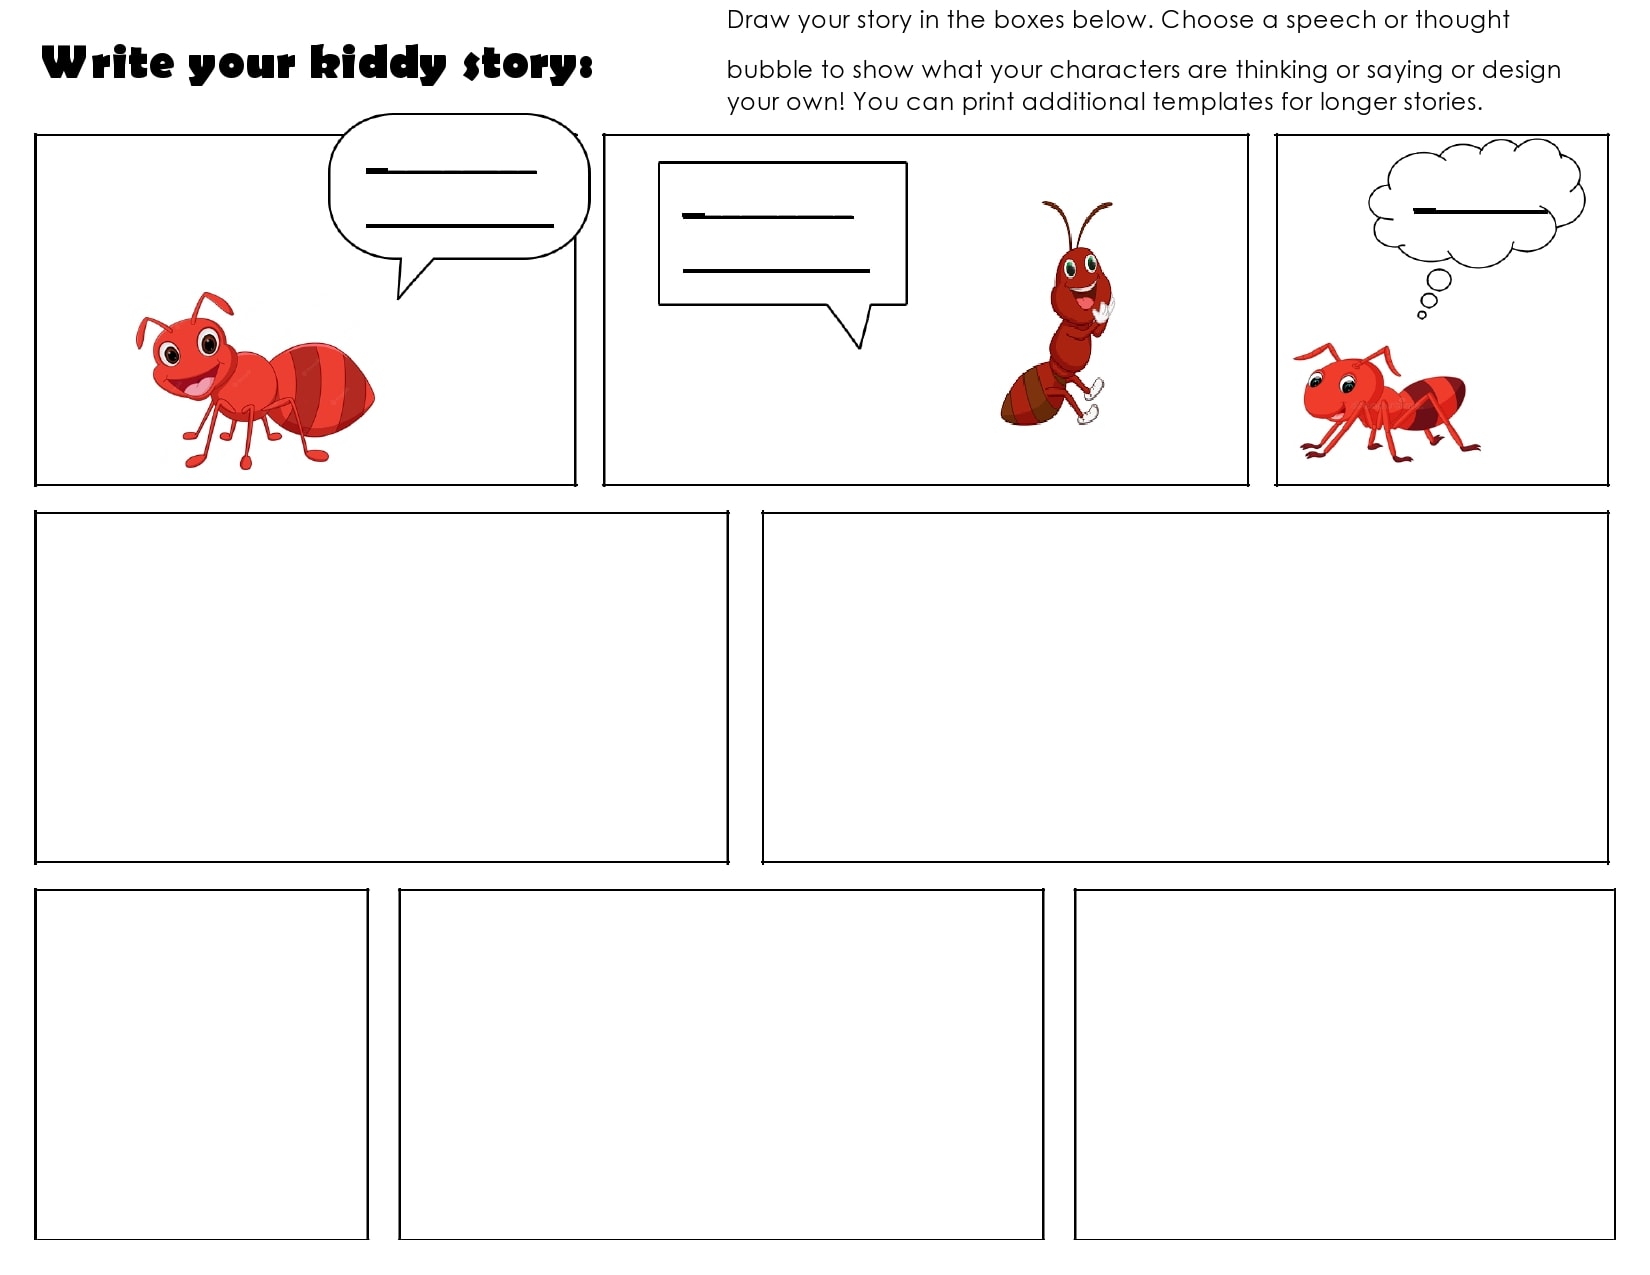
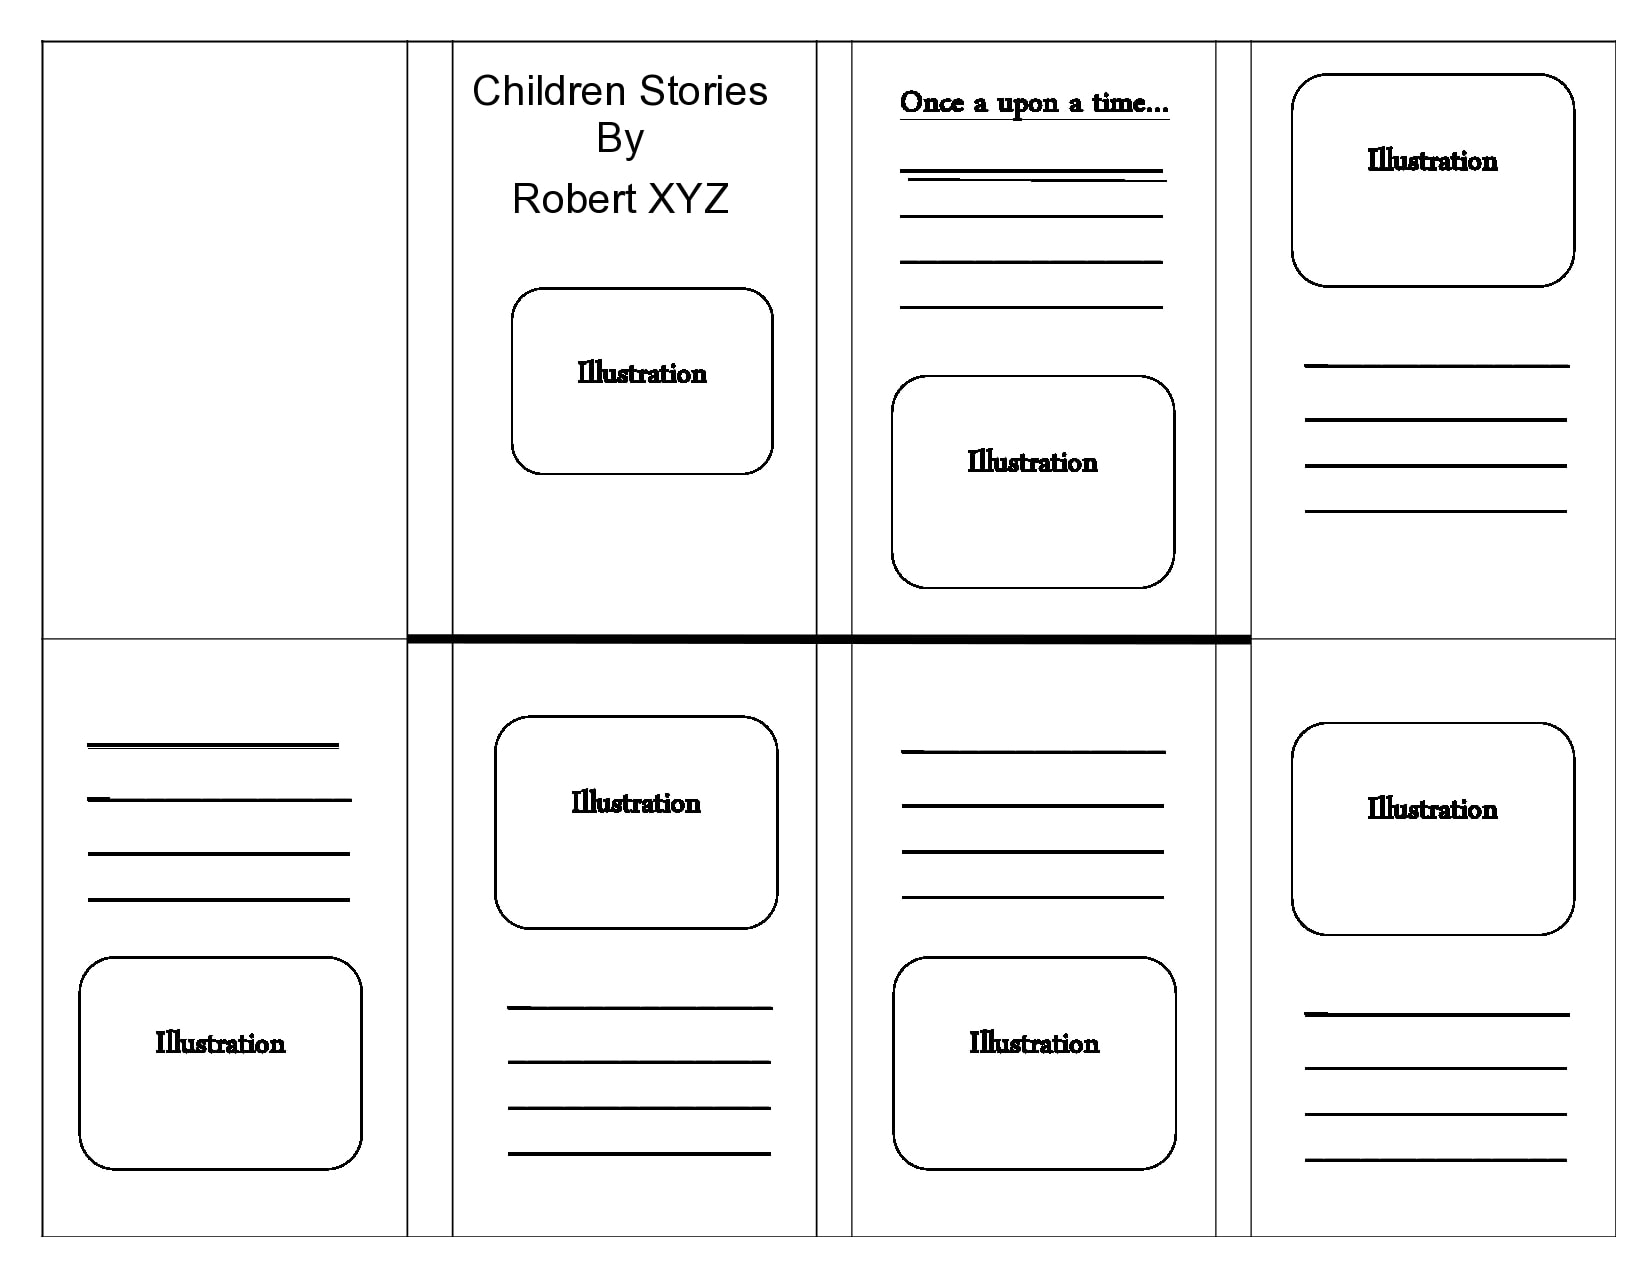
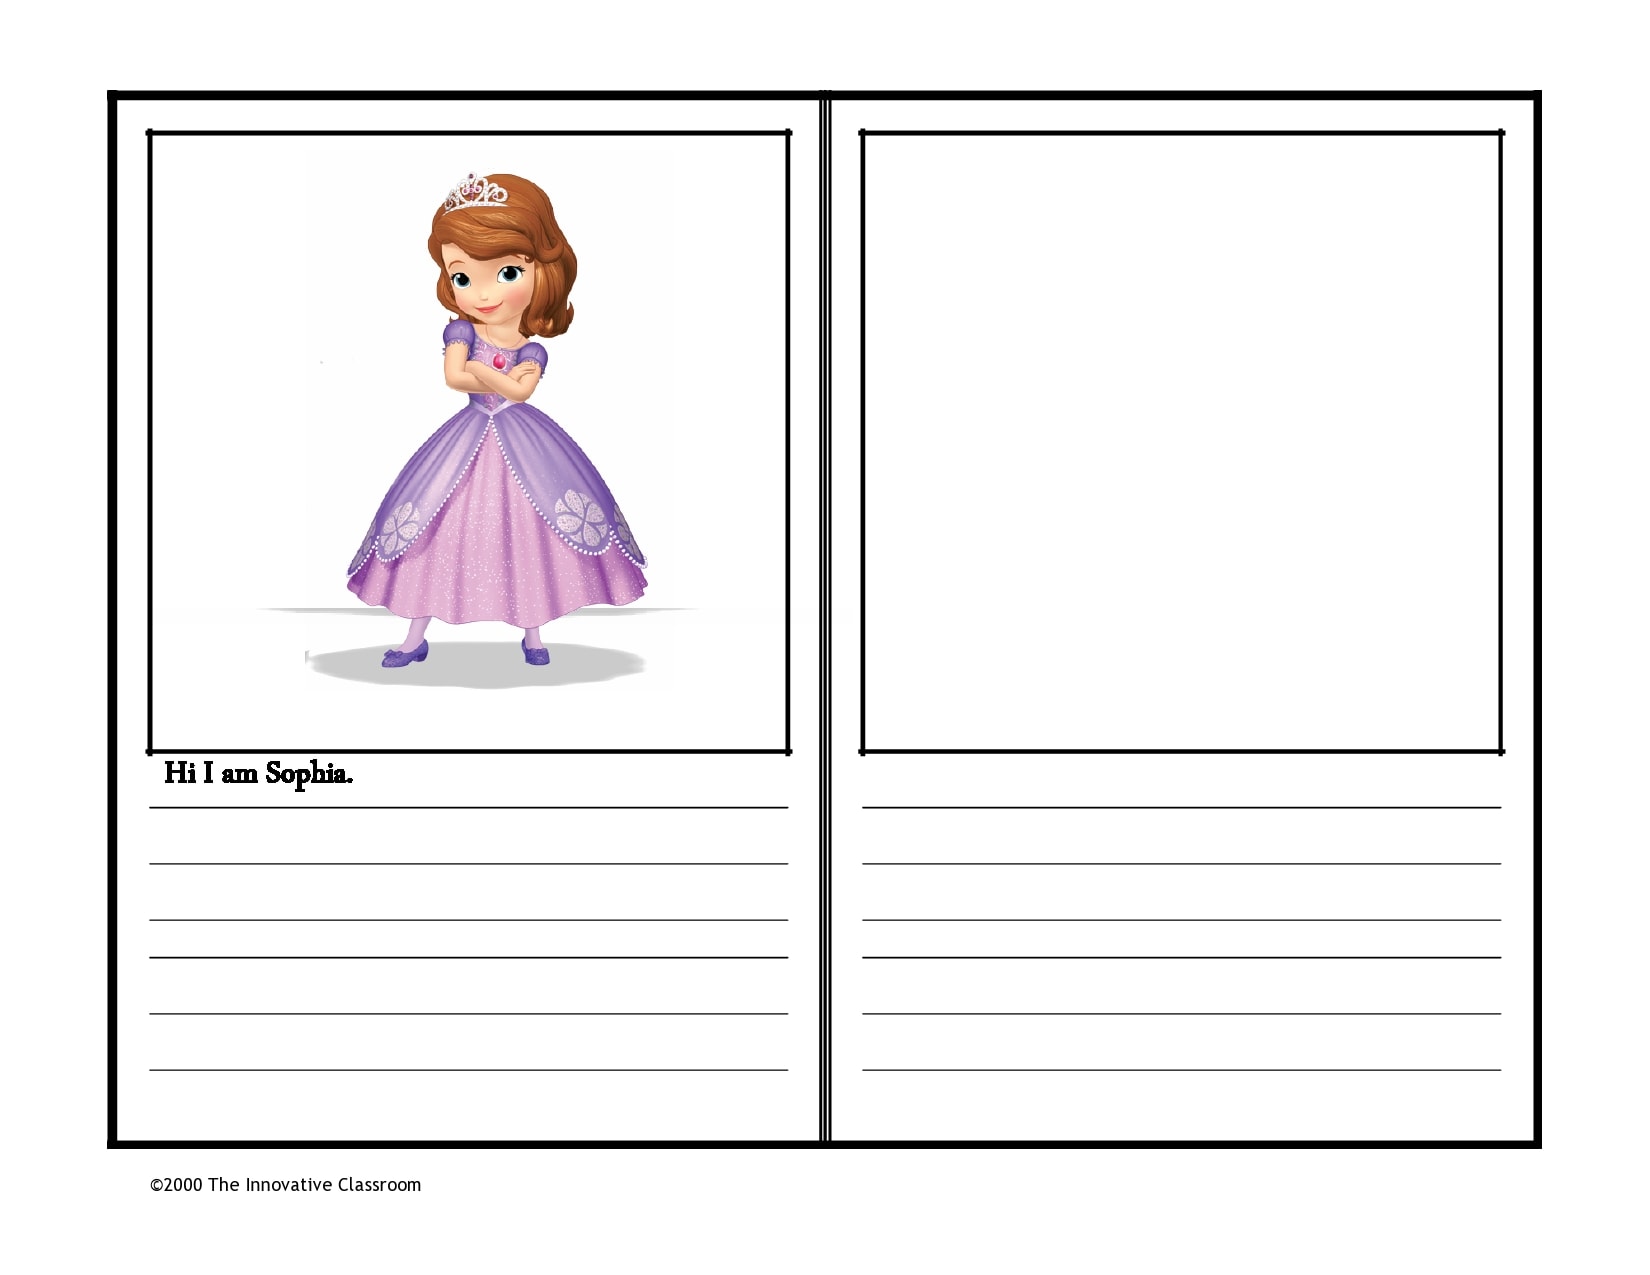
- Add some illustration notes if you want to share your ideas. Illustrations in a children’s book will bring the story to life. You might feel tempted to fill your manuscript with ideas on what you want the illustrations to be. Ask your publisher if this is okay first. Some publishers prefer to let the illustrators come up with ideas for the illustrations. This is why most editors and agents advise authors to minimize illustration notes.
Story Book Templates

What is a good size for a children’s book?
As part of your book creation process, you don’t just focus on each children’s book page and what it should look like. It’s also recommended to select the right orientation and trim size early on or at least before hiring an illustrator. For orientations, there are 3 choices: portrait, square, and landscape. Each of these choices has its own standard sizes that most children’s book publishers accept:
- The best landscape sizes are 10″ x 8″ and 11″ x 8.5″
- The best portrait sizes are 7.5″ x 9.25″, 7″ x 10″, 8.5″ x 11″, and 8″ x10″
- The best square sizes are 8.5″ x 8.5″, 8″ x 8″, 10″ x 10″, and 9″ x 9″
Also, before choosing a size, you need to know first what print-on-demand service you will use because some publishers offer different sizes. For example, KDP and IngramSpark are the two biggest publishers. Surprisingly, neither of them offers landscape format sizes. Here are the standard sizes offered by these platforms:
- The portrait sizes offered by IngramSpark and KDP are 7.25″ × 9.25″, 7″ × 10″, 8.5″ × 11″, and 8″ × 10″
- The square sizes offered by IngramSpark and KDP are 8.5″ × 8.5″ and 8″ × 8″
Choosing your children’s book category
Most children’s book authors start by determining the age group they want to write for. Then they choose the best category to target that age group. Just remember that the attention levels and interests of young children can change rapidly.
For example, a 3-year-old and a 4-year-old may choose different books even though they’re only a year apart. Therefore, you should do some research to make sure that you’re writing an appropriate story for the age group you’ve chosen. Here are the factors you should consider to determine if your book is age-appropriate:
- Think of the writing style you will use.
- Think about the themes and topics of your story.
- Think about the complexity of the plot and the length of the book. Remember that each age range has different levels of understanding and comprehension when following a storyline.
The market for children’s books is very versatile and vast, which means that there are many categories and types of children’s books you can choose from:
Picture books
- Your target age group for picture books is children between 0 and 7 years old.
- These books contain plenty of illustrations to complement the story.
- One of the main purposes of picture books is to teach children how to read so you should include many pictures and few words.
- You can include rhymes and make sure the story flows easily to make it interesting for your readers.
Early readers
- Your target age group for early reader books is between 7 and 10 years old.
- Many consider these transitional books as they fall between middle grade and picture books.
- The purpose of early reader books is to help children grow away from picture books so you should use plenty of simple words.
- These books are generally longer than picture books although they still contain illustrations, just not as many as the illustrations in picture books.
Middle grade
- Your target age group for middle-grade books is between 8 and 12 years old.
- These books should help the children learn how to read independently.
- These books should have fictional stories.
- The length should start at around 10,000 words and will only use a few pictures.
Young adult
- Your target age group for young adult books is 12 years old and above.
- Since the children are on their way to becoming adults, the story you write should be slightly advanced.
- You don’t have to include illustrations and you can increase the word count to 20,000 words and above.
How much money can you make from a children’s book?
Most successful children’s book authors agree that they write not just to earn money. They write because it makes them feel good. But there are also authors who have lingering questions about the amount of money they could make from writing books for children.
This is especially true for first-time authors who want to know if they can make a living out of being a children’s book author. In the publishing industry, the general average of how much authors make is around 10% of royalties. This means that you will receive 10% of your book’s recommended retail price.
But there are cases when the royalties you receive won’t compensate for what you spend on writing and publishing your book. Publishers do a lot of work for a children’s book before they publish it. These costs add up to a lot of money.
To publish a children’s book, your publisher needs a big amount of money, especially when they start with the publishing process. If these costs get deducted from your royalties, you will get a lower amount. Your illustrator should receive royalties too, which further lowers the amount that you might receive.


