
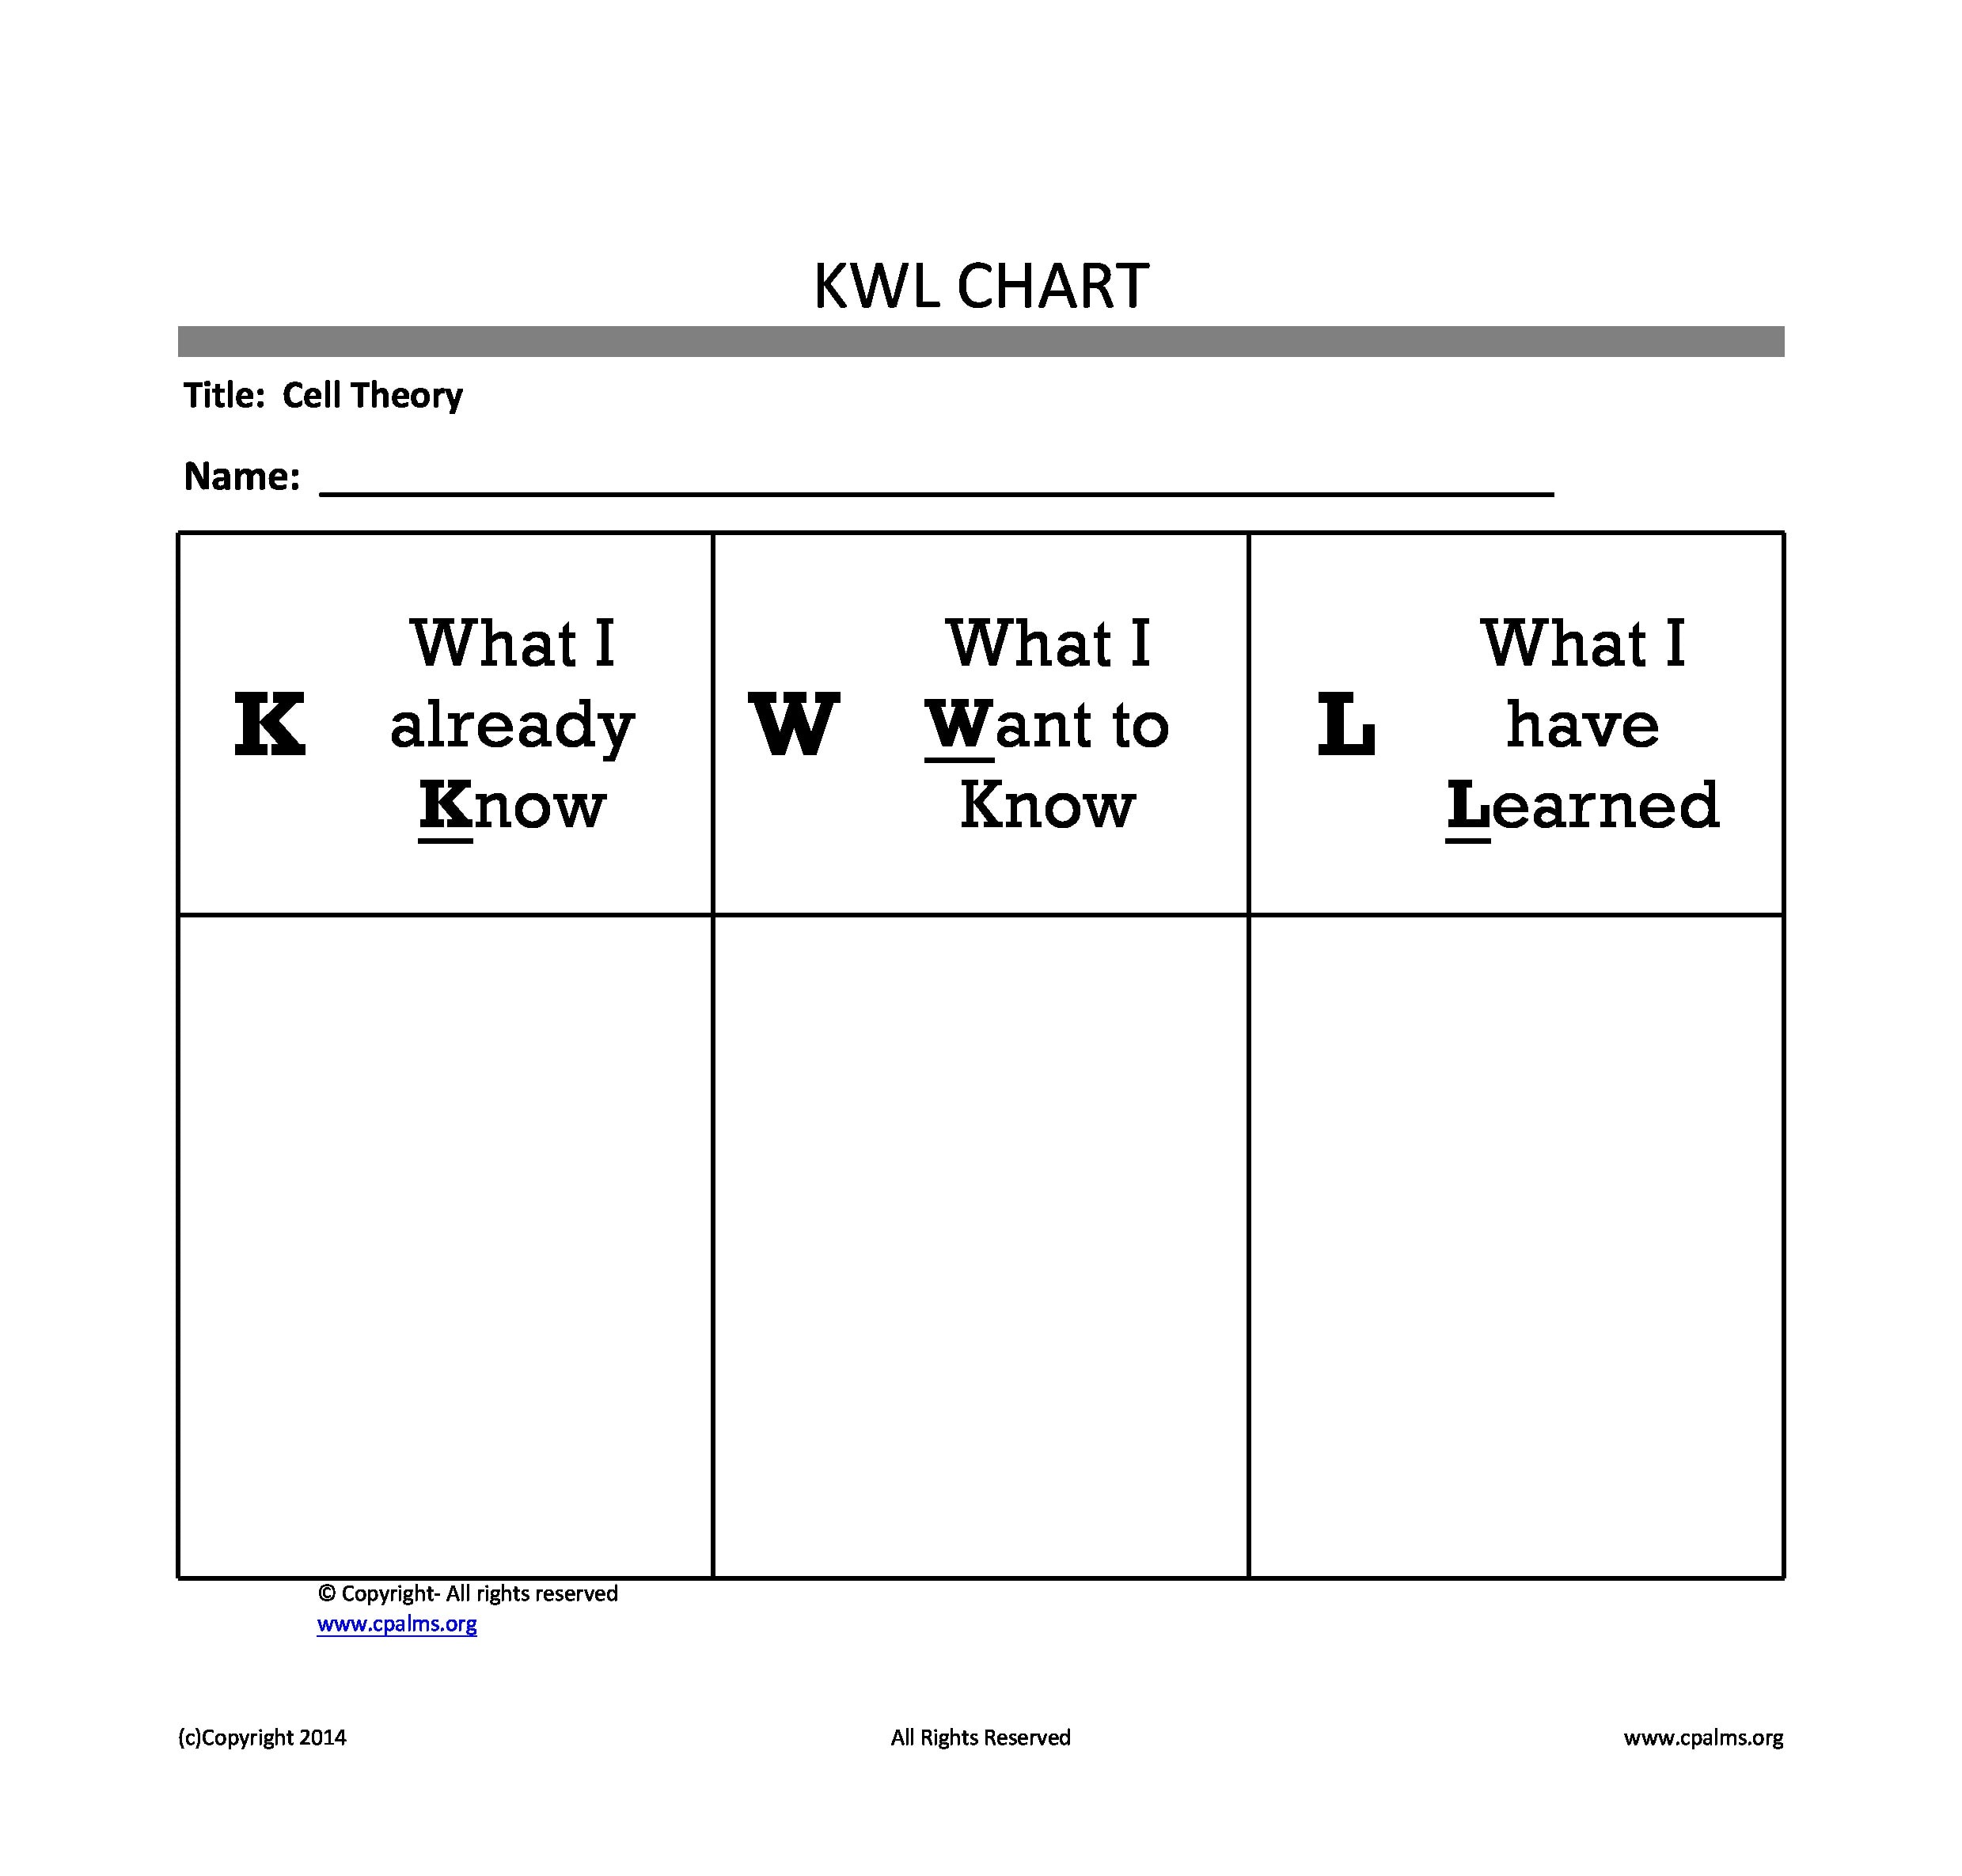
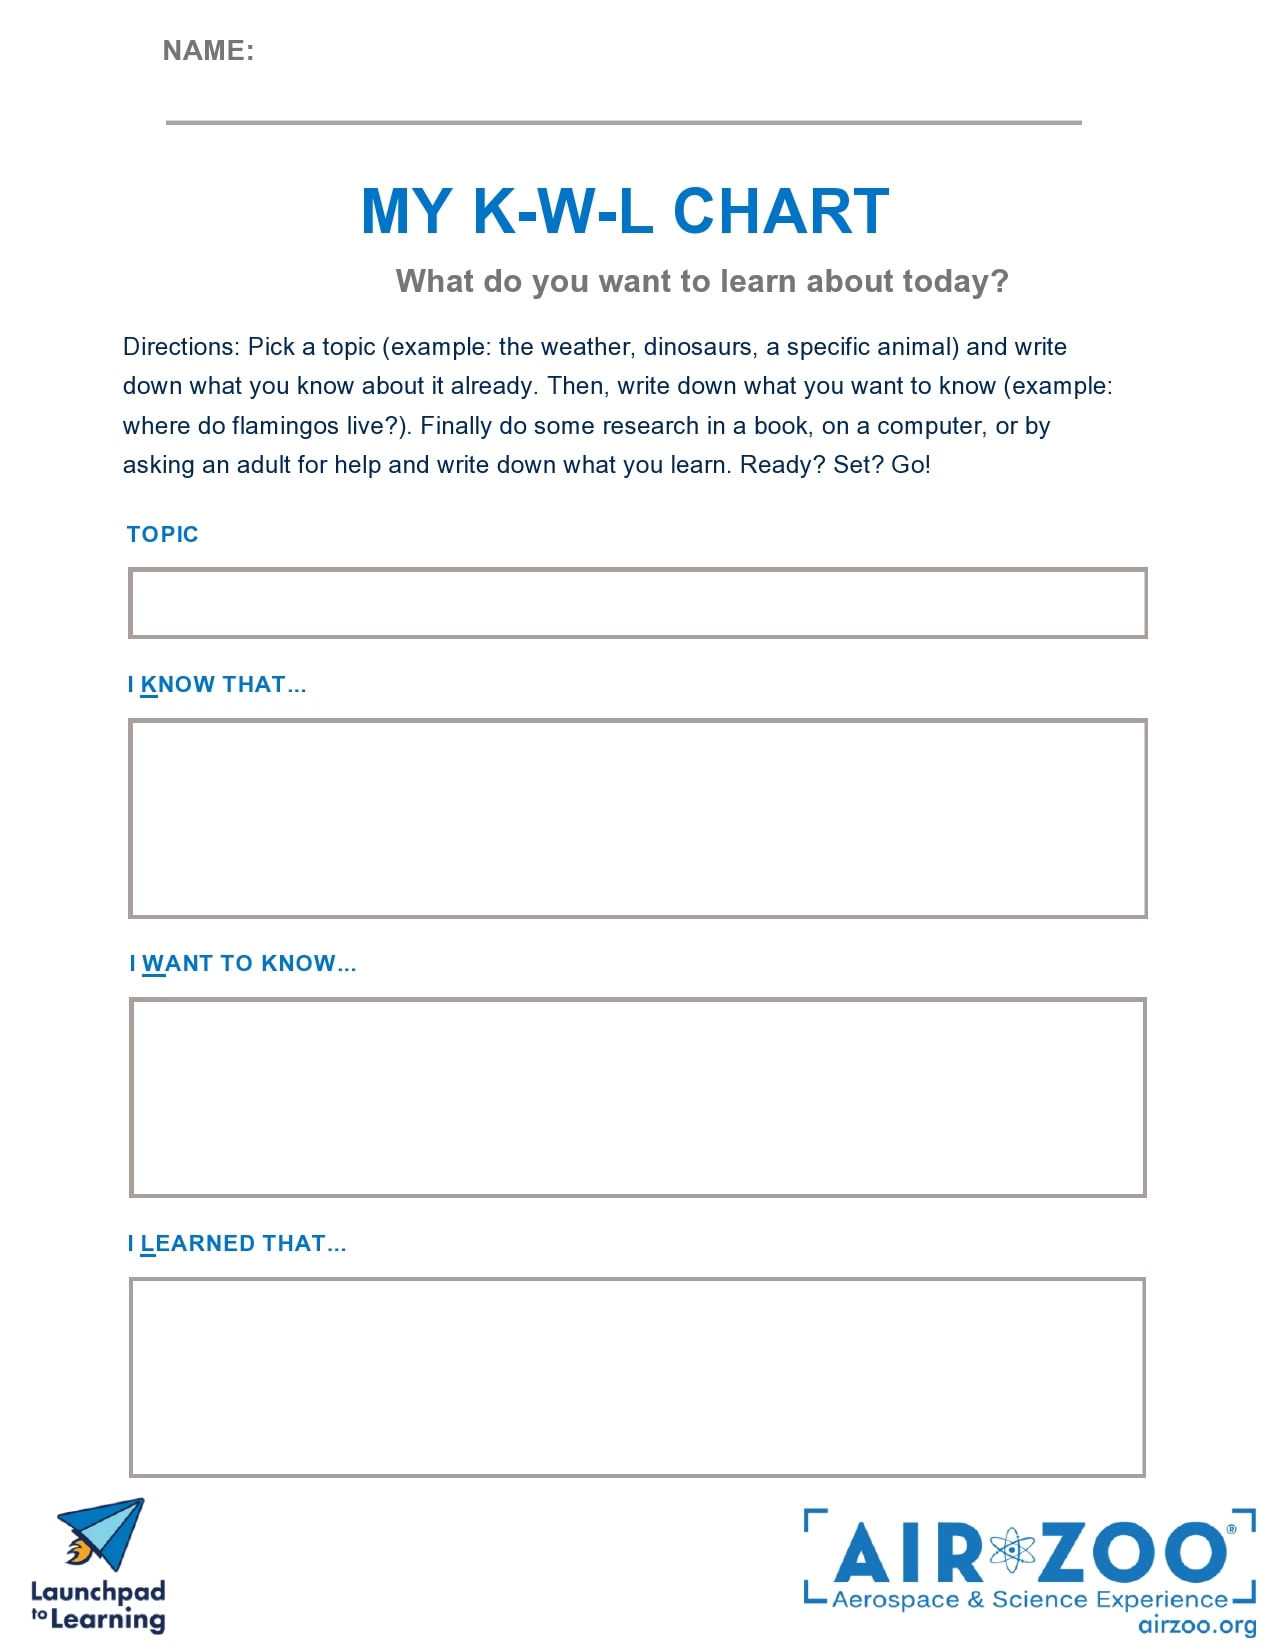
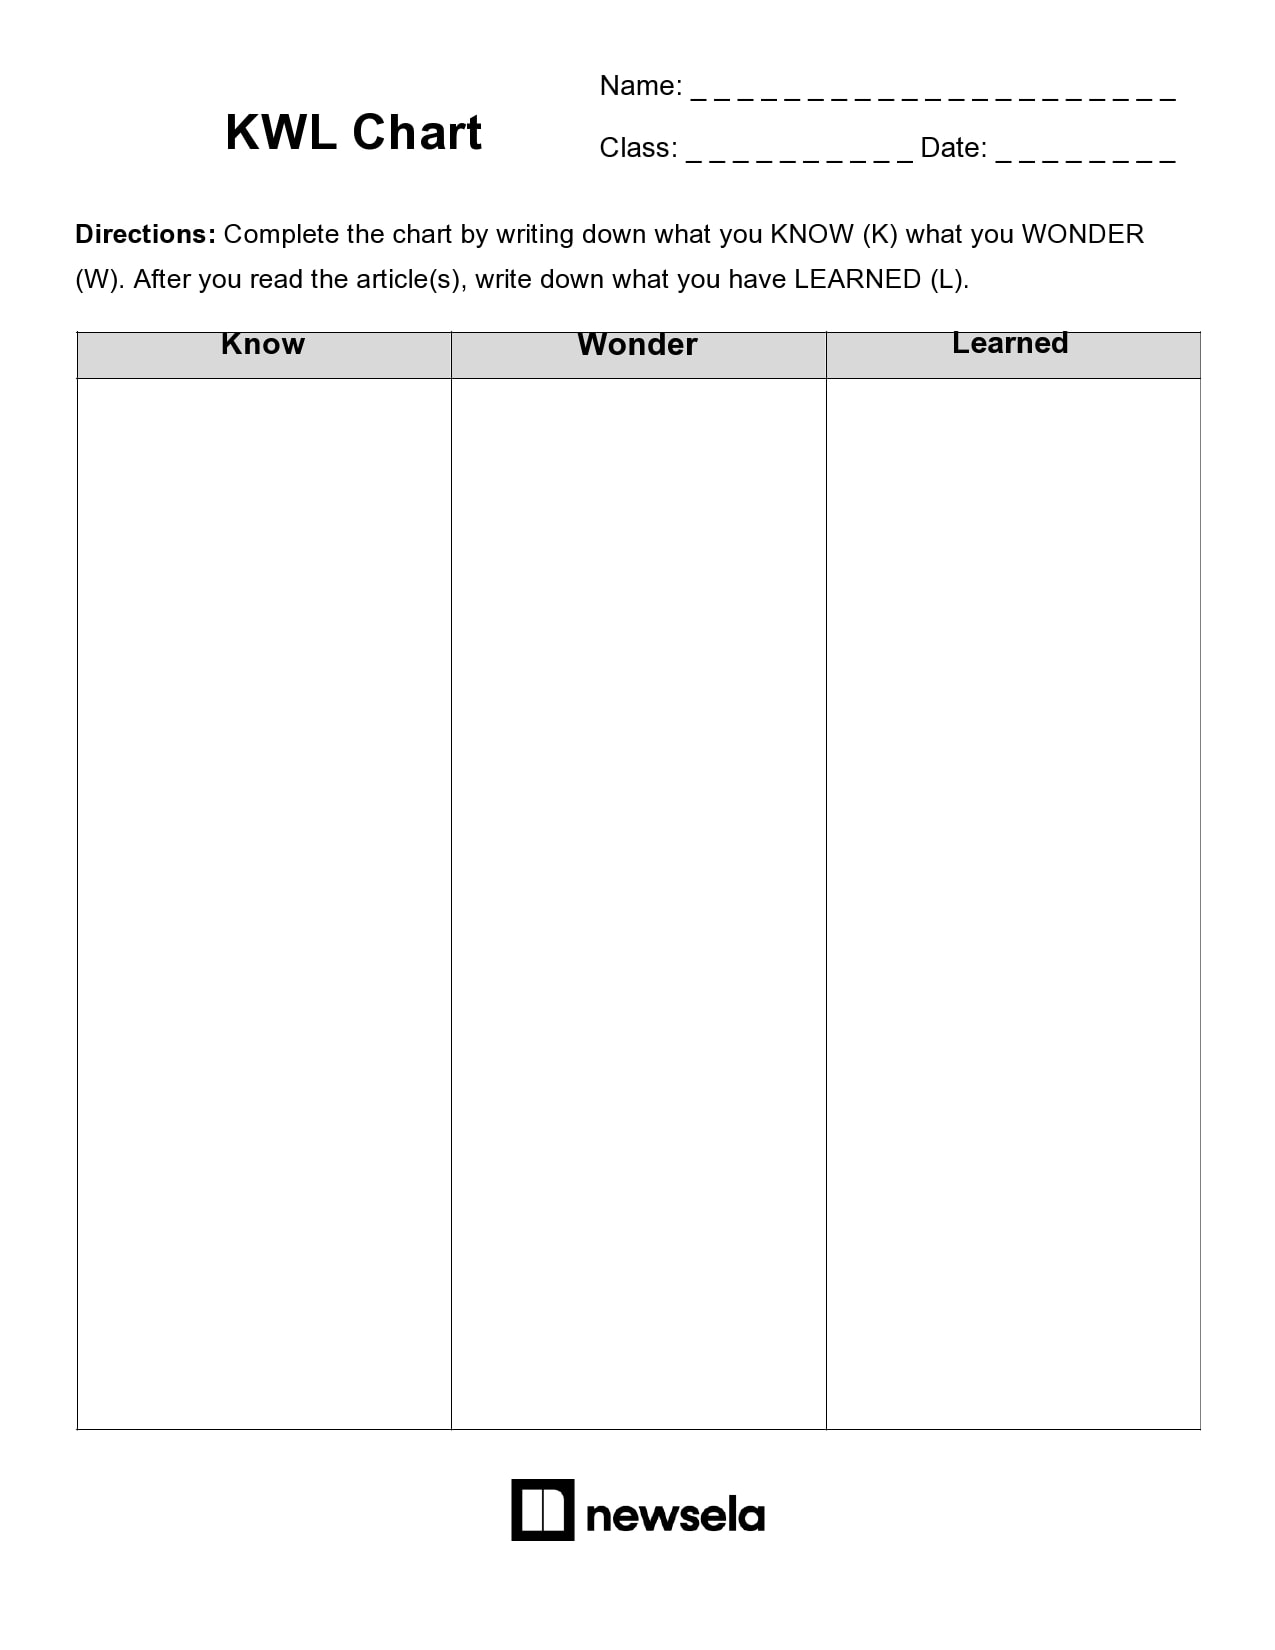
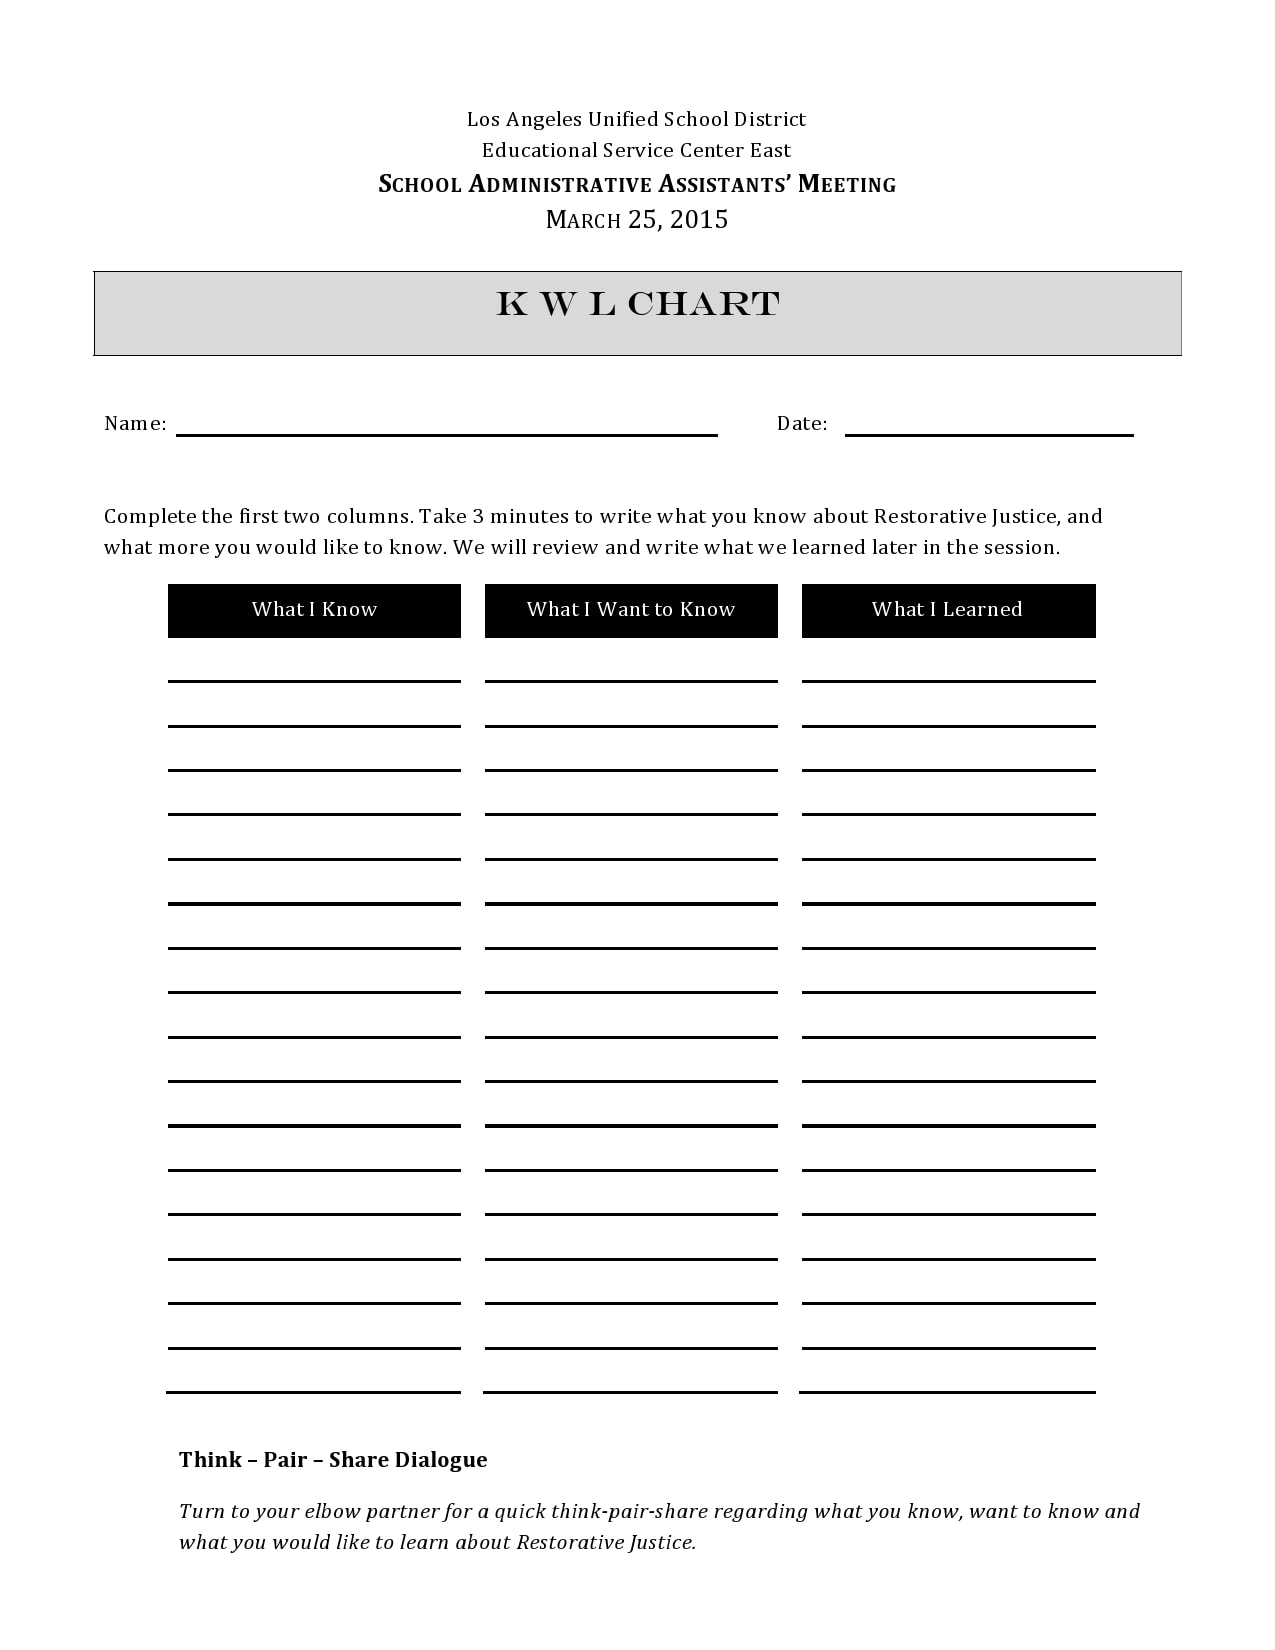
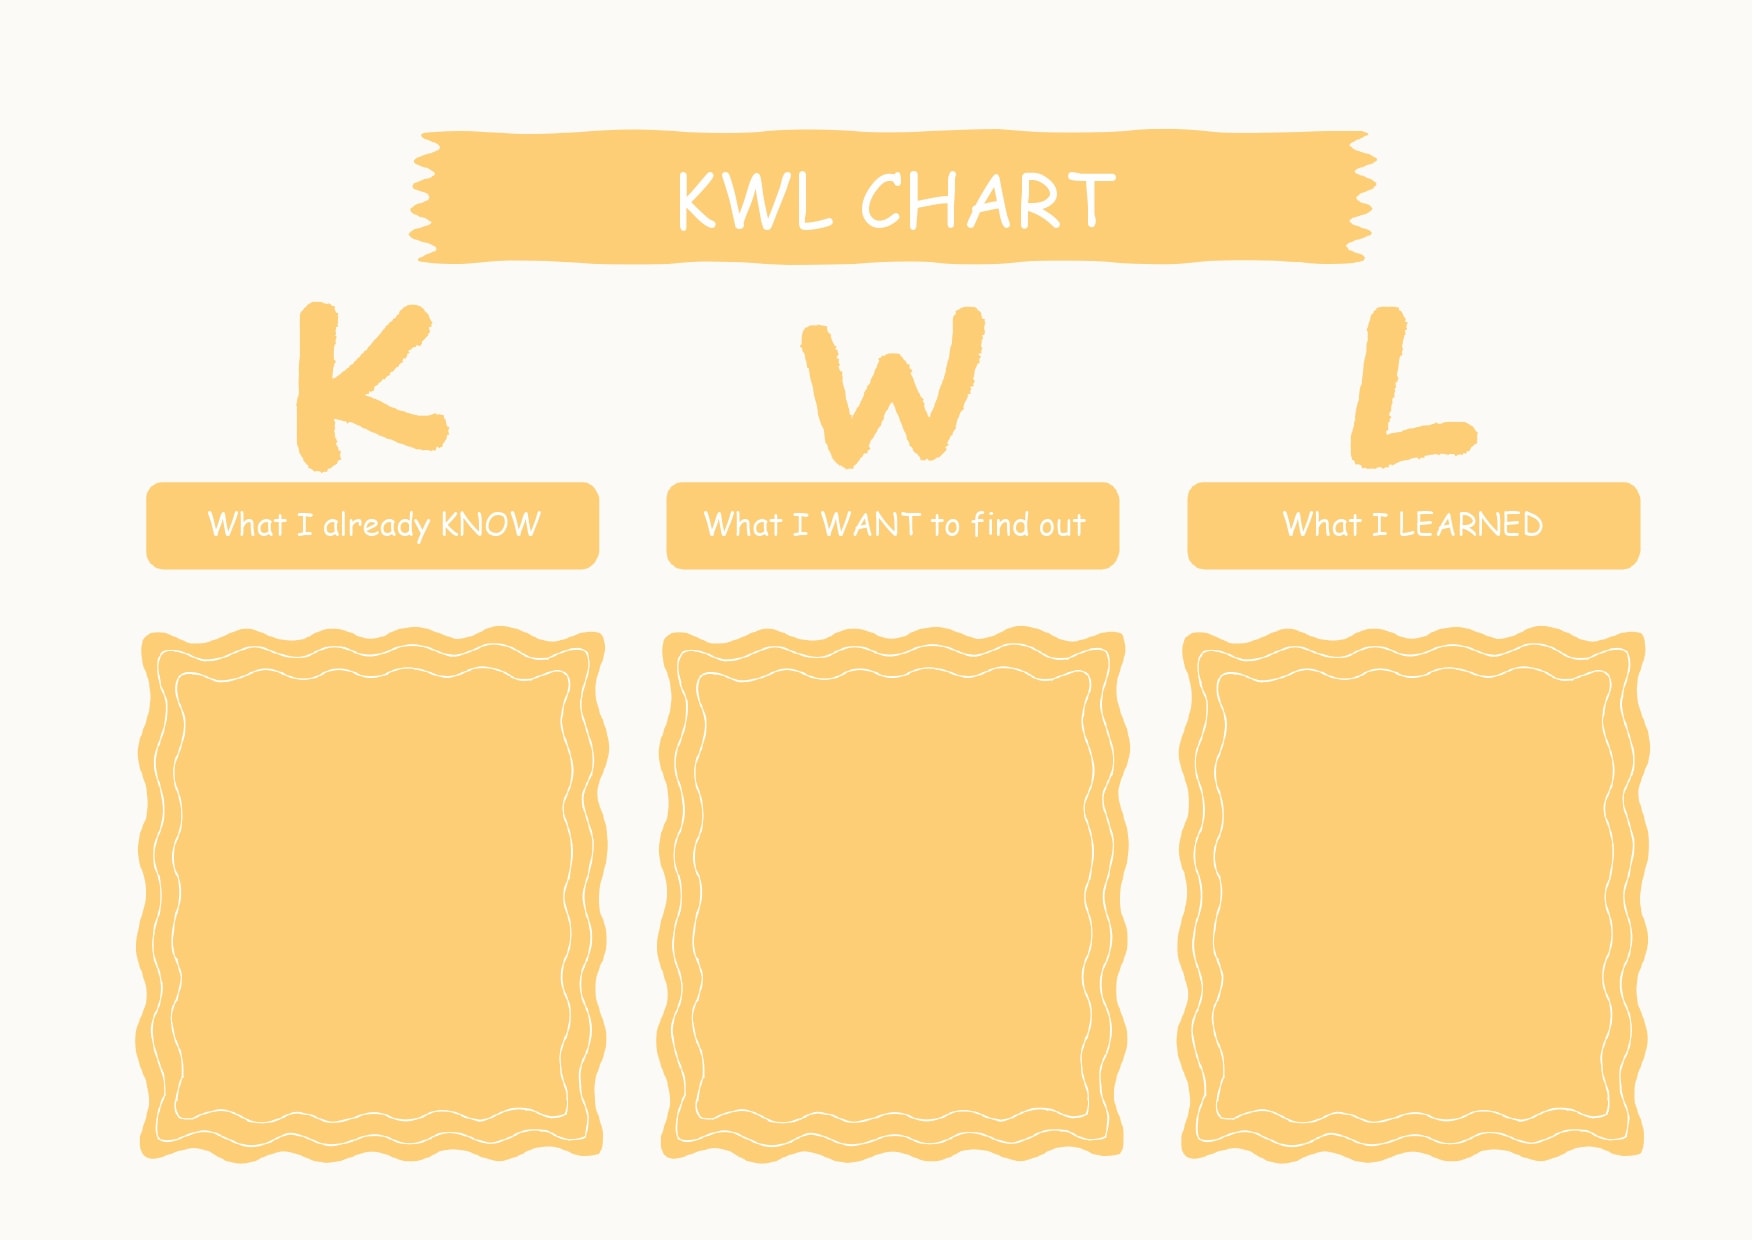
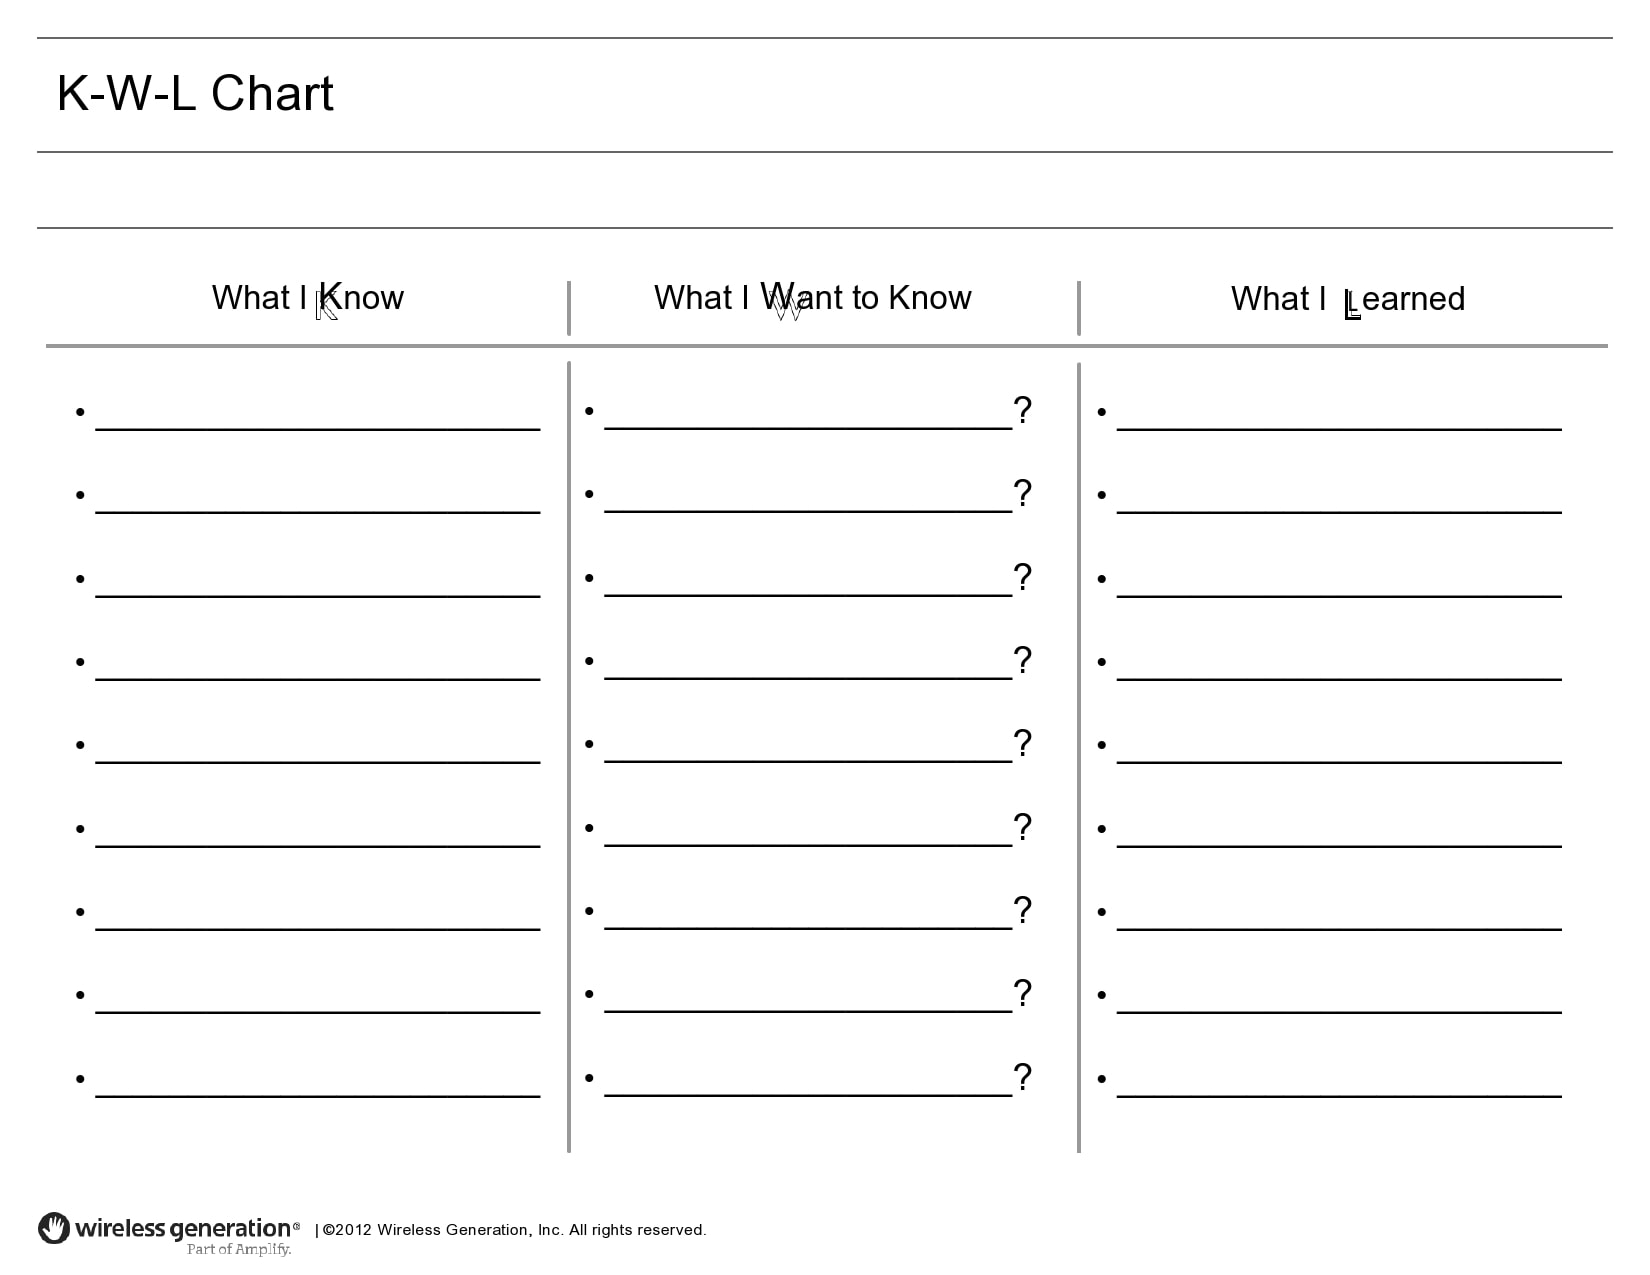
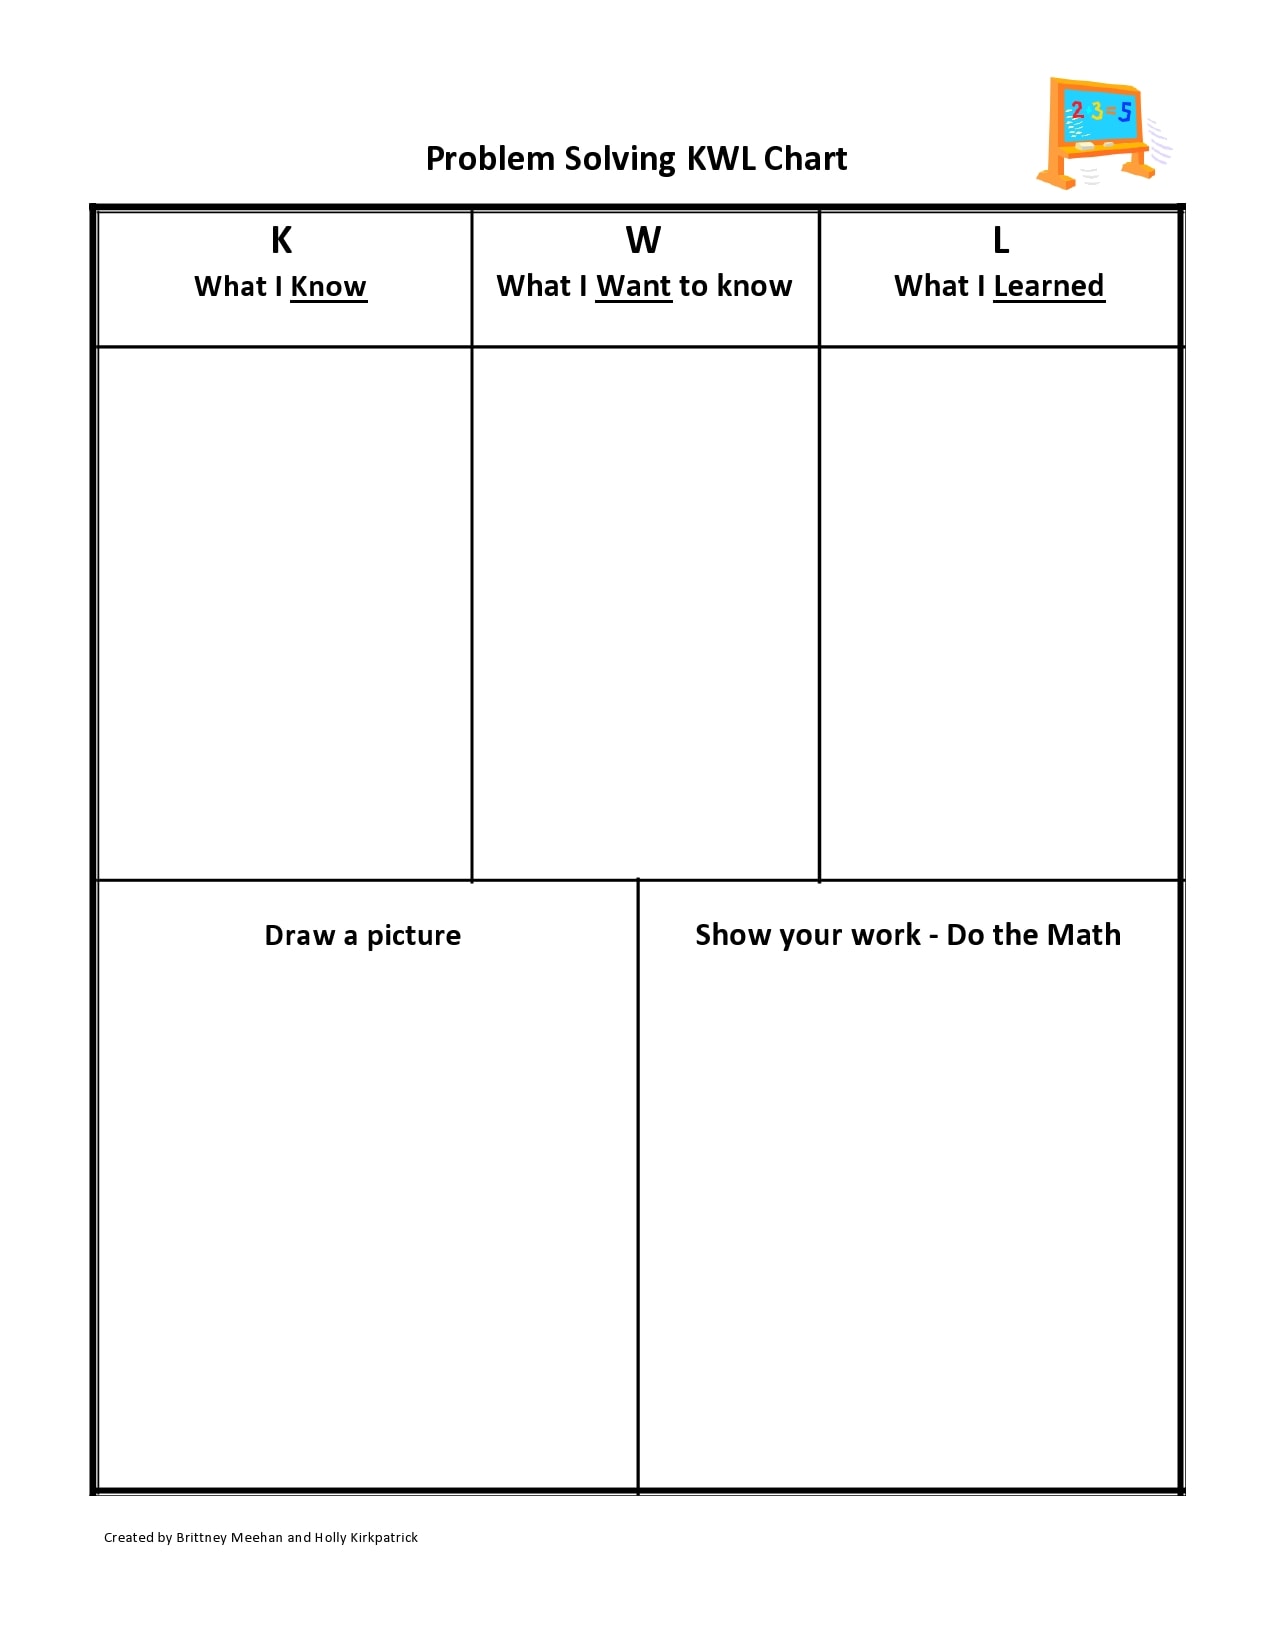
Educators should constantly find ways to improve the learning process for themselves and their students. The education landscape is changing daily and this has created a need to innovate consistently. This is important to enhance the learning process and conduct classes in an organized way. A very helpful tool you can use as an educator is a KWL sheet. It helps students organize information before, during, and after each of your lessons. The acronym “KWL” means “Know,” “Want to know,” and “Learned.” The chart encourages students to think about what they know about a topic, what they want to know, and what they have learned after your lesson. It’s a note-taking tool that guides students through a 3-step process to make learning more effective.
Contents
KWL Chart Templates

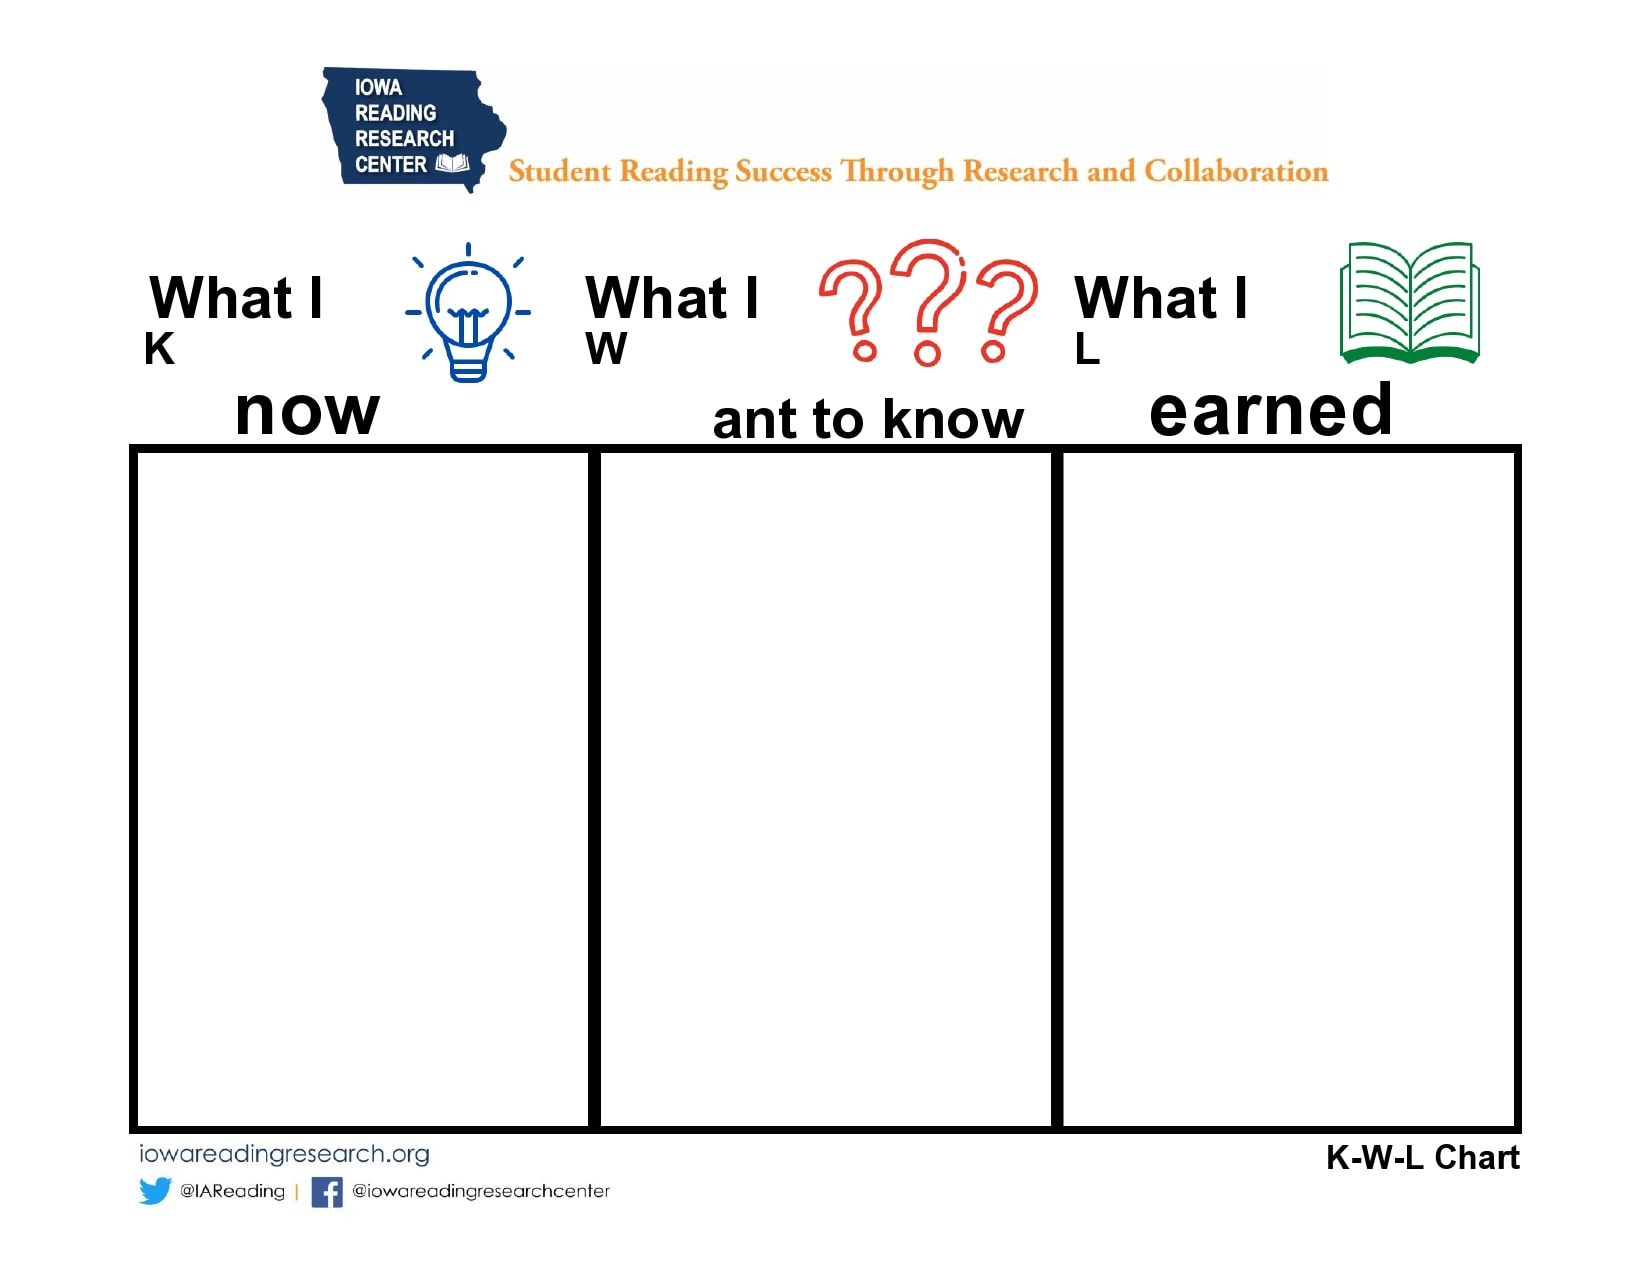
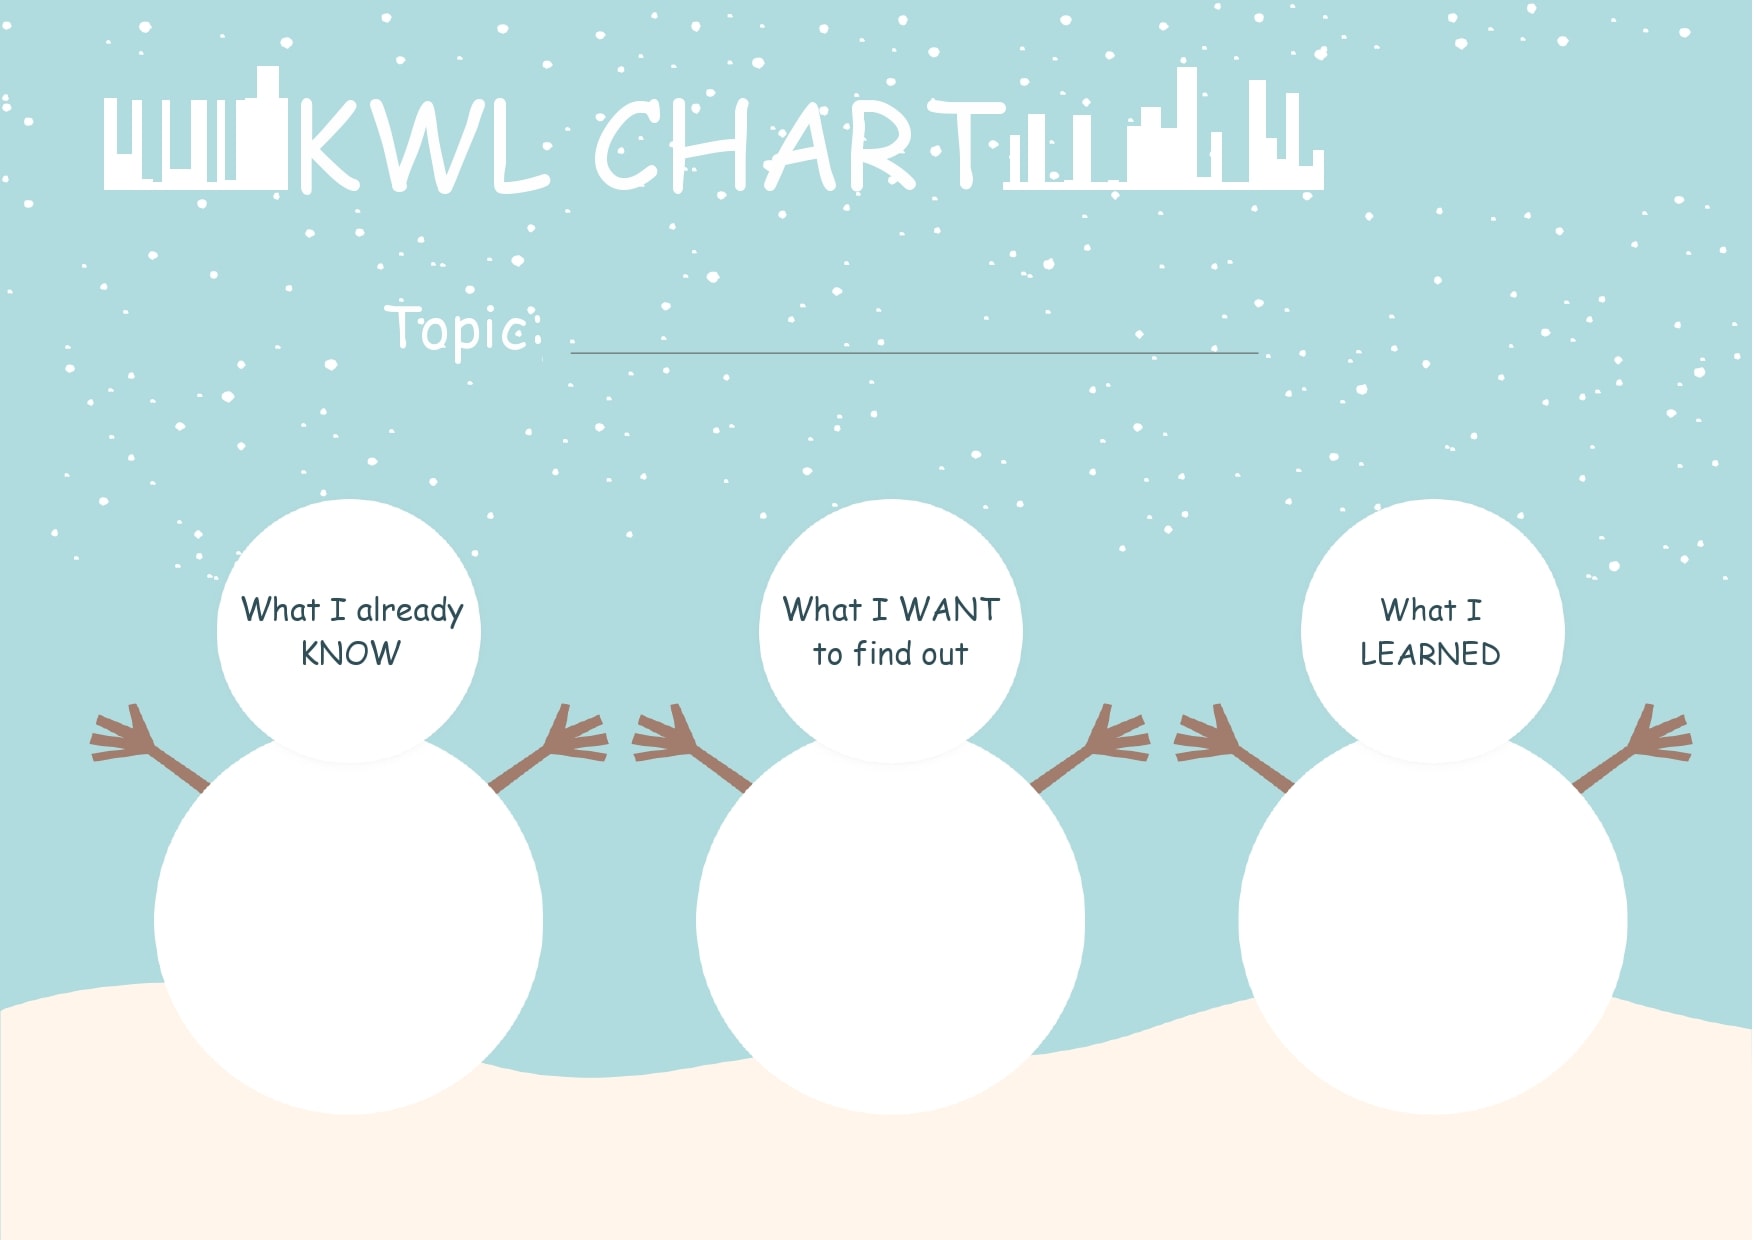
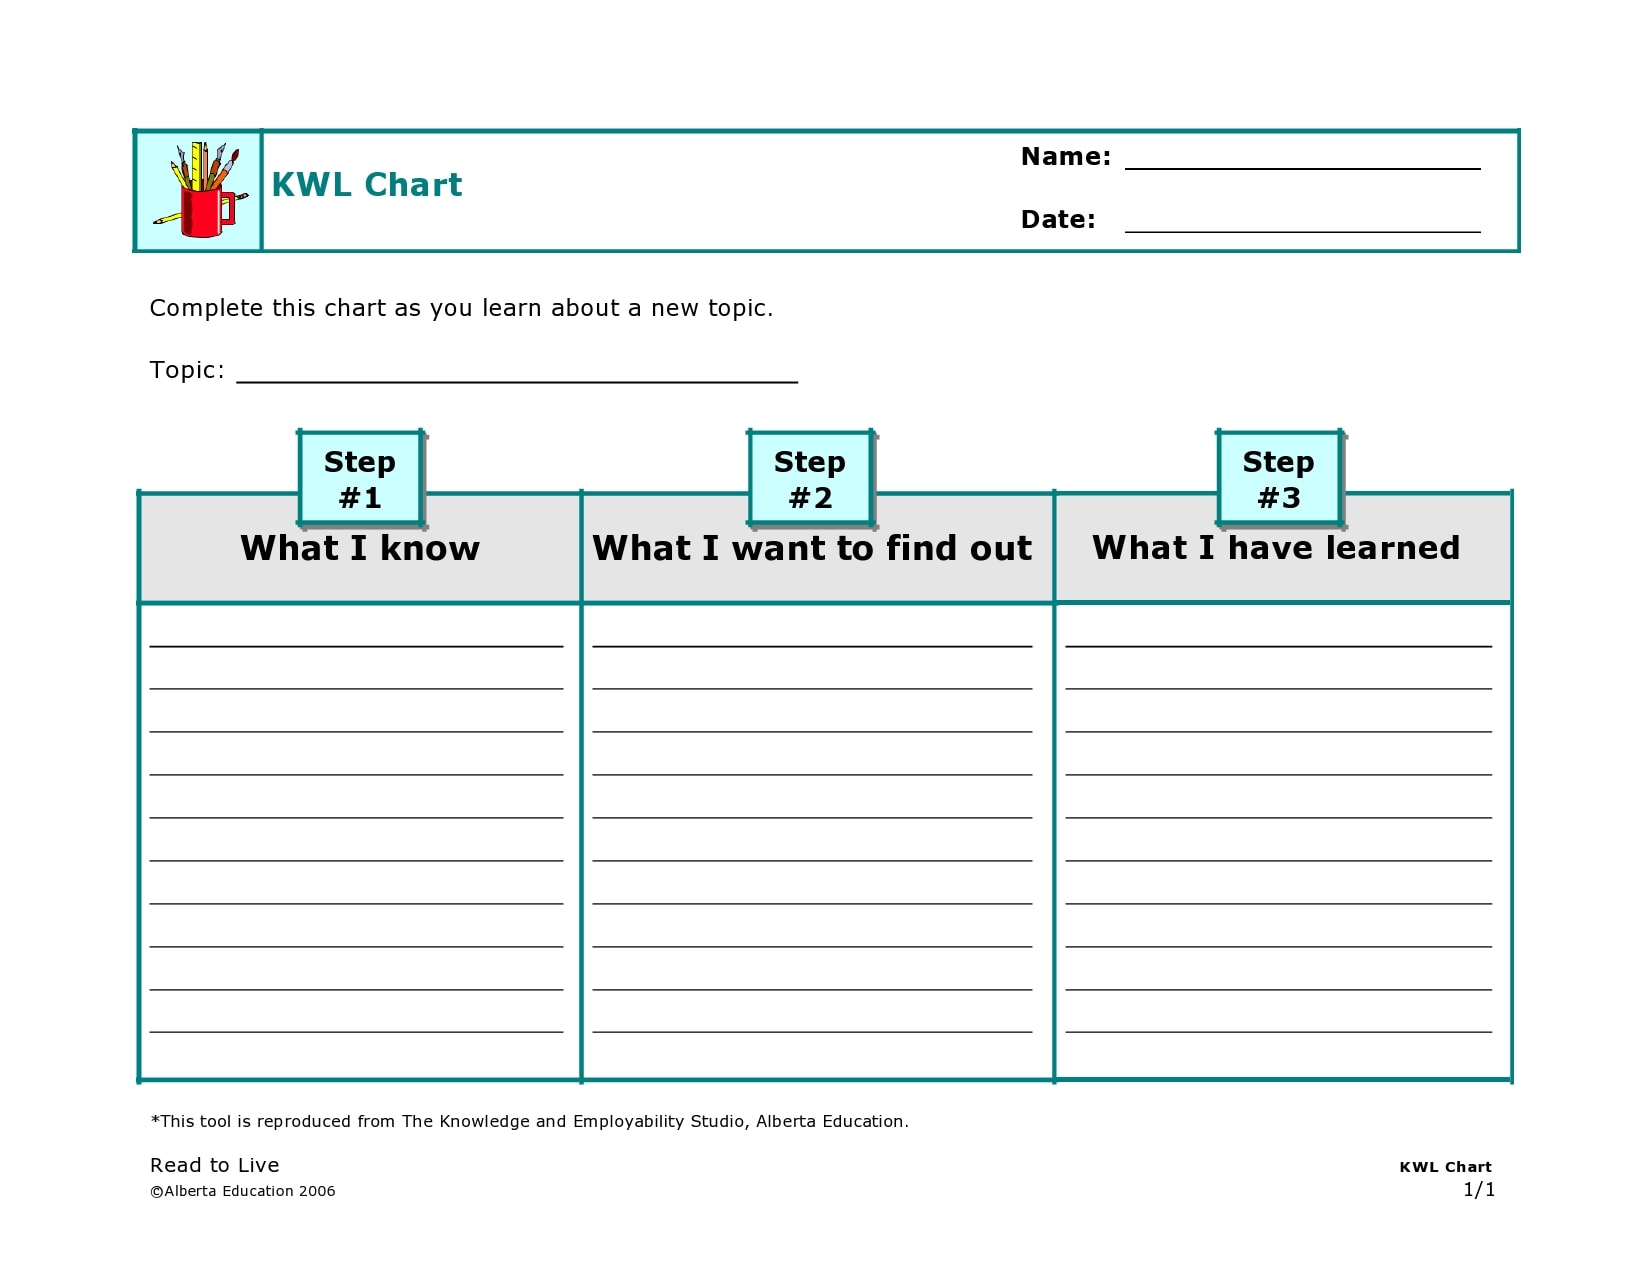
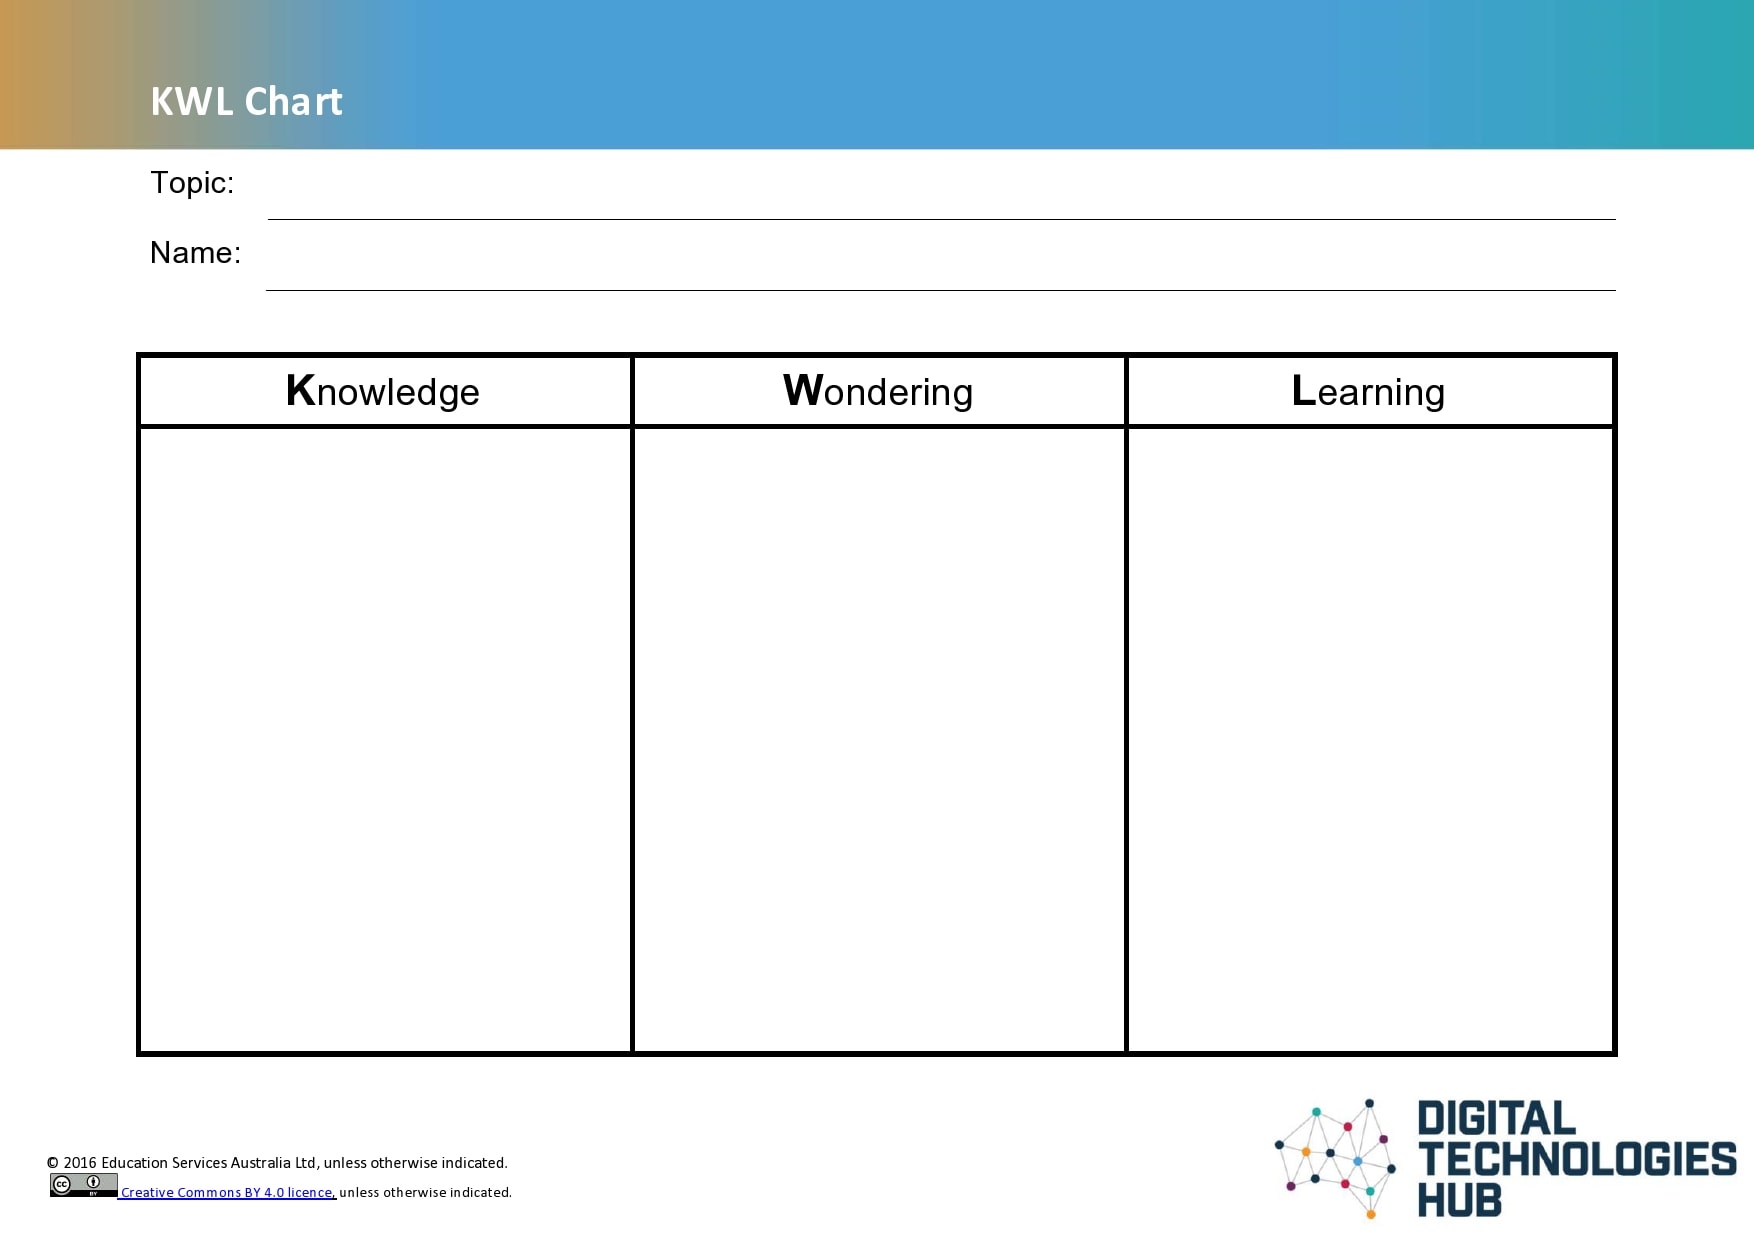
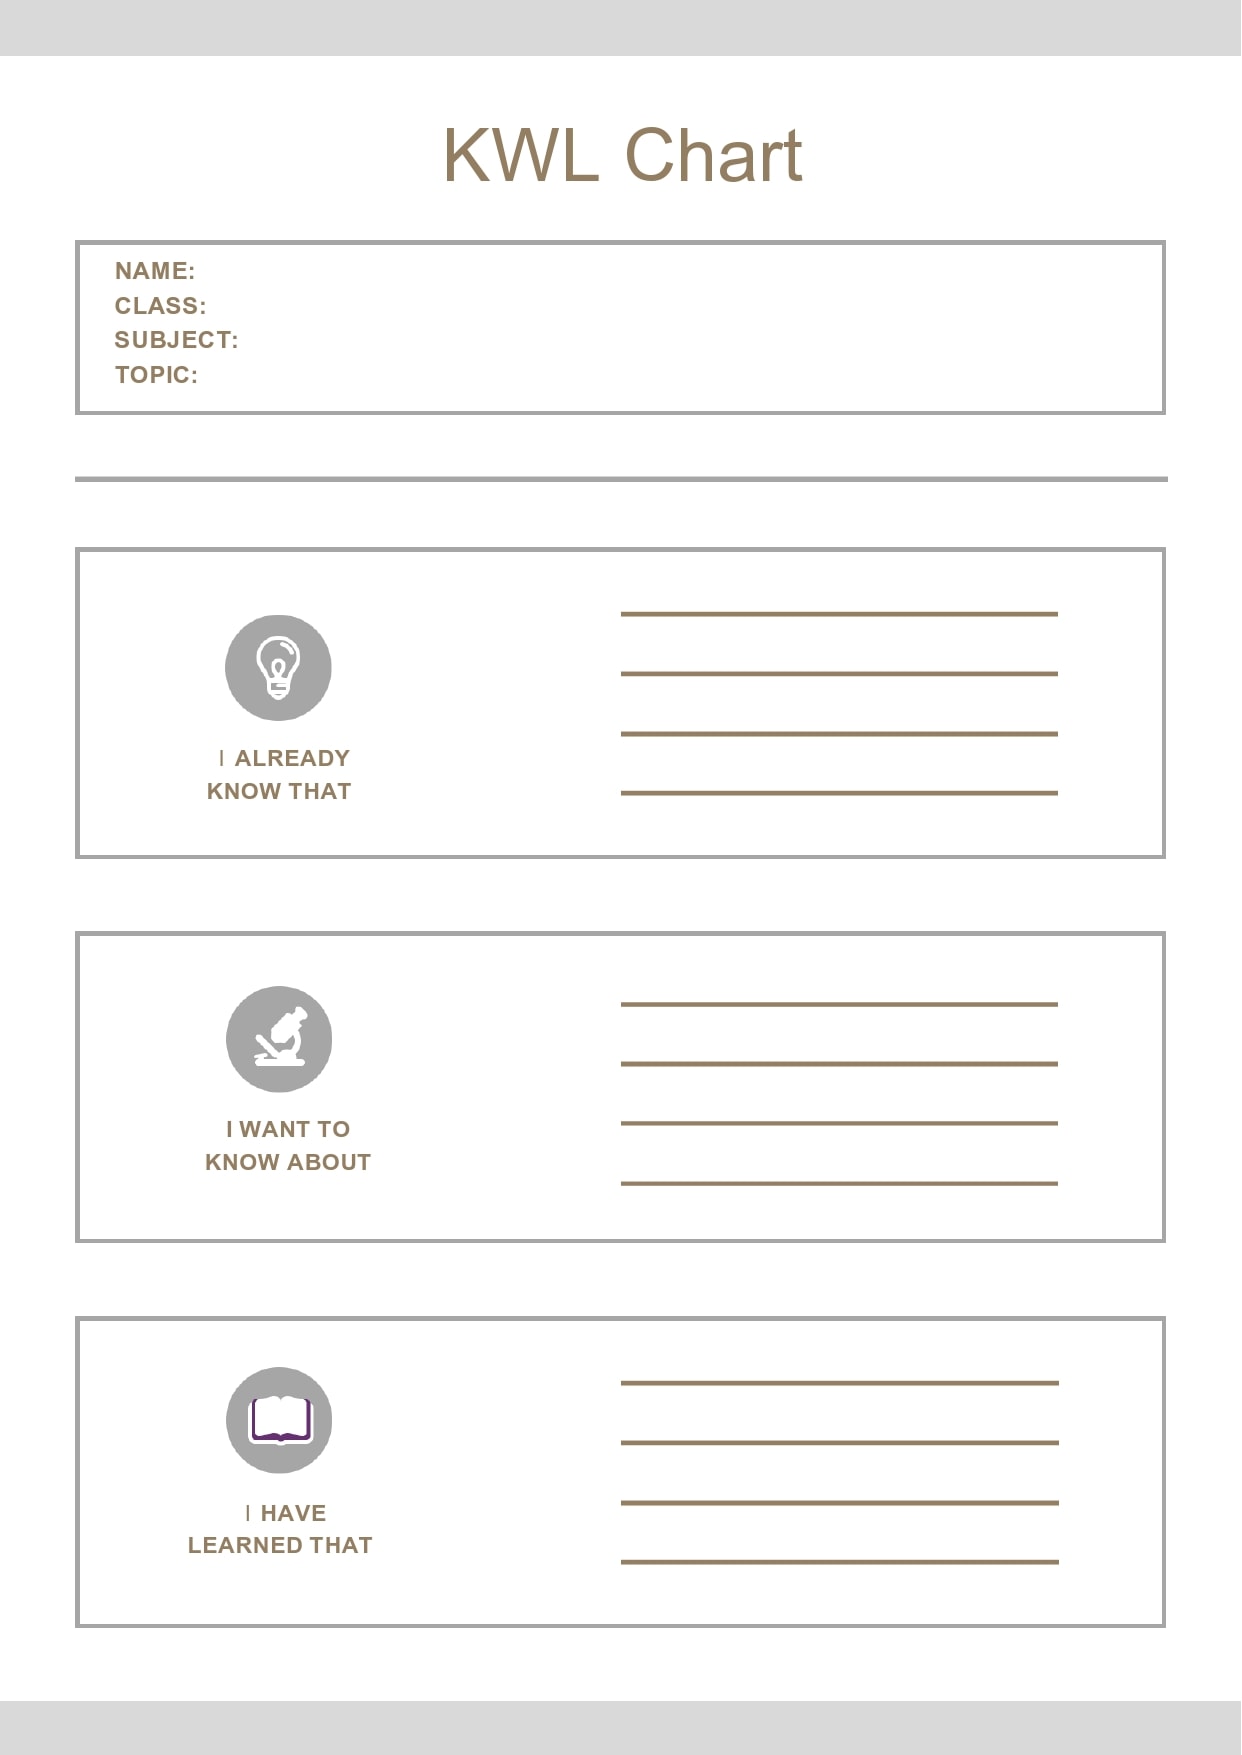
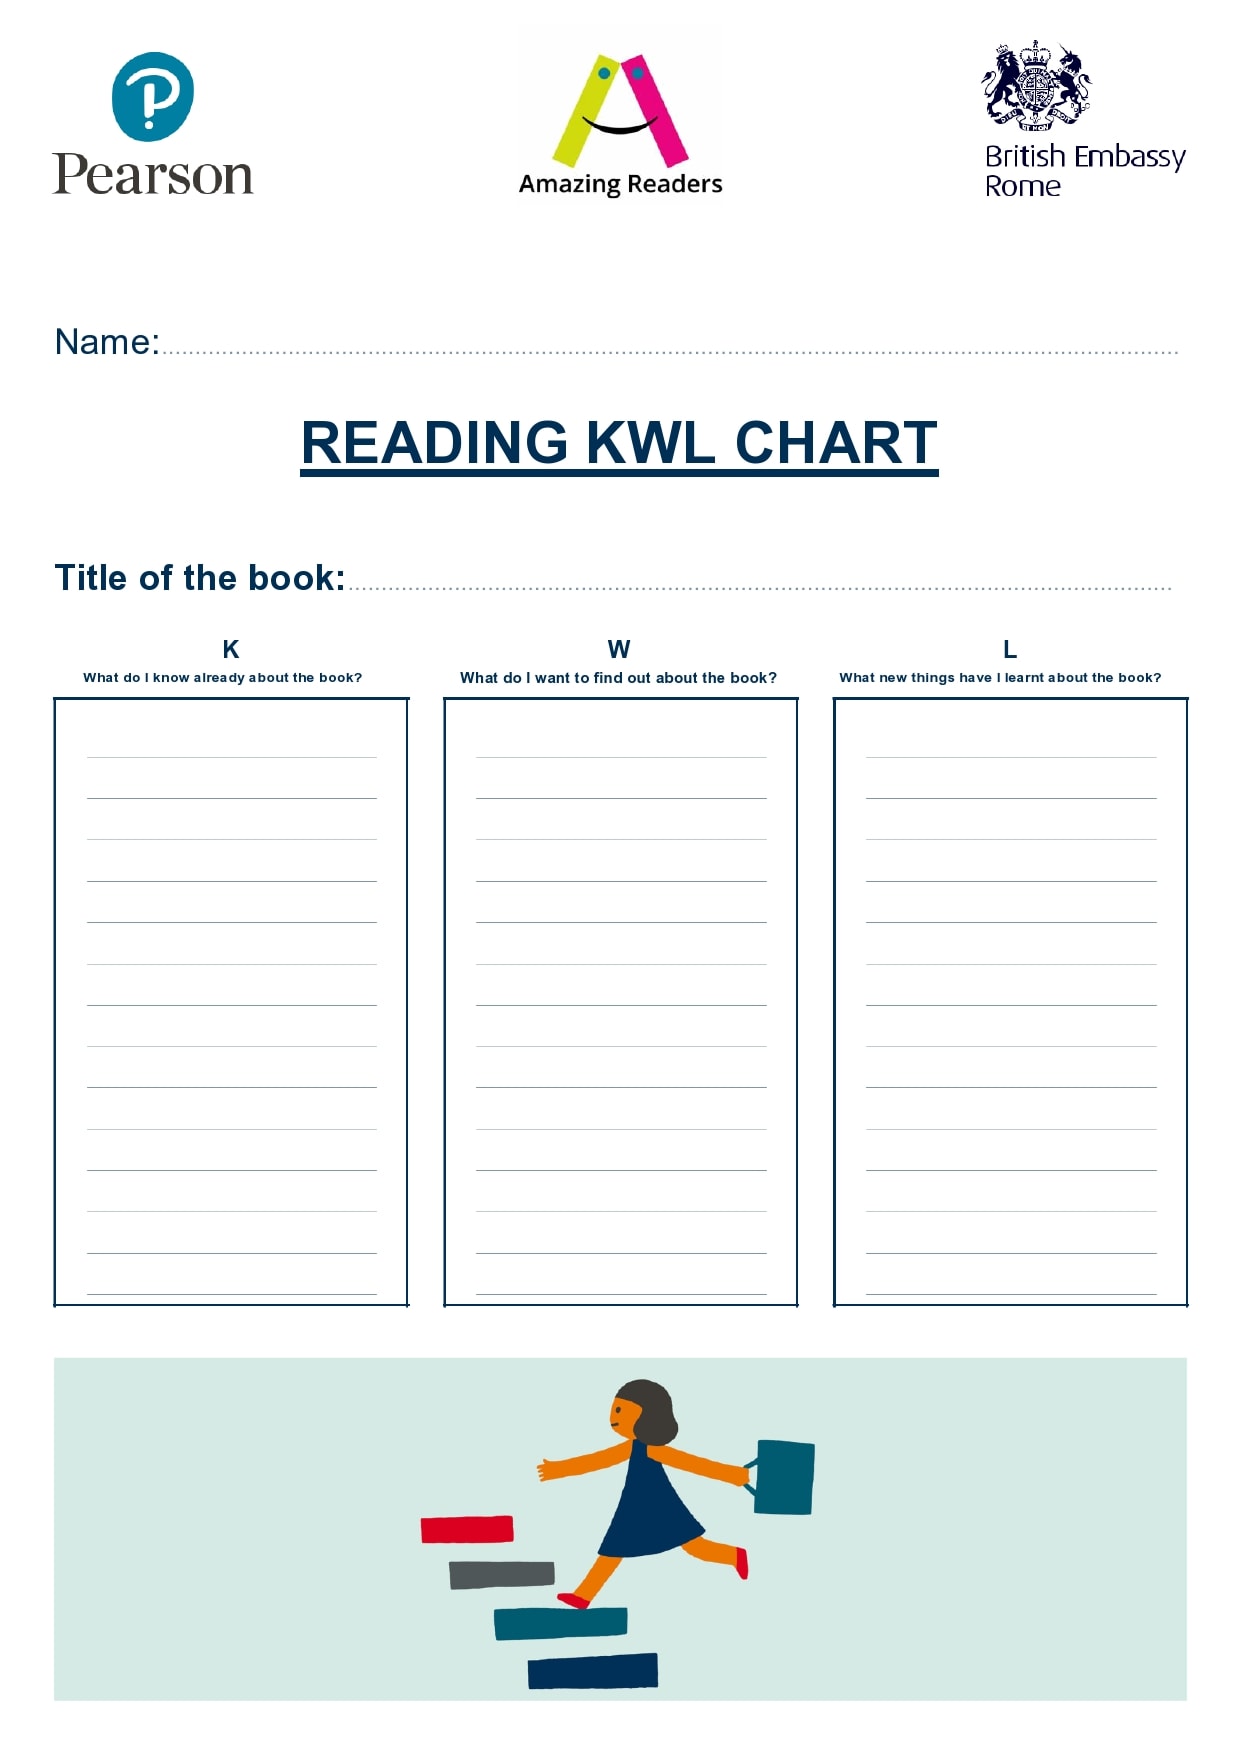
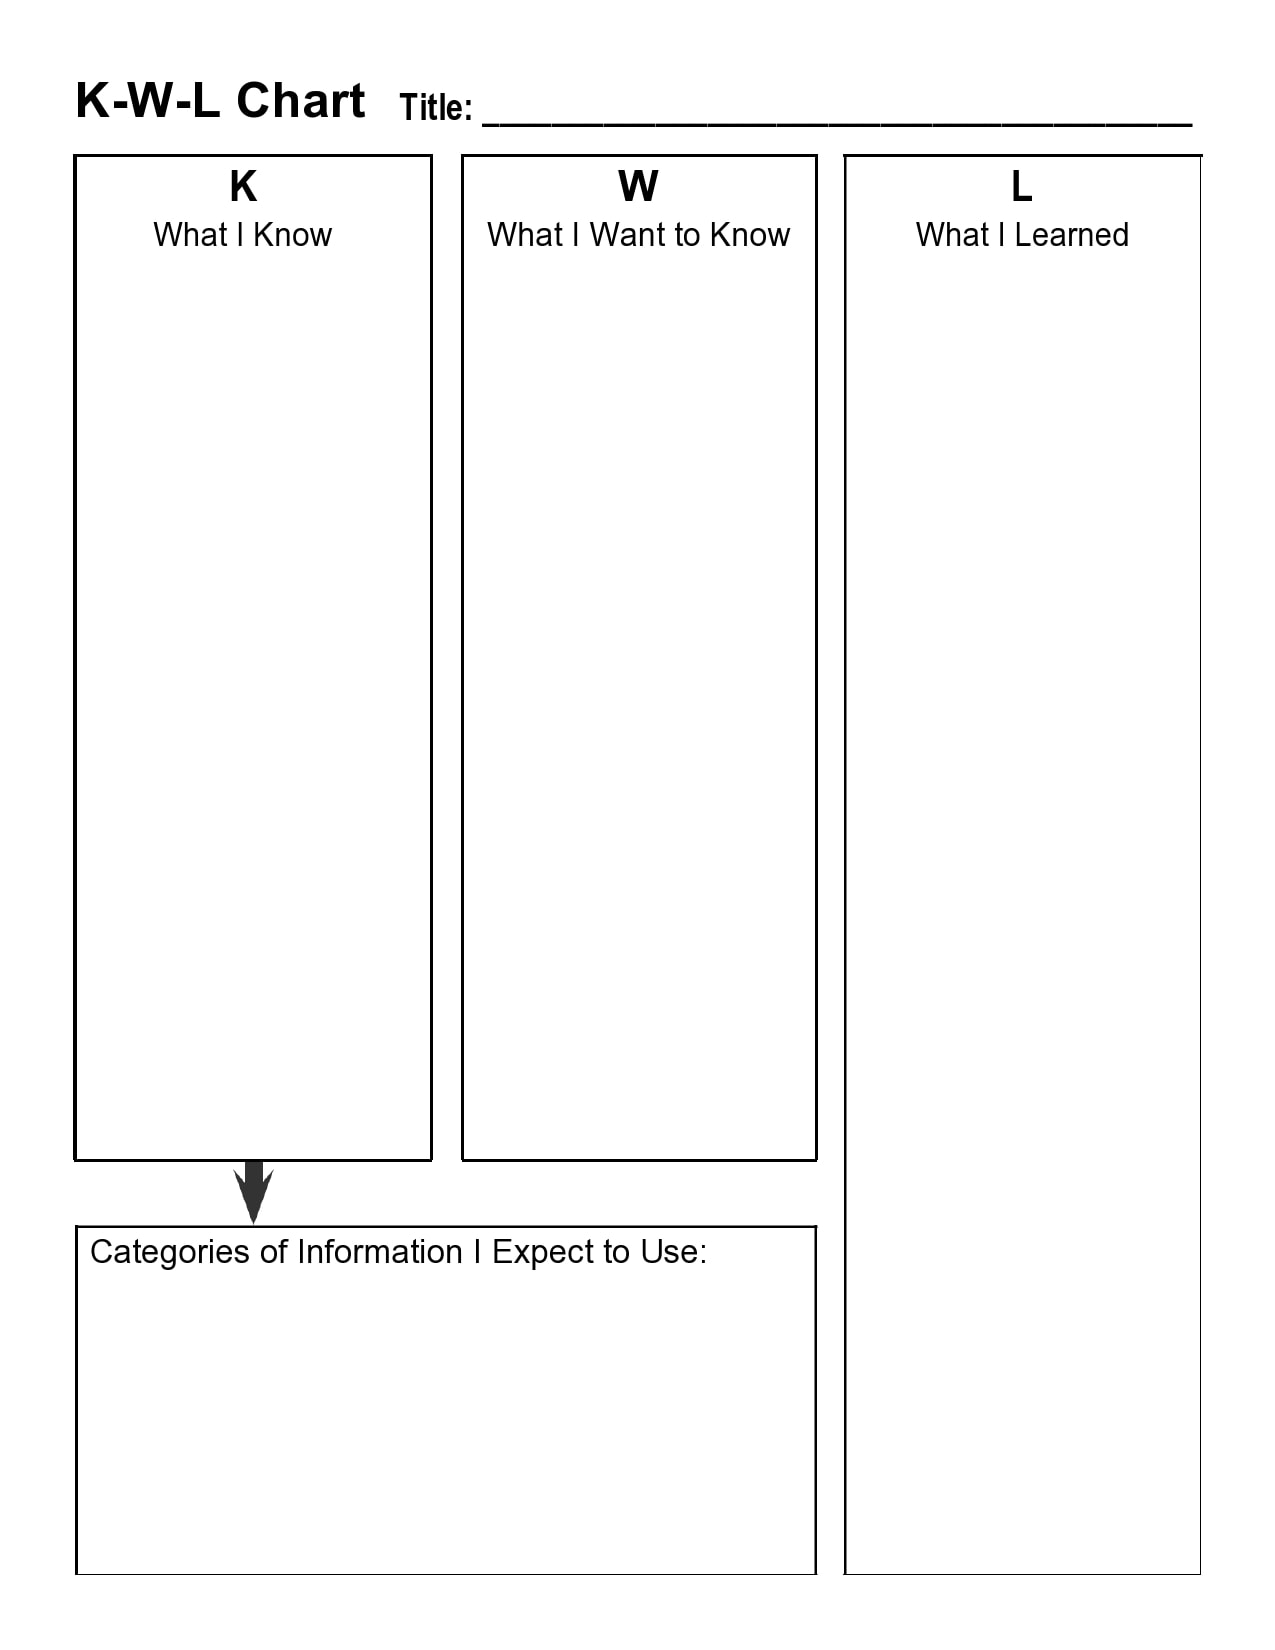
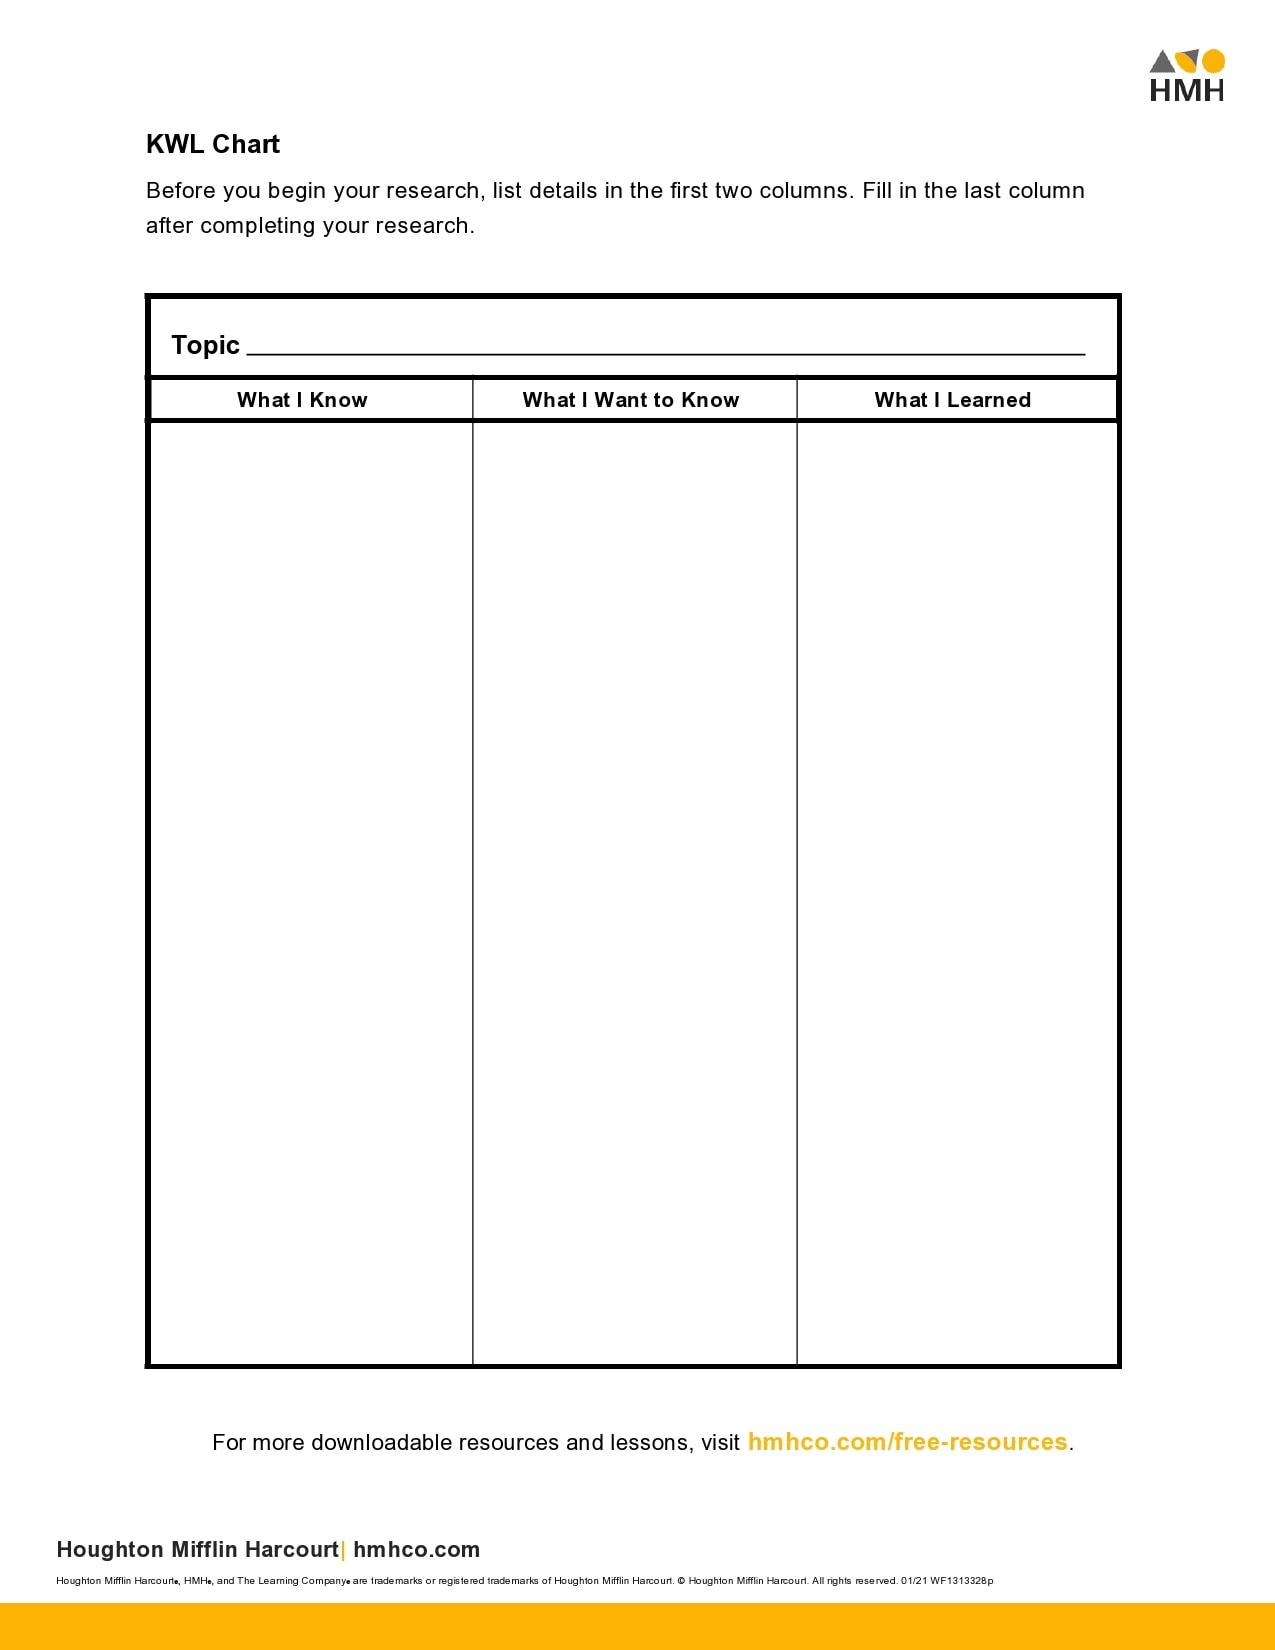
What is a KWL chart?
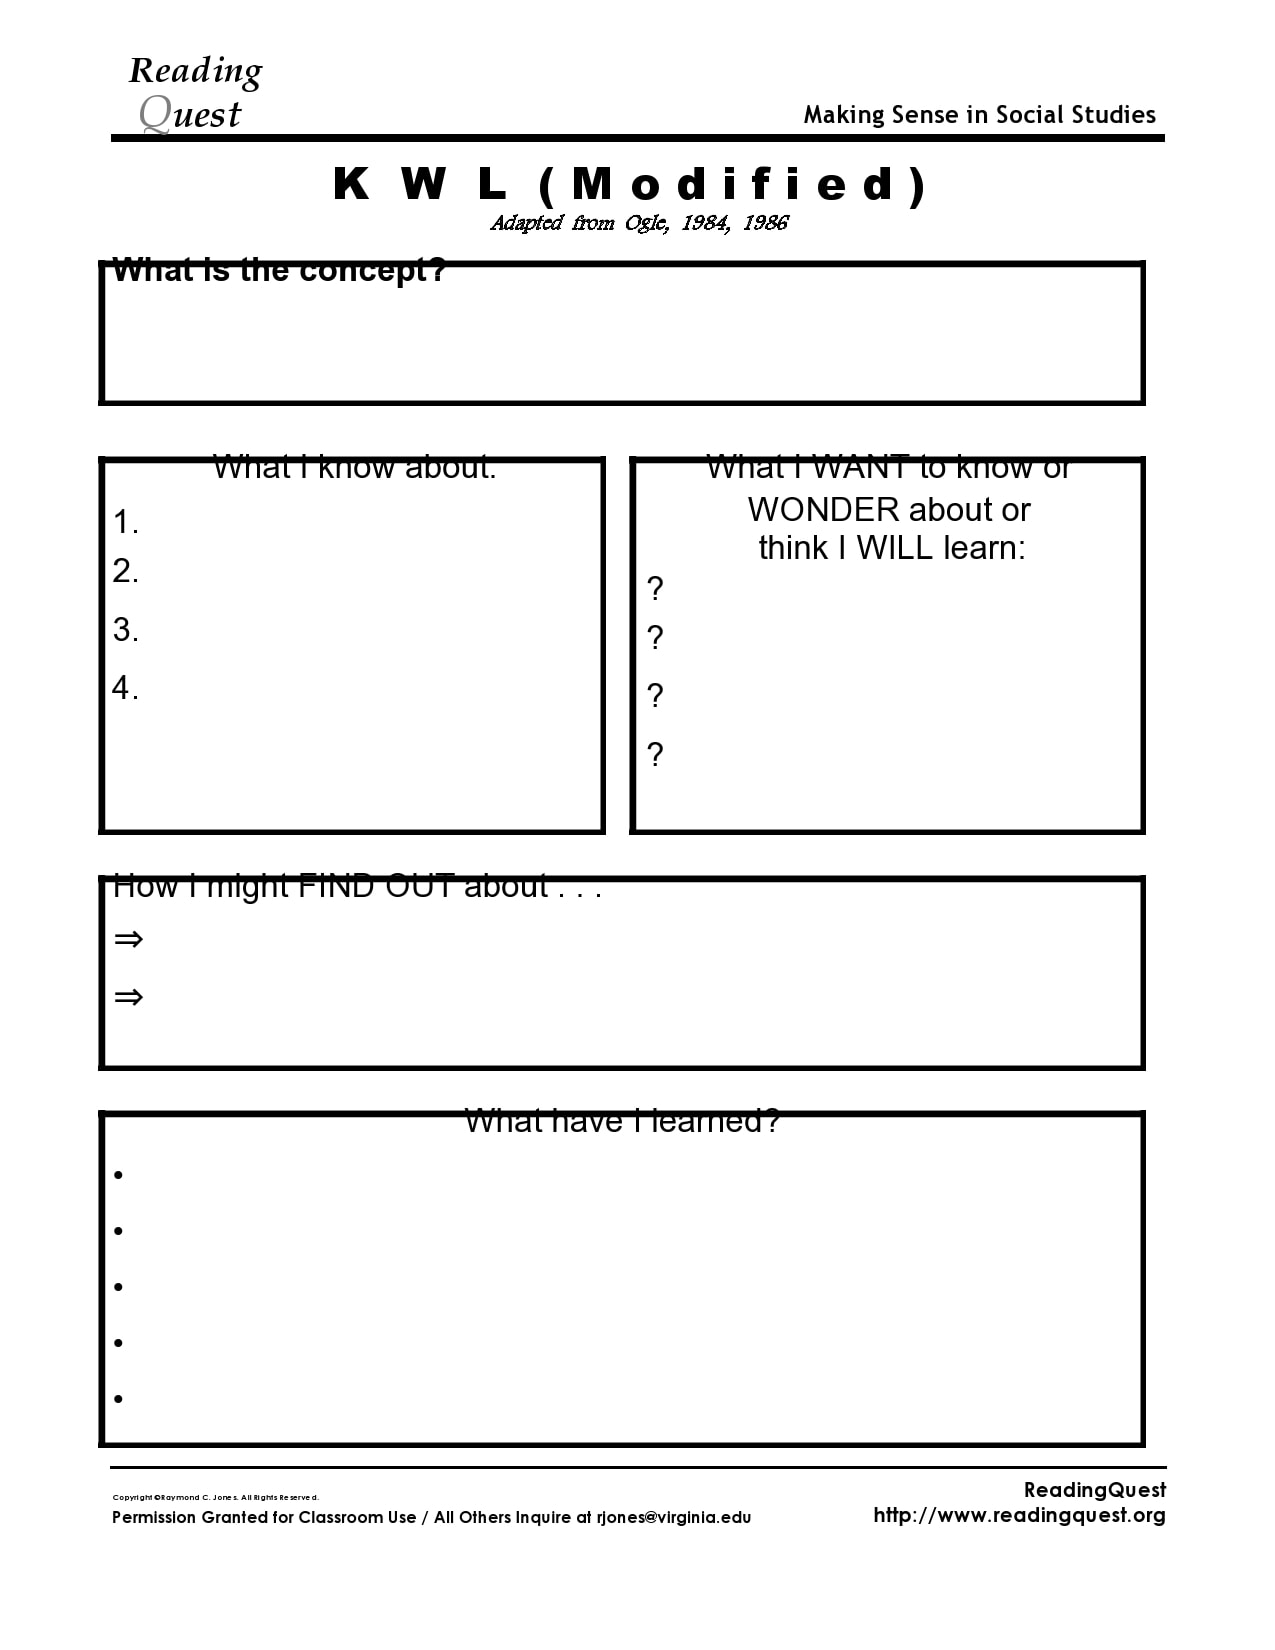
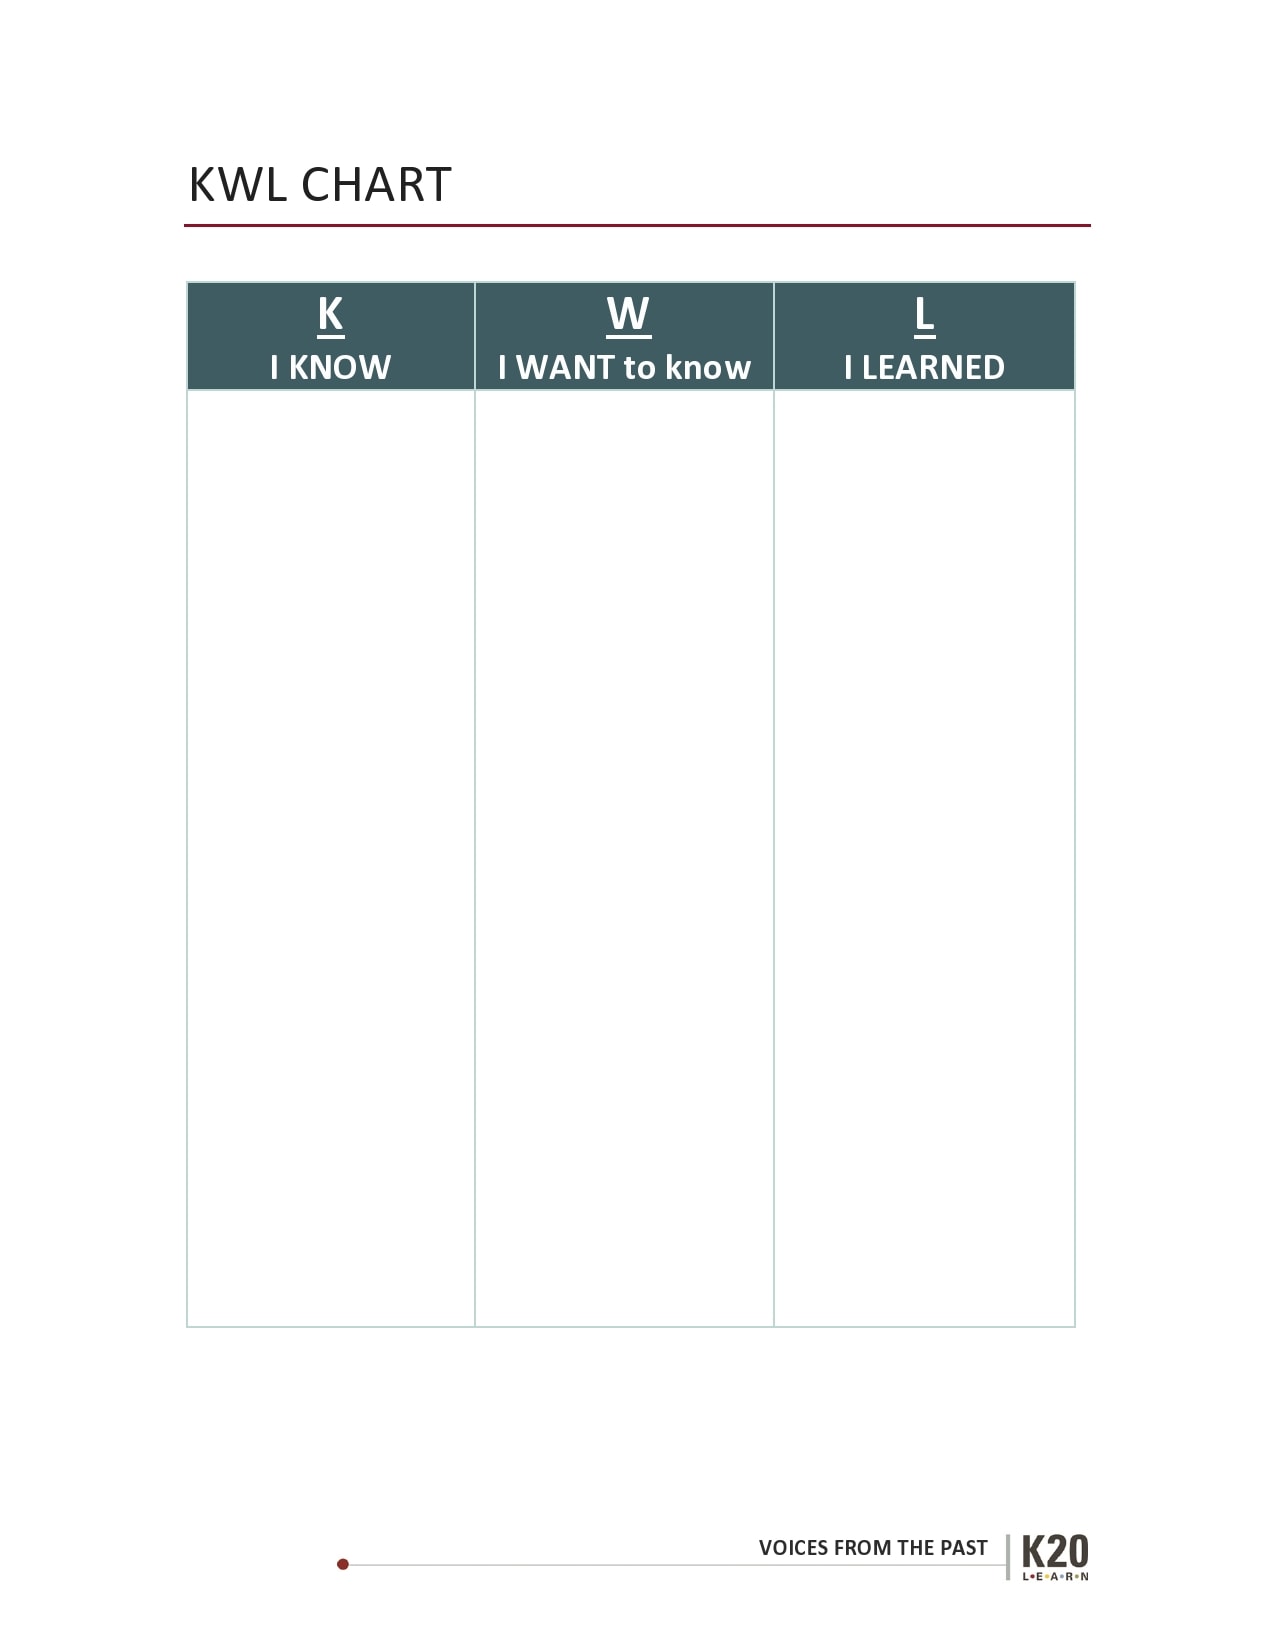
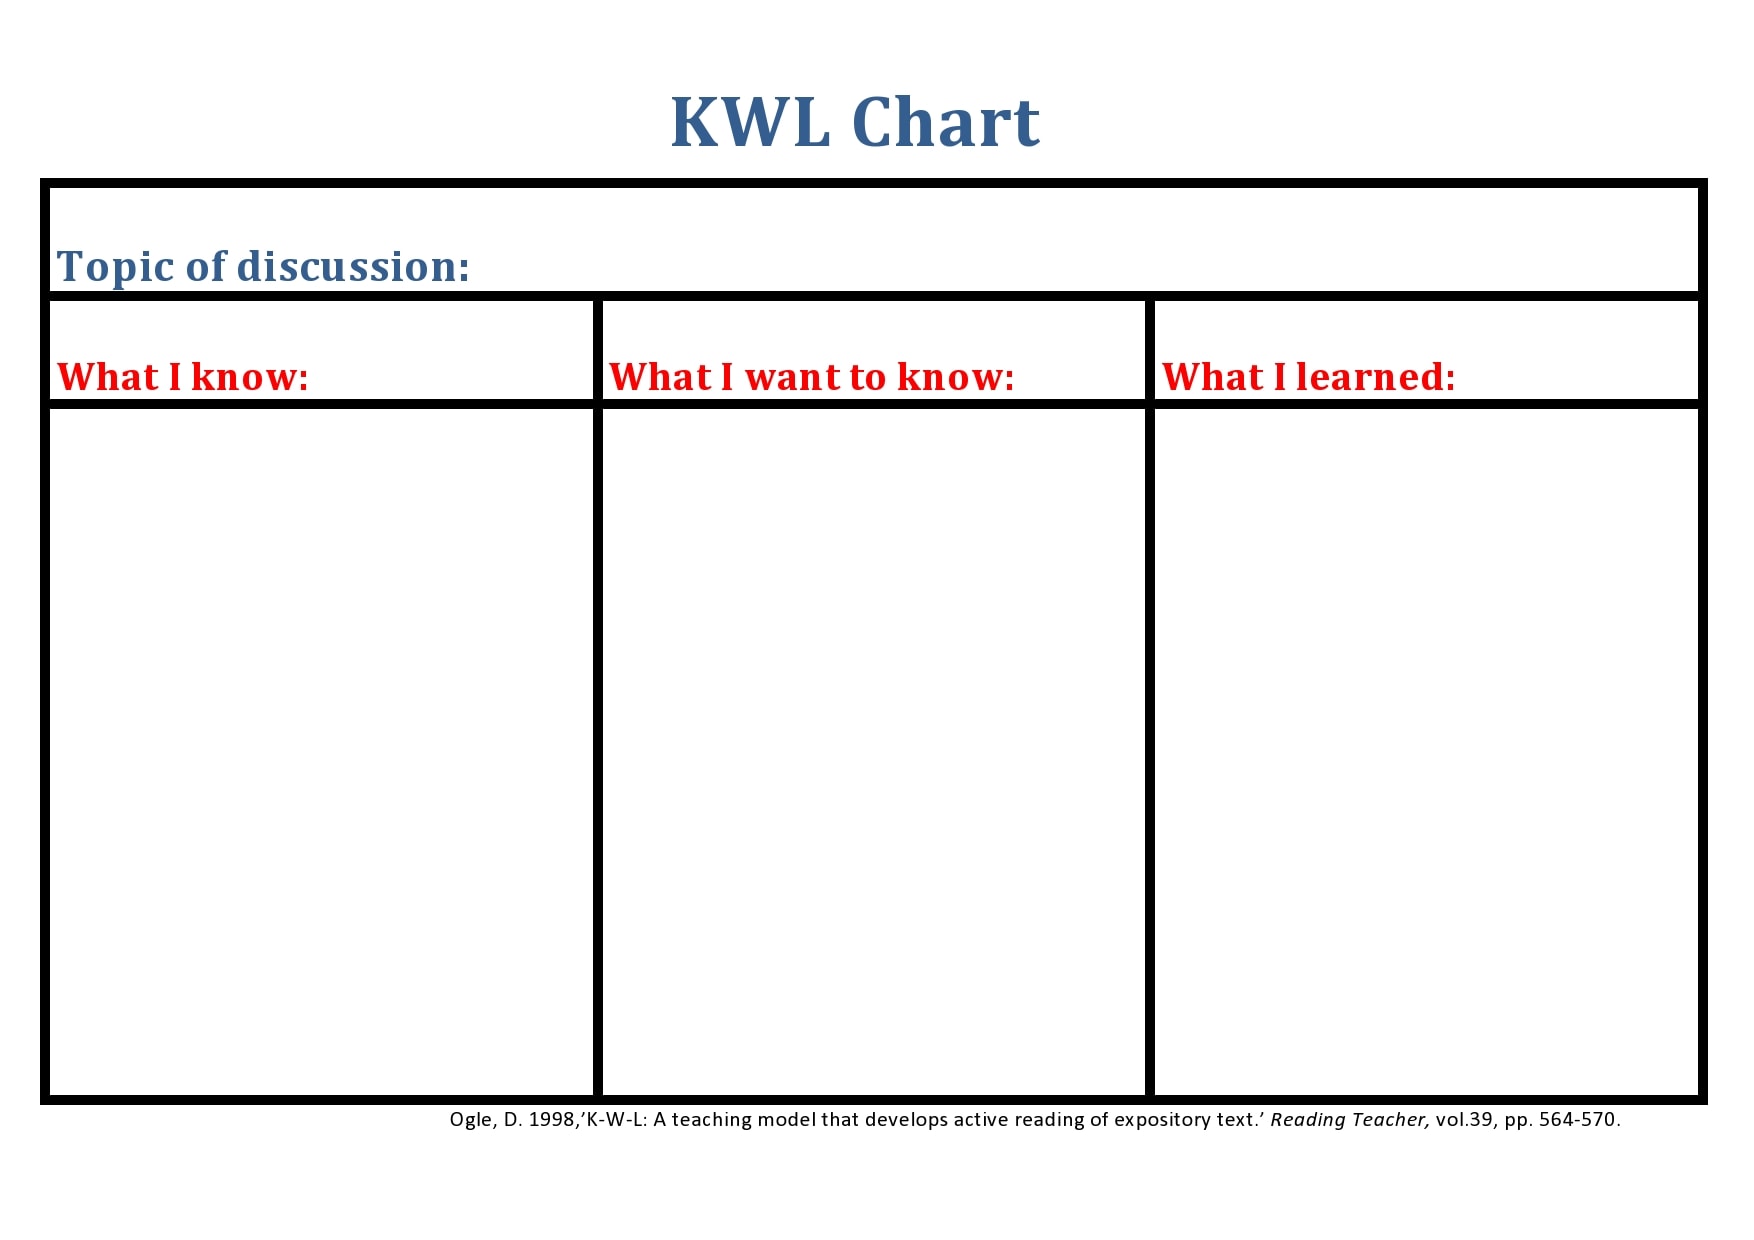
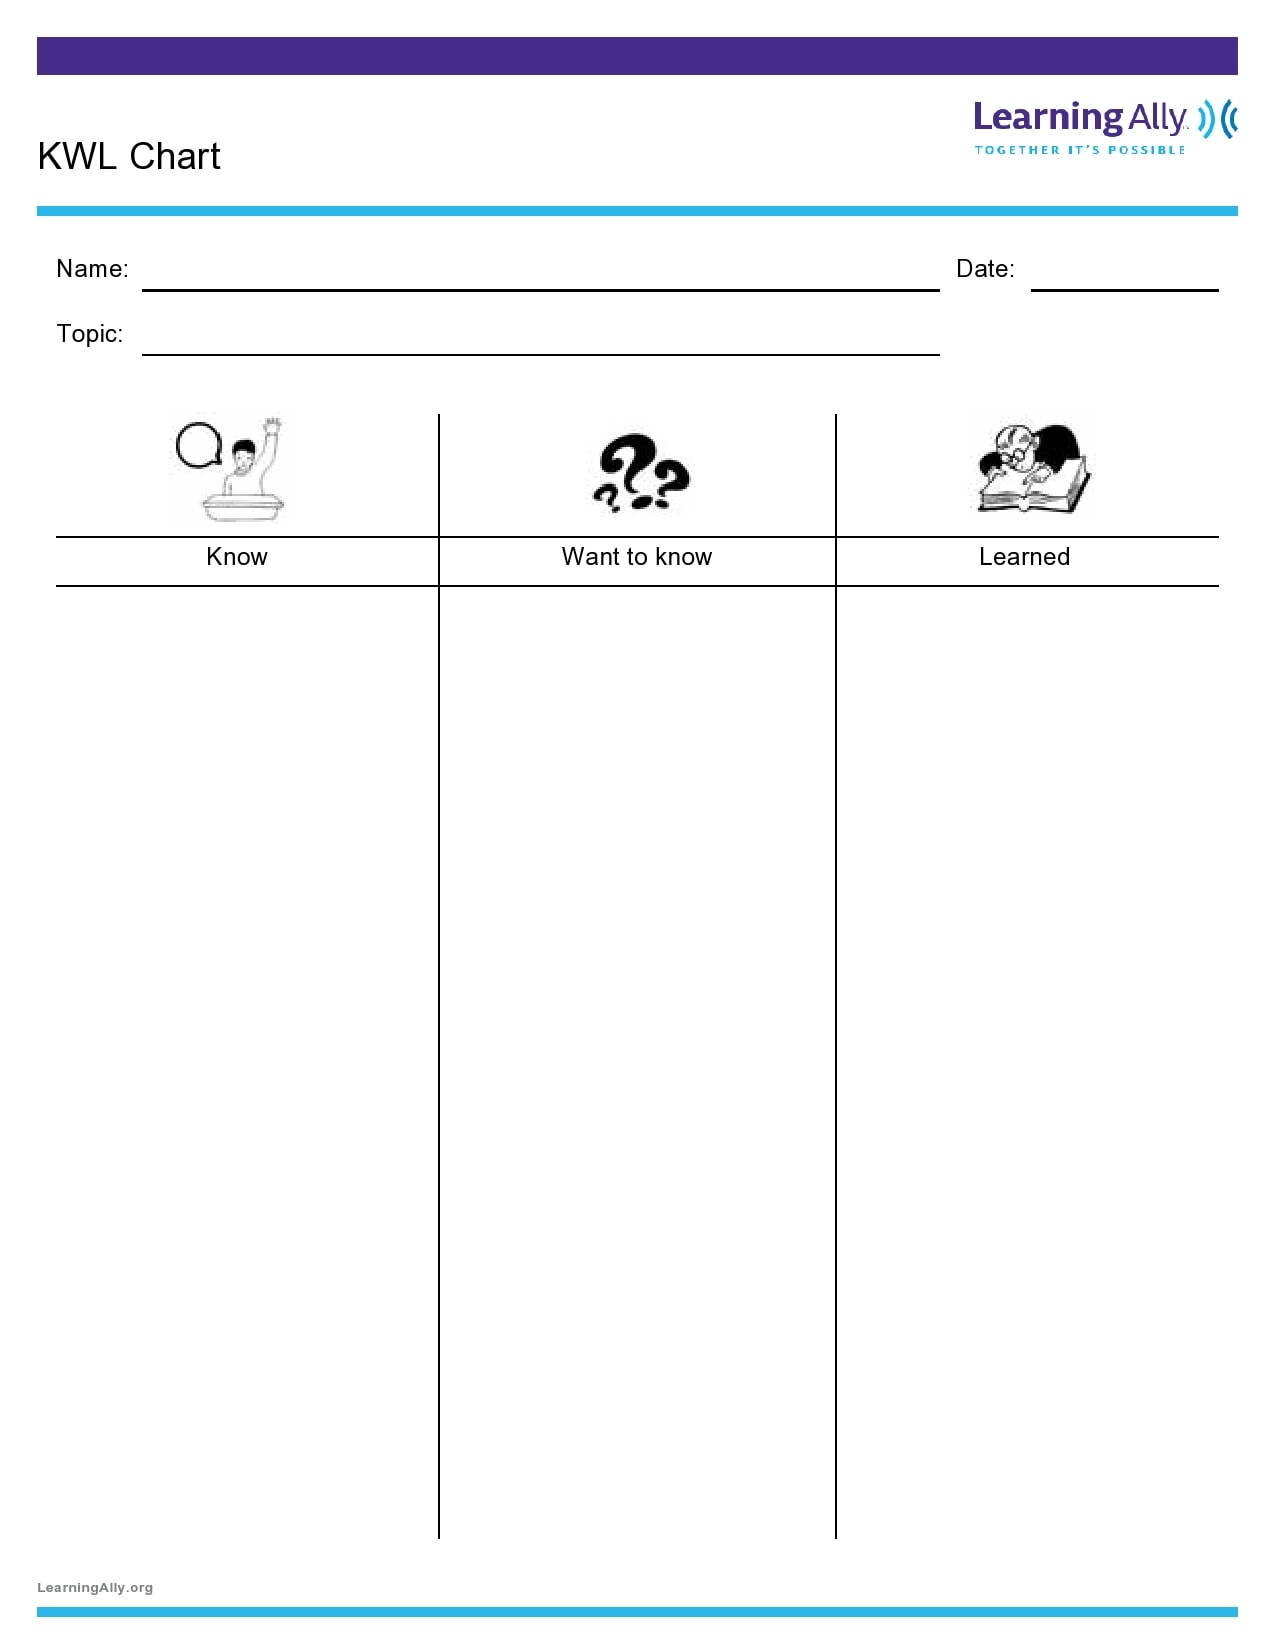
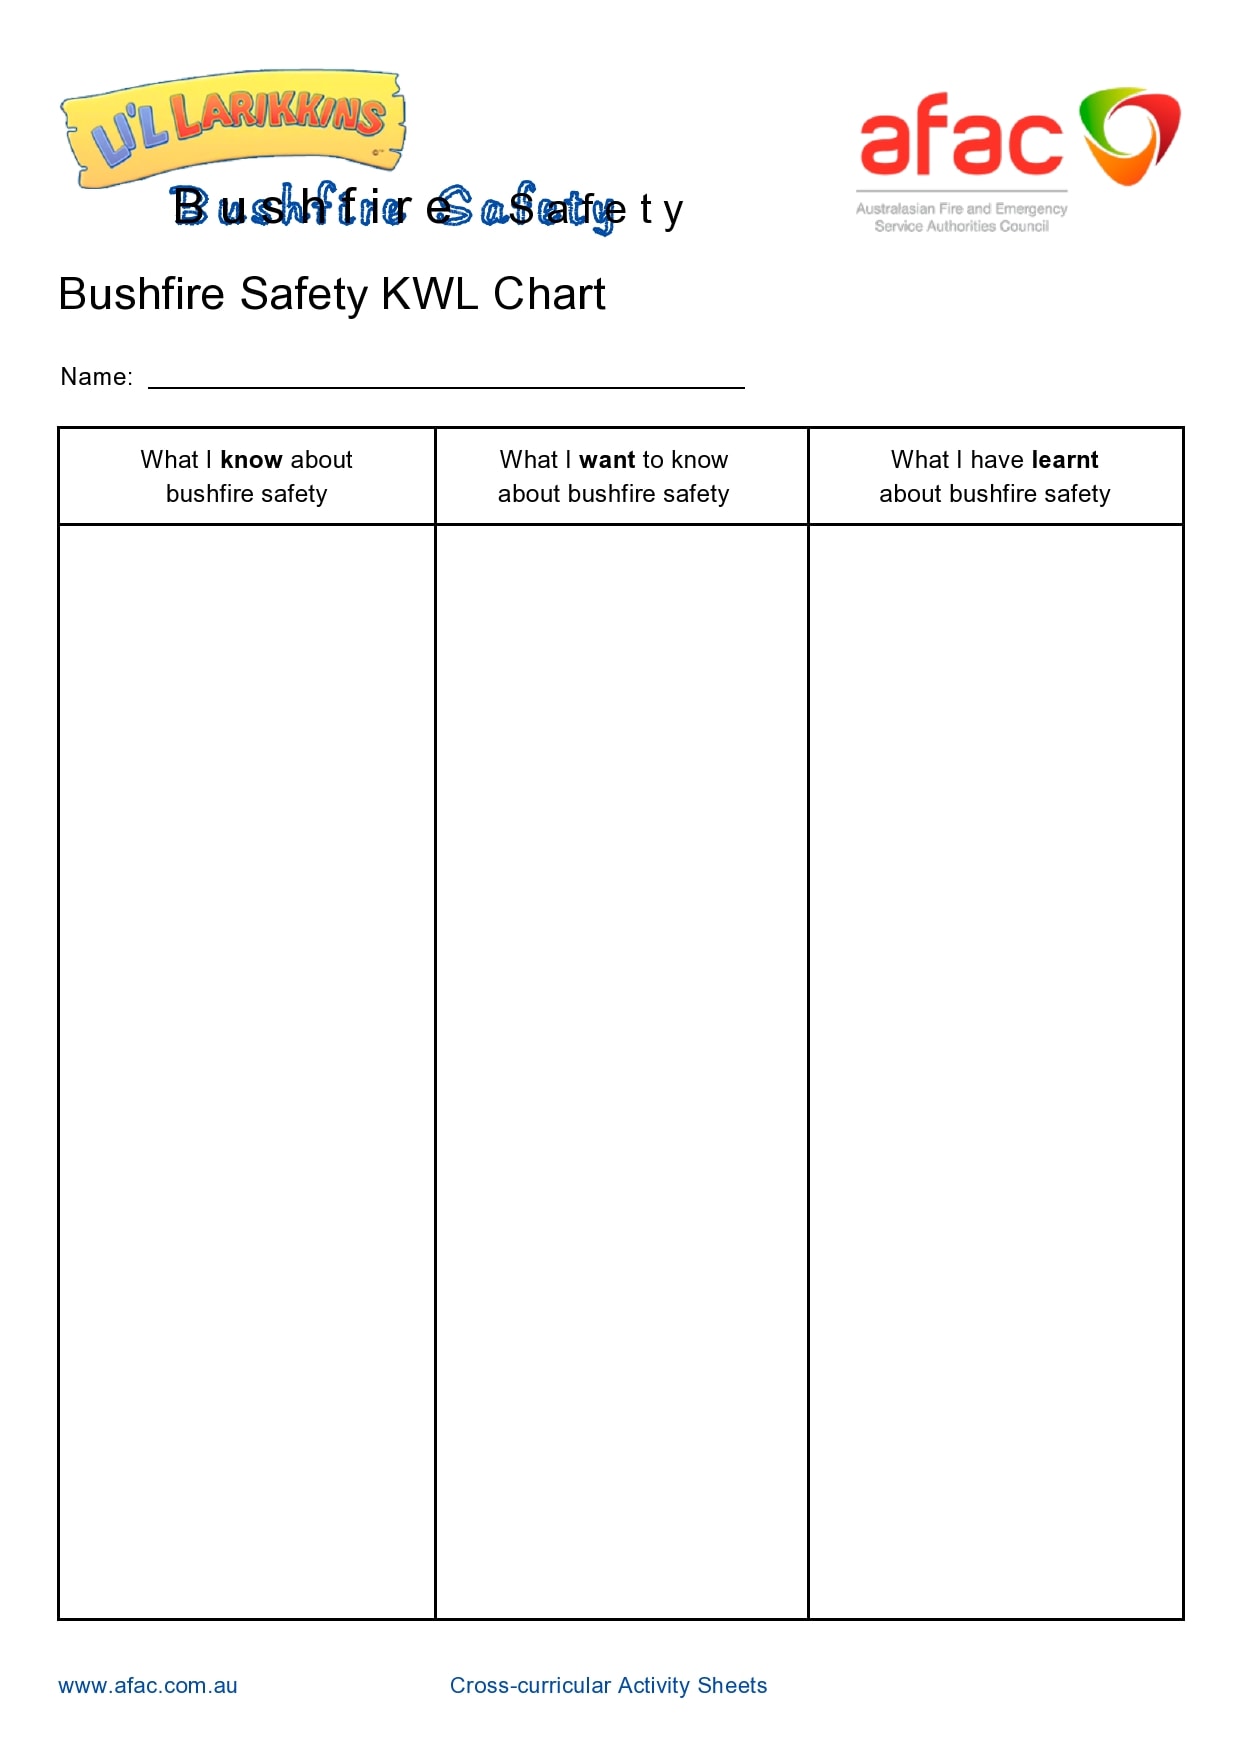
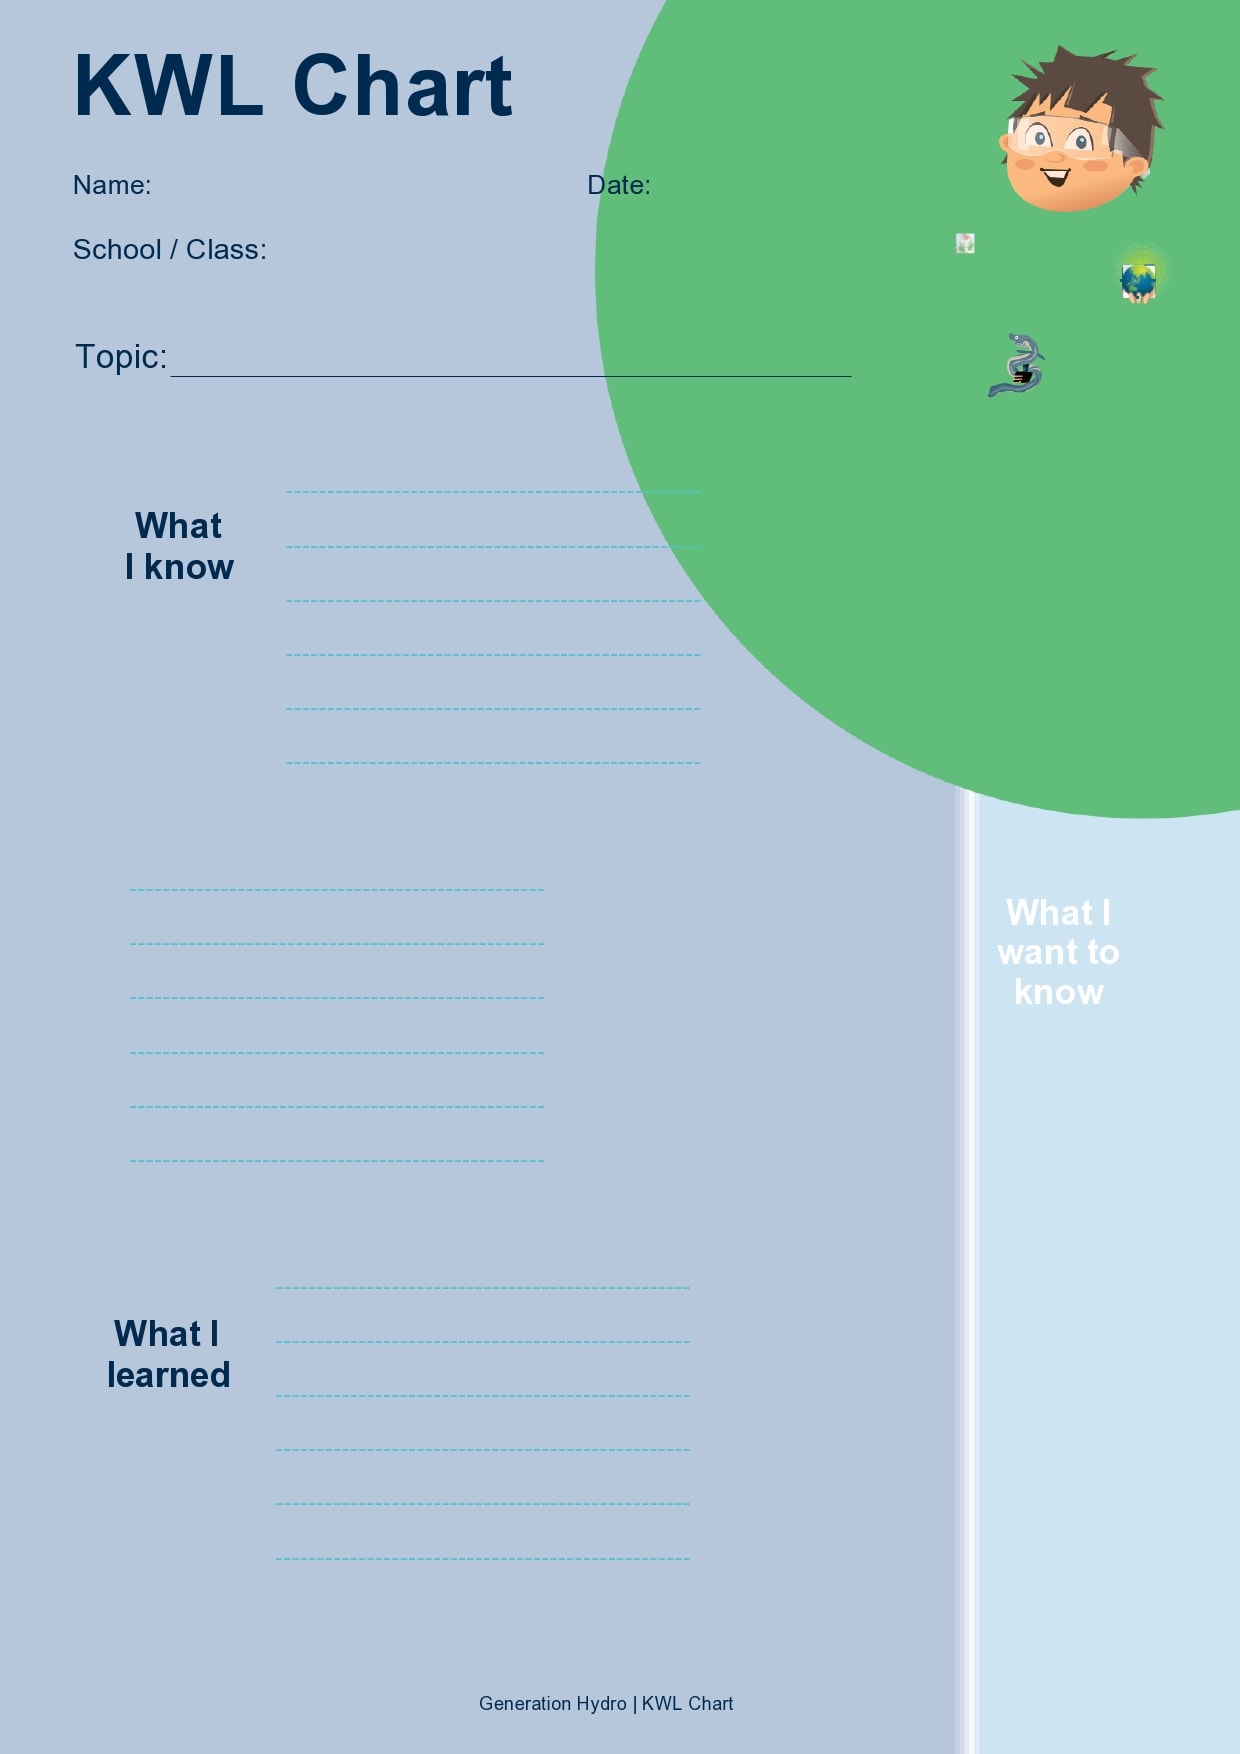
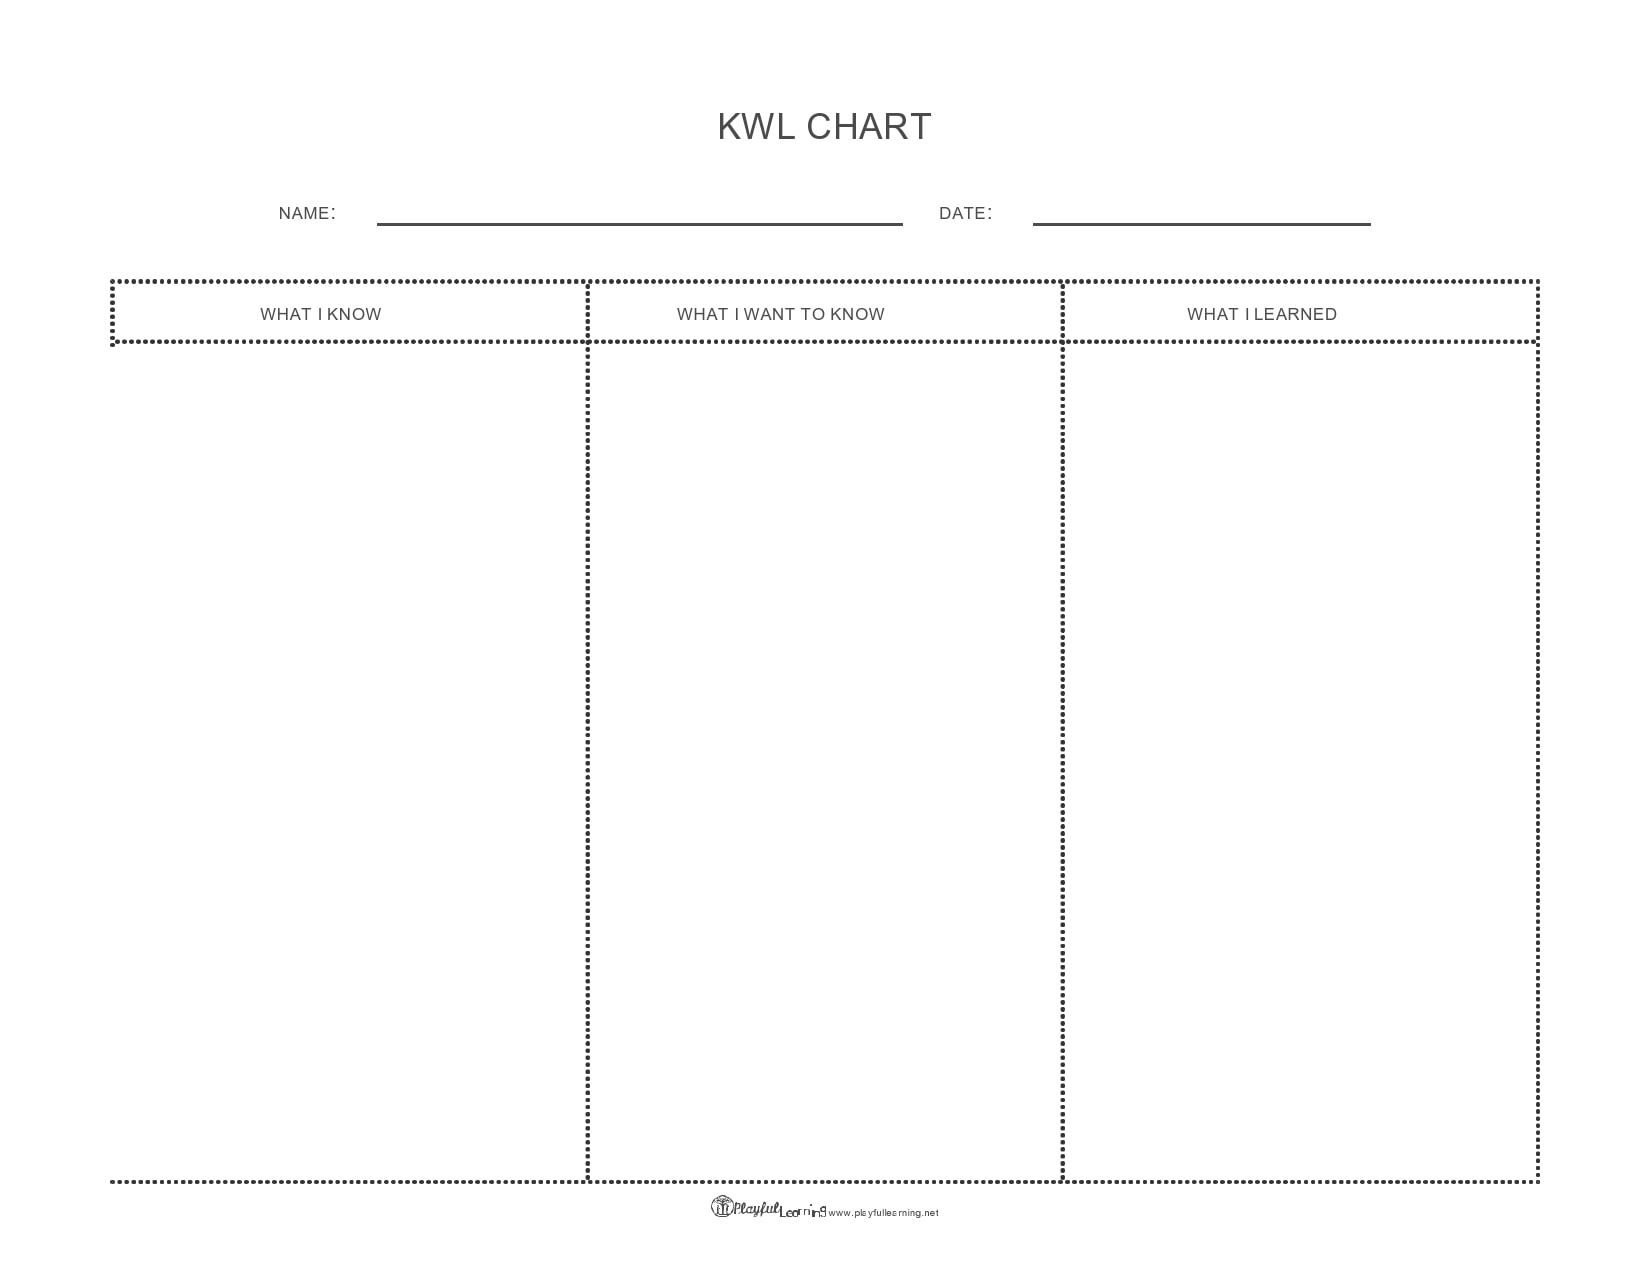
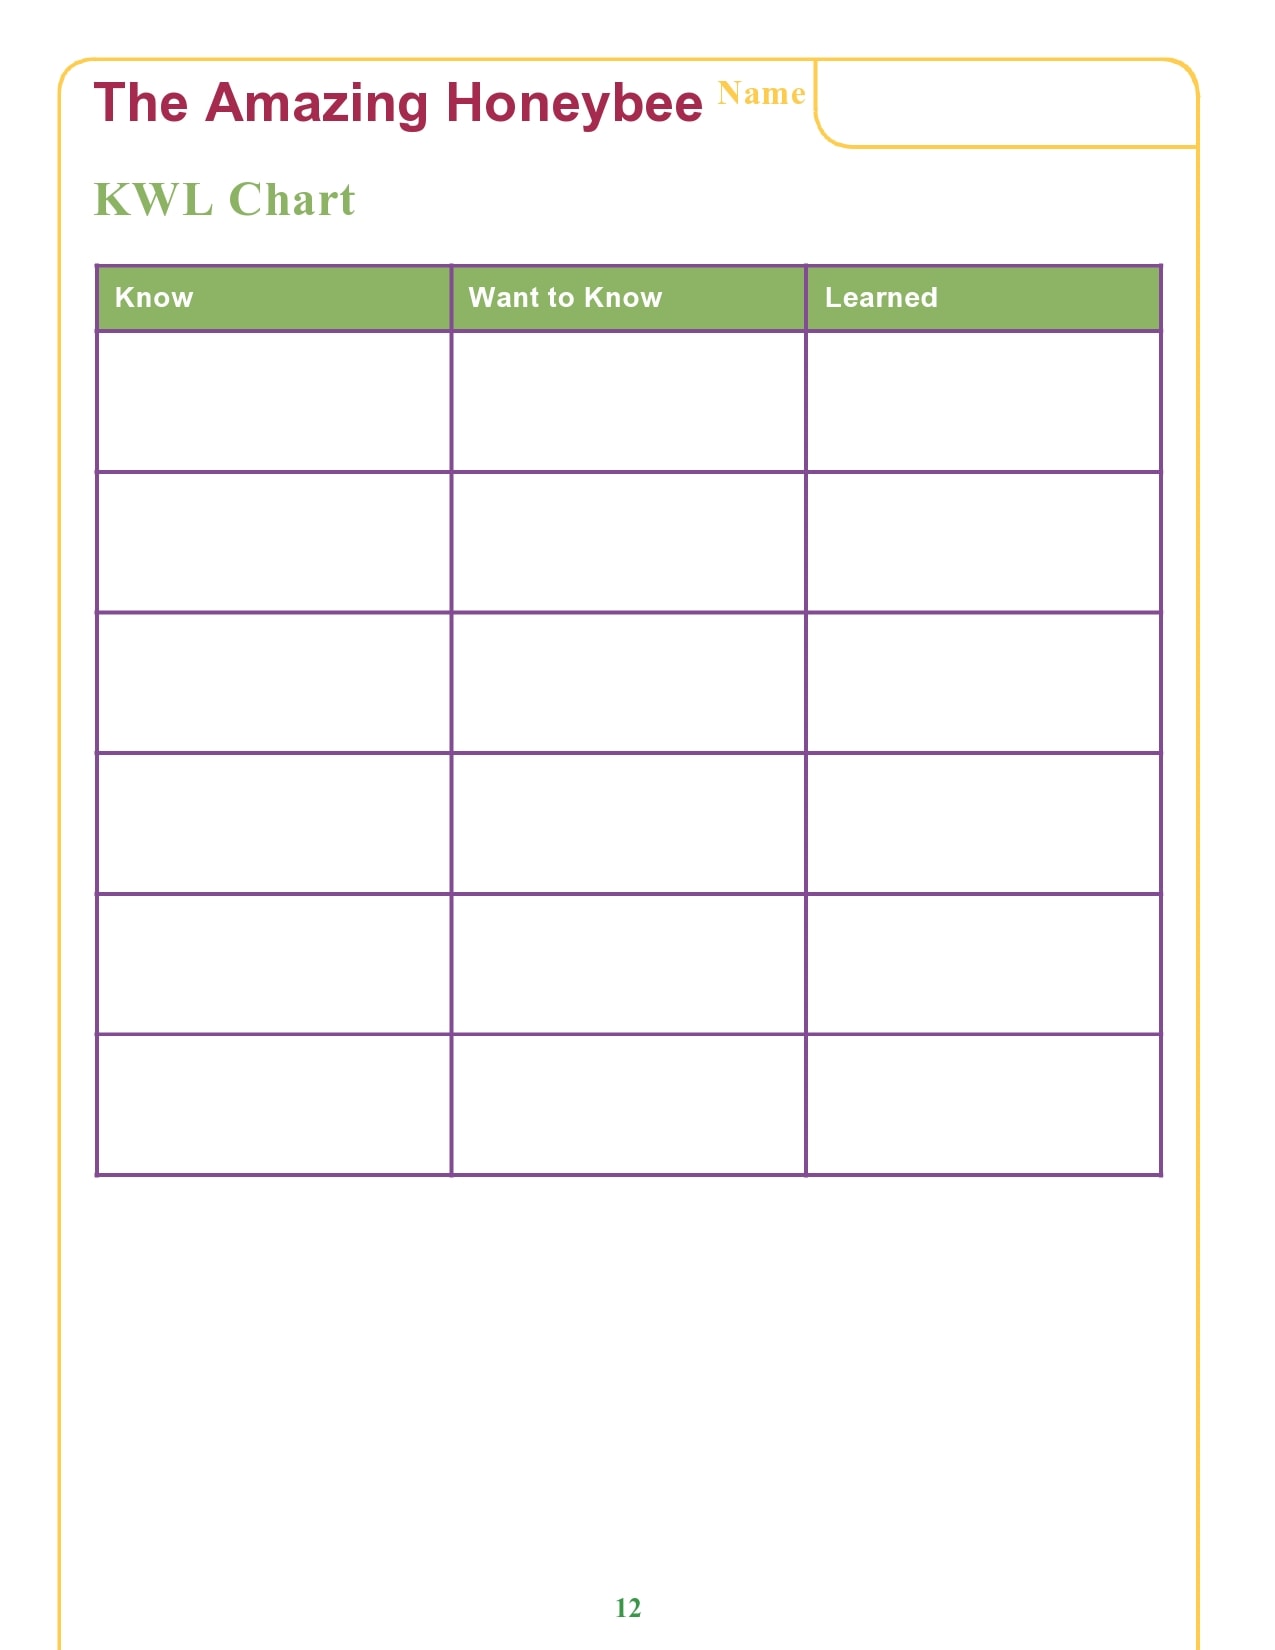
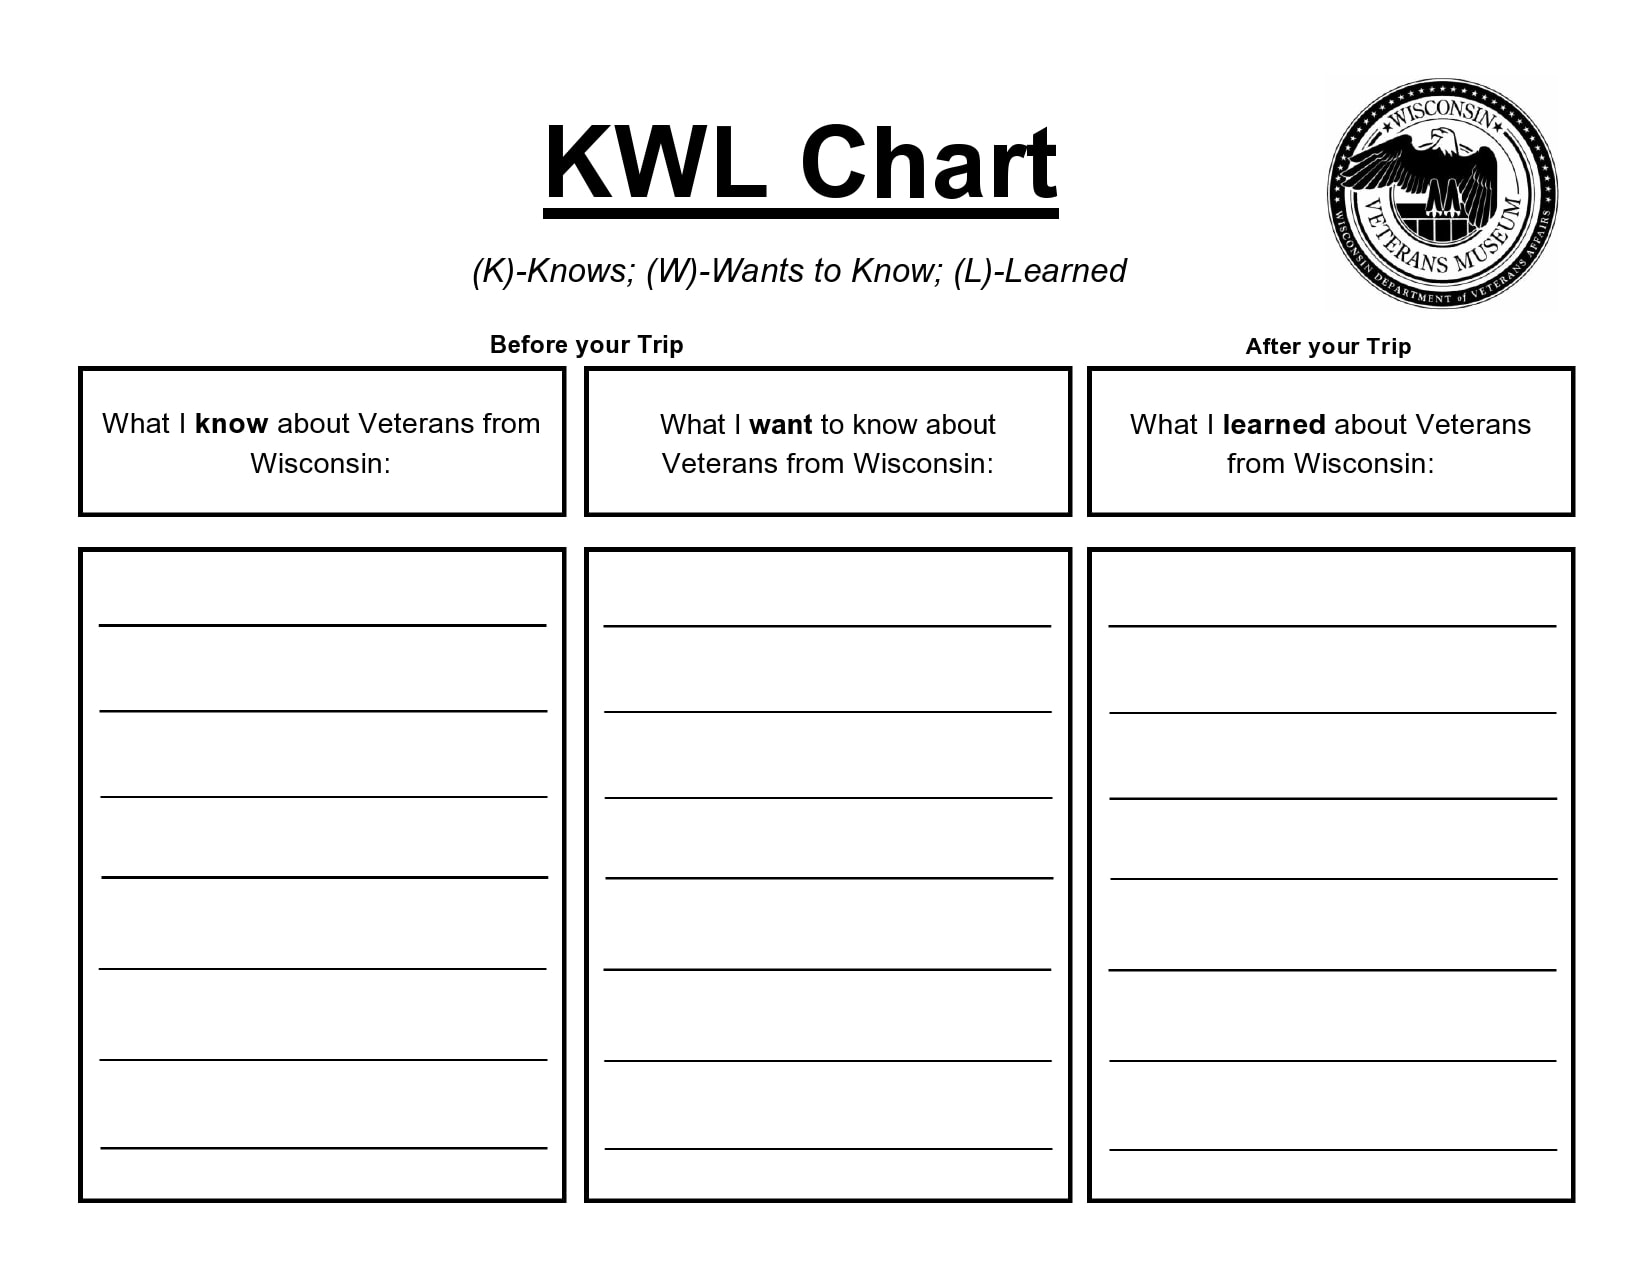
Teachers and students can use printable KWL charts to facilitate and direct learning. This helpful tool has 3 columns, one for each letter of the acronym. Under each column, students will record:
- What they already know
- What they want to know or any questions they might have
- What they have learned after your discussion
Using a KWL chart is an effective way to engage students in the process of learning while helping them recall prior knowledge and keep track of their progress. Aside from being an effective tool that helps students improve reading comprehension, you can also use the chart for any lesson or topic.
Printable KWL Charts

The benefits of a KWL chart
Being a simple tool for visual learning, the KWL worksheet has become very popular in classrooms. With today’s situation, many students ages now attend their classes at home. They use the KWL format effectively. The design of the chart encourages students to be more engaged in their learning sessions. It’s also an excellent way to refresh the knowledge of students about a specific topic or identify gaps in their knowledge. Because of the chart’s simplicity, students can participate in the learning process easily. Here are the benefits of this template:
- Easy to make, understand and use.
- Makes it easier for students and teachers to identify gaps in their knowledge.
- Students can take charge of their own learning outcomes.
- Ideal for collaboration and group work during remote learning sessions.
- You can use it for a wide range of lessons or topics.
As teacher, the KWL charts can help you tailor your lessons based on what your students want to know. You can accomplish this by taking down notes during each stage of the KWL learning process to ensure students won’t have any knowledge gaps. The process also makes students feel like they’re involved with the whole learning process.
How do you make a KWL chart?
The best time to use a KWL template is before students start working on new topics. You would take the lead in showing students how to make a free KWL chart that you have downloaded online. Here are the steps to follow for this process:
- Model the use of the chary by showing a blank template on a screen.
- Input the topic at the top of the template.
- Starts filling out the chart while expressing your thoughts verbally. This allows you to describe your thought process. Do this for the first 2 columns.
- After completing the first 2 columns, read the contents of your chart.
- Complete the final columns after you read the content. Once again, express your thoughts verbally to clarify the thought process.
After completing the sample template, you can guide students to complete their own charts. Here are the steps to do this:
- Select another topic and load a new, blank template.
- Distribute copies of the template to students.
- Allow students to complete the first column of the chart independently.
- When they’re done, ask students to share their answers, brainstorm ideas, and talk about each other’s responses. Doing this gives students the chance to benefit from their combined experiences while recalling their prior knowledge, and uncovering any misconceptions they might have. Students may believe they have the facts straight about the topic you have presented. But you can clarify their thoughts through researching, exploration, reading, and collaboration.
- Be very careful when correcting students when completing the first part of the chart because their discoveries may lead to better retention.
- Encourage students to rectify their misinformation while completing the second and third columns of the chart.
- Finally, gather all of the information that came out from your discussions and fill in the first column of your blank template based on their responses.
Make several templates for your class. After providing guided opportunities for your students in creating a KWL chart, you can encourage independence by introducing simple topics first. Save the more challenging topics for later when students feel more comfortable using the learning strategy.
You can use the chart as a brief introduction to a lesson to stimulate students’ prior knowledge about the topic. Doing this helps students go beyond their comfort zone, thus allowing them to learn new information.
Another effective way to use a KWL template is as a tool for you to informally evaluate the instruction methods. To do this, have students complete the first and second parts of the chart before you start the lesson. Then have them accomplish the third part after you have finished the lesson. From the information on their charts, you can determine if students have mastered the lesson successfully.
KWL Worksheets

How to use the chart?
A KWL chart is a table with 3 columns, one for each letter of the acronym. You can create the chart either manually or using a downloaded template. After completing the template, the next thing to do is to go through the following steps to complete it before, during, and after your lesson:
- First column: Know
In this column, students can share what they already know about the topic at hand. You can use the chart for individual or group learning. You also have the option to divide the class into small groups and have each group share their notes with everyone else. Consider drawing a blank chart on the board or using a projector to present a blank template in front. With your guidance, students will fill out their own sheets as you help them by discussing the lesson.
The information in the first column helps determine what students already understand collectively. With this information, plan your lessons accordingly. For example, the information you collect can help you identify any misconceptions students might have about the lesson you need to discuss.
At this point, you have the chance to correct your students or you could also use the information you have gathered to plan your next lesson. This ensures that you can clarify any misconceptions later on. You also need to prepare by coming up with a list of questions to prompt students to come up with new ideas. This is the best way to guide them through the learning process.
- Second column: What to know
After you have helped students identify what they already know, the next step is to fill out the second column of the chart. Here, ask students what they want to know about the topic. It’s a good idea to divide the class into pairs or small groups to facilitate more effective discussions.
Later on, each pair or group can share their ideas with the rest of the class while you record their ideas on the chart you have displayed in front. There might be times when students won’t have enough knowledge or experience of a topic. In such a case, you should provide questions to help kick-start their thinking processes.
Another good suggestion is to help students come up with ideas to get the conversations flowing is to add “Who, What, When, Where, Why, How” at the top of the second column. This is a powerful teaching aid as it helps you identify the interests of students and any questions they have about your topic. Then you can use students’ ideas to continue with your discussion. If done well, this results in more engaged students and better learning outcomes.
- Third column: Learned
Students can refer to the template you have presented throughout the lesson when filling out the final column. Here, they will write down what they have learned and check if you have answered all of their questions in the second column. Students can talk about anything that they found surprising or interesting while identifying any misconceptions they might have had when you started the lesson.
Some teachers encourage their students to complete their charts throughout the lesson as it progresses while others ask their students to wait until the end of the lesson before they fill out their template. Either way, this part provides students with an opportunity to go through their learning while helping you monitor the progress of the students and their learning outcomes.
Free KWL Charts


Using KWL charts in different ways
Primary students are highly encouraged to participate in different types of research. With the help of a KWL chart, they can learn how to research a topic and use the chart to keep track of the information they have gathered. The template also helps students verify what they already know about a topic while encouraging them to think further about how they want to focus on the topic of their research.
You should ask students some questions for each column of the template. Initiate the process by adding a collaborative aspect to the chart. Based on this, students can impart what they know to the rest of the class. For instance, if you tasked students to read a book whose author uses heavy irony, they could talk about other examples of irony in real life along with any questions they might have about the topic.
If you’re a teacher in an online learning environment, students can work together by creating, posting, and commenting on each other’s responses. This is a very useful strategy, especially in subjects where students need to come up with a project or a design proposal. If students can describe their brainstorming process while creating and testing their hypotheses, this would also prompt them to practice metacognition.
For example, in a biology class where students would discuss the ethics of genetic engineering – you can assign half of your class to make a positive argument while tasking the other half to come up with negative arguments. Your students can use the different columns in the chart to write down questions or contributions from each member.
You can also assign students to conduct research about a country, an animal, a celestial body, or any other topic. The first thing to do is to ask students to think about what they know about the topic and write their answers in the first column. Next, ask your students to direct their thinking toward the research questions they have. They should write down these questions in the second column.
As the next step, students will conduct research and collate the information that they have gathered to show what they learned. More advanced students could add another column to their chart that focuses on what they still want to learn after completing their research.
You can also use the KWL chart to direct the thinking of students in the intended direction as they start reading a new chapter of a book. For example, you can show students the cover and title of the book and encourage them to think about what the book could be about. Next, ask students to think about what they already know about the book or the book’s topic. Encourage students to brainstorm about the events in the book.
Also, encourage them to ask questions about the characters and events. Ask students to jot down any information they gathered on their either individually or as a class. As students read the book, remind them to recall the questions they wrote down in the second column of their template. As they progress, remind them to answer the questions in the third column until they have completed the chart or finished the book.

")
