
When buyers purchase something from your store, you as a seller must issue a receipt after payment. For this, you need your own payment receipt template that serves as a proof of purchase. Generally, businesses require the issuance of receipts for every purchase made.
Contents
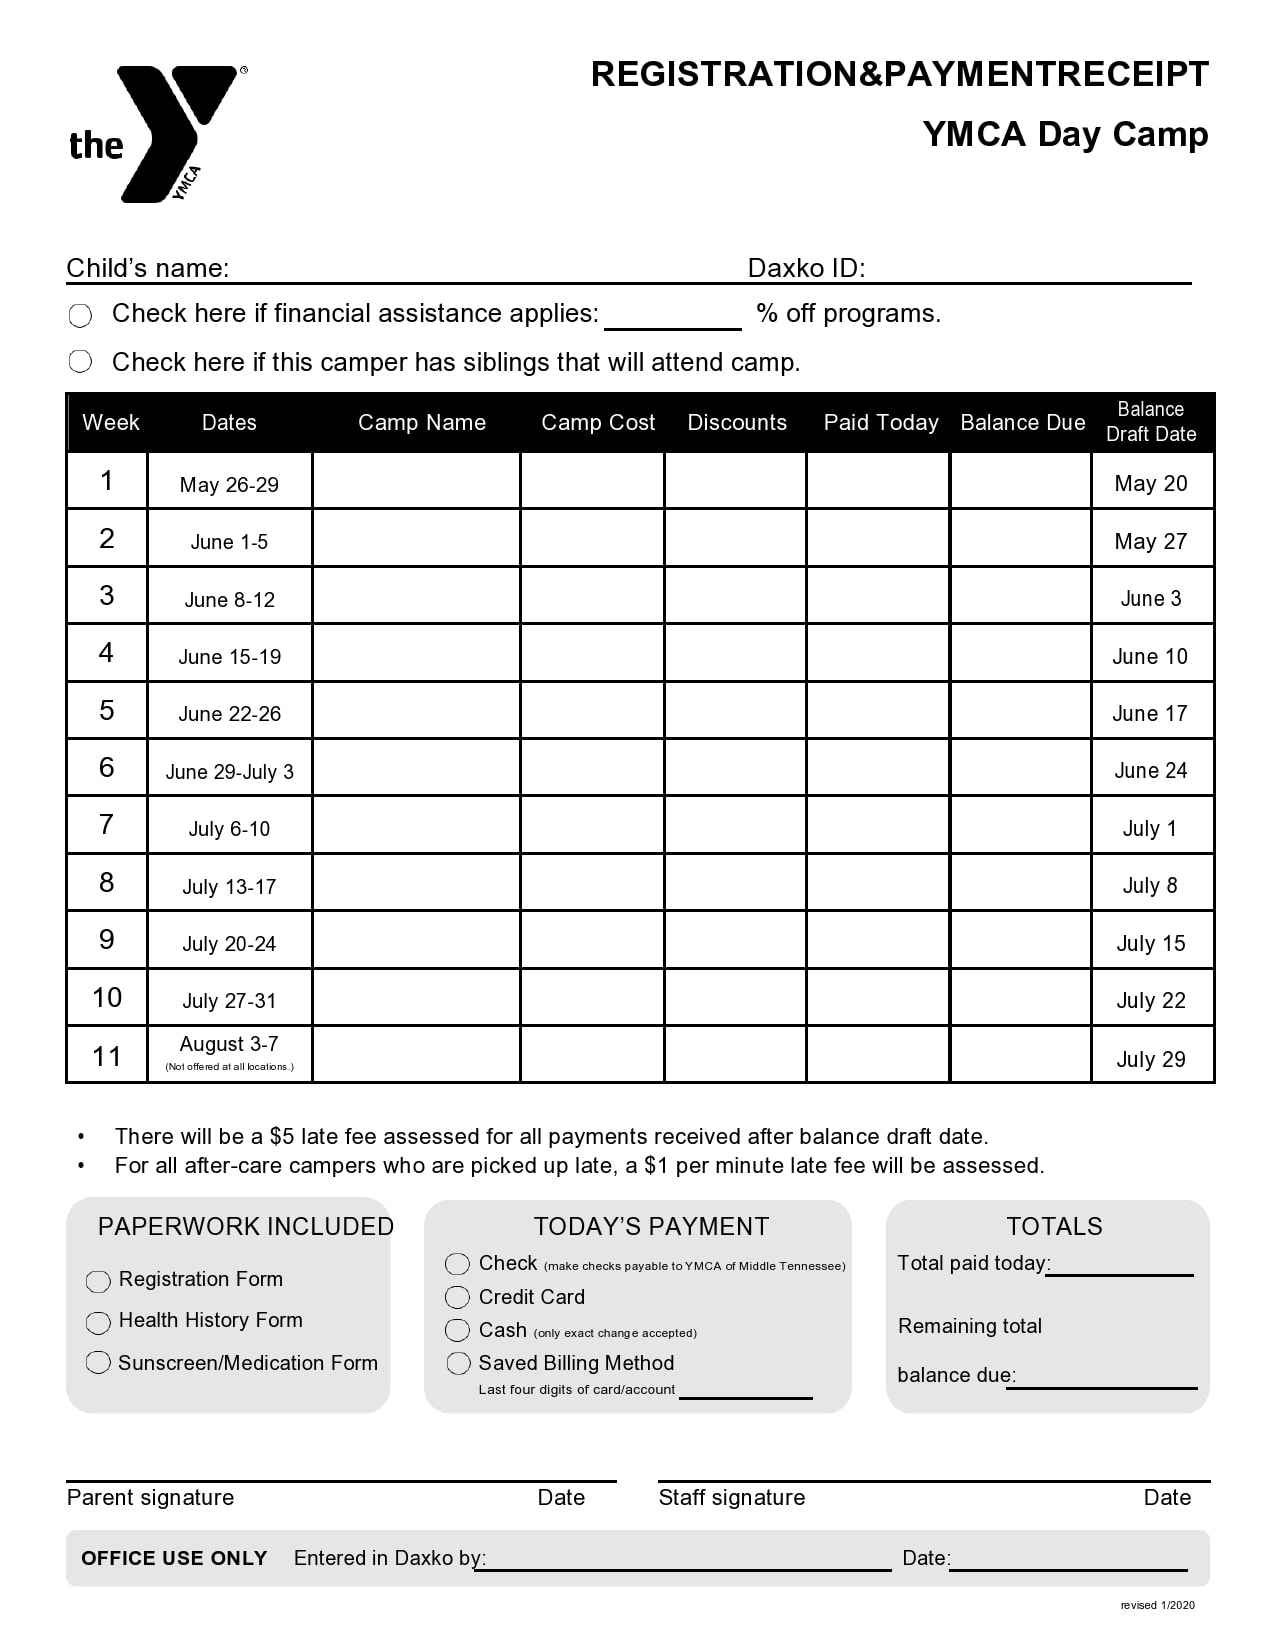
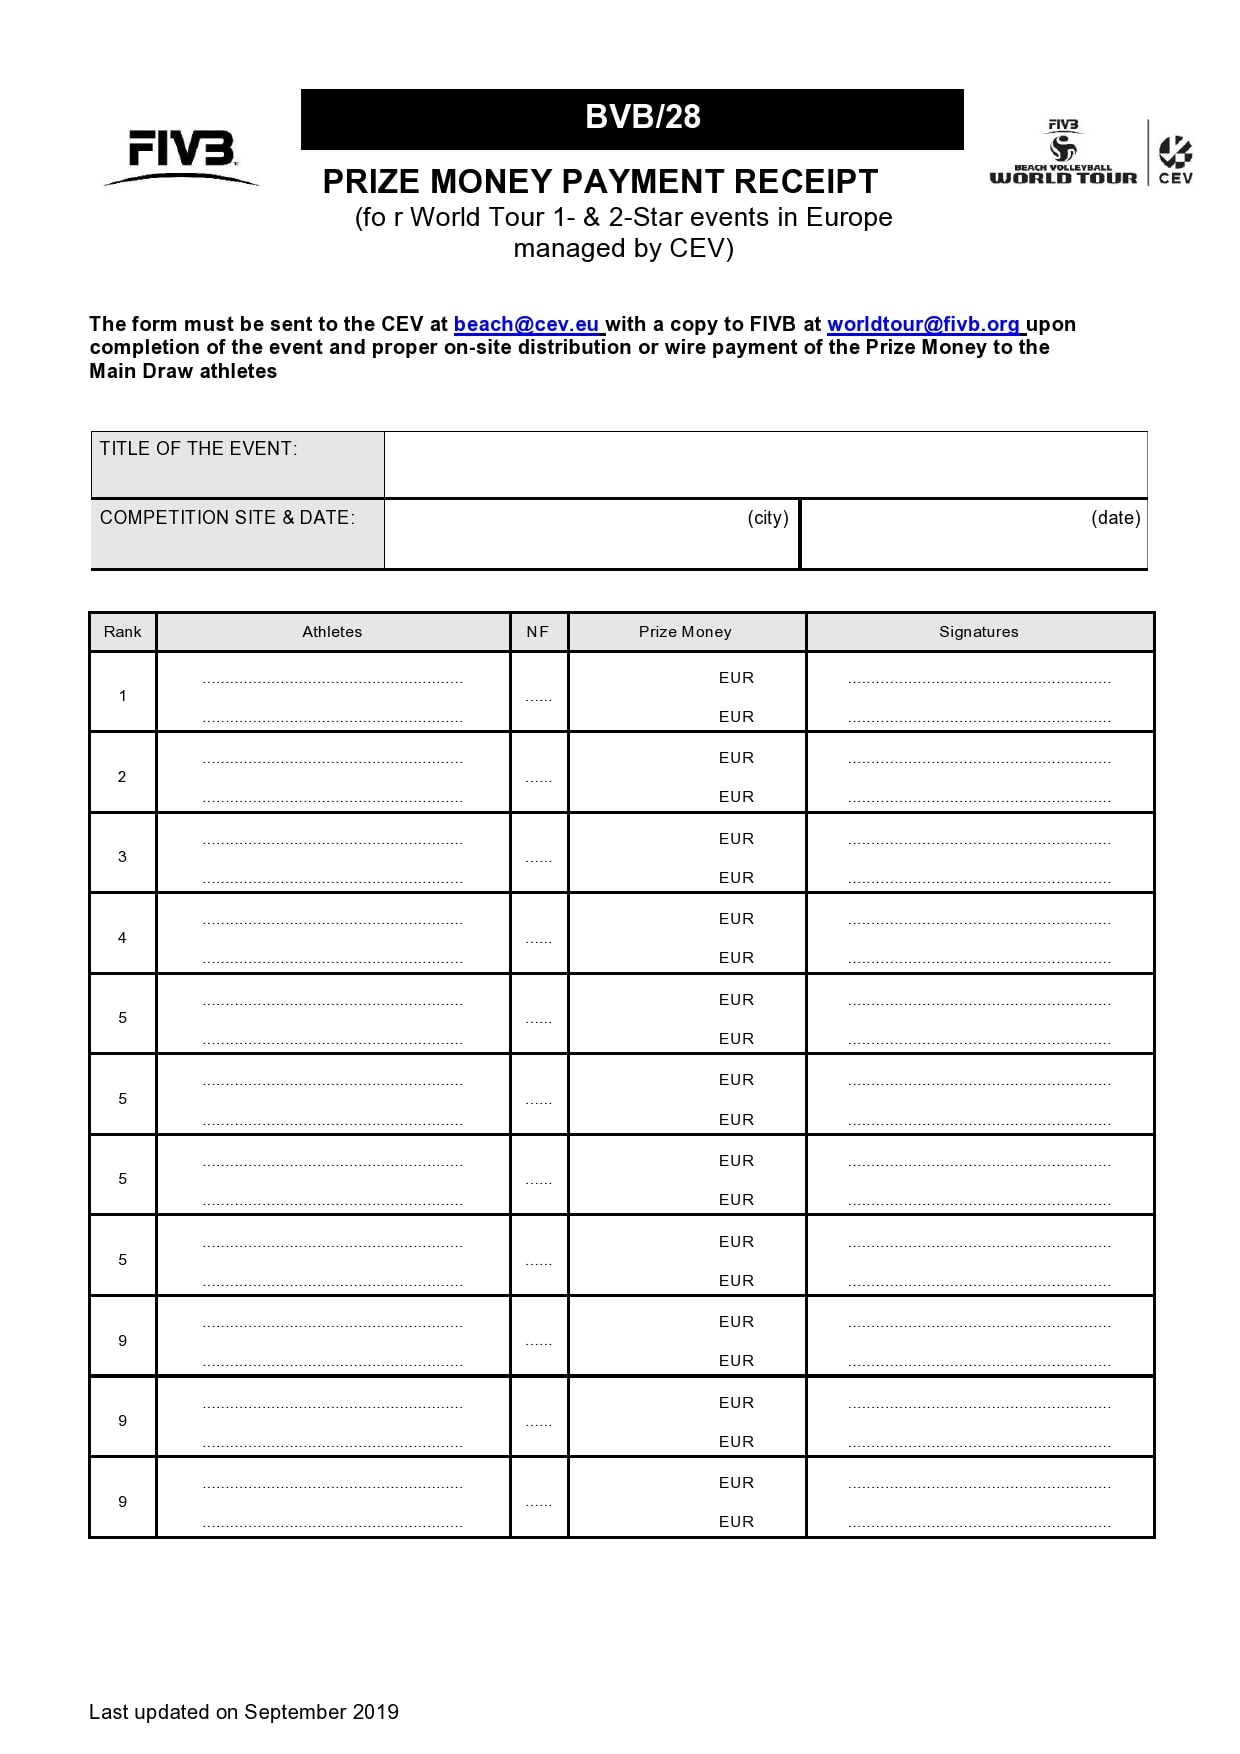
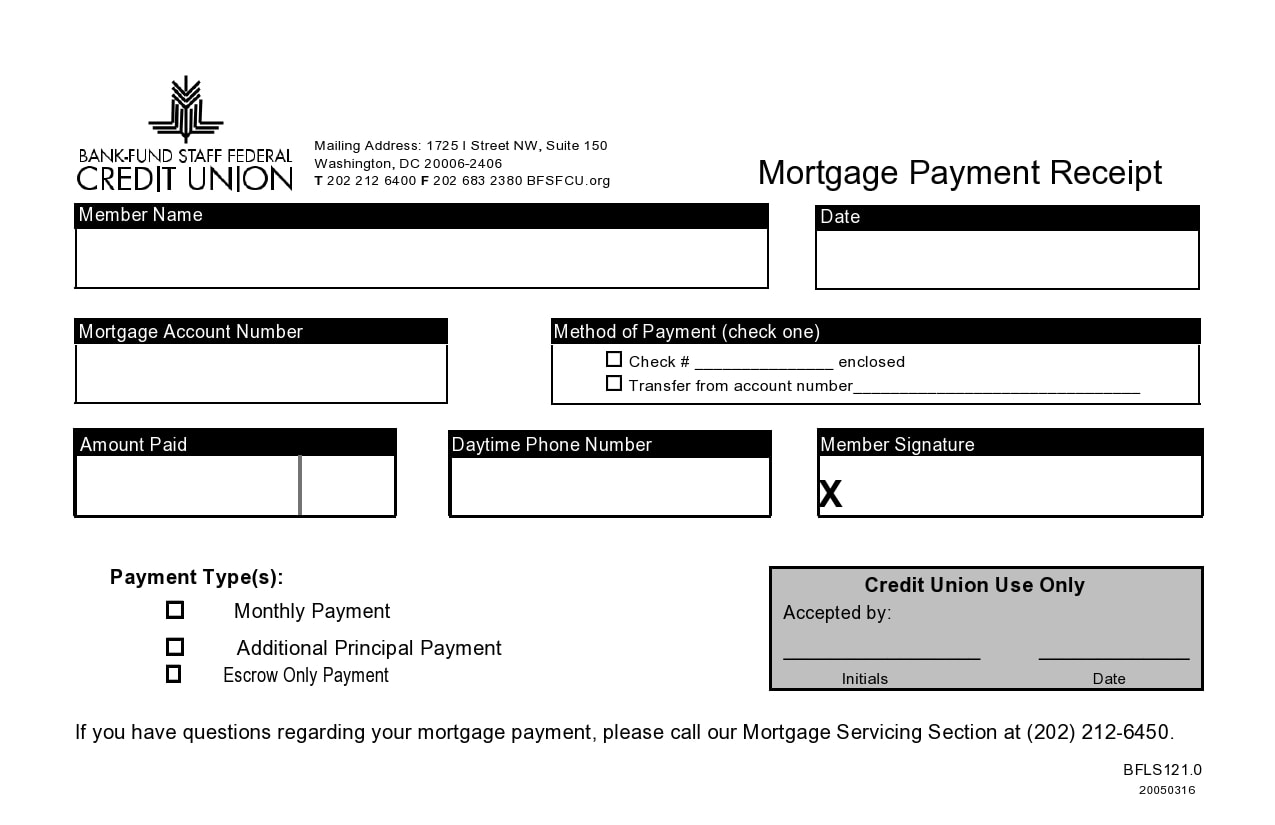
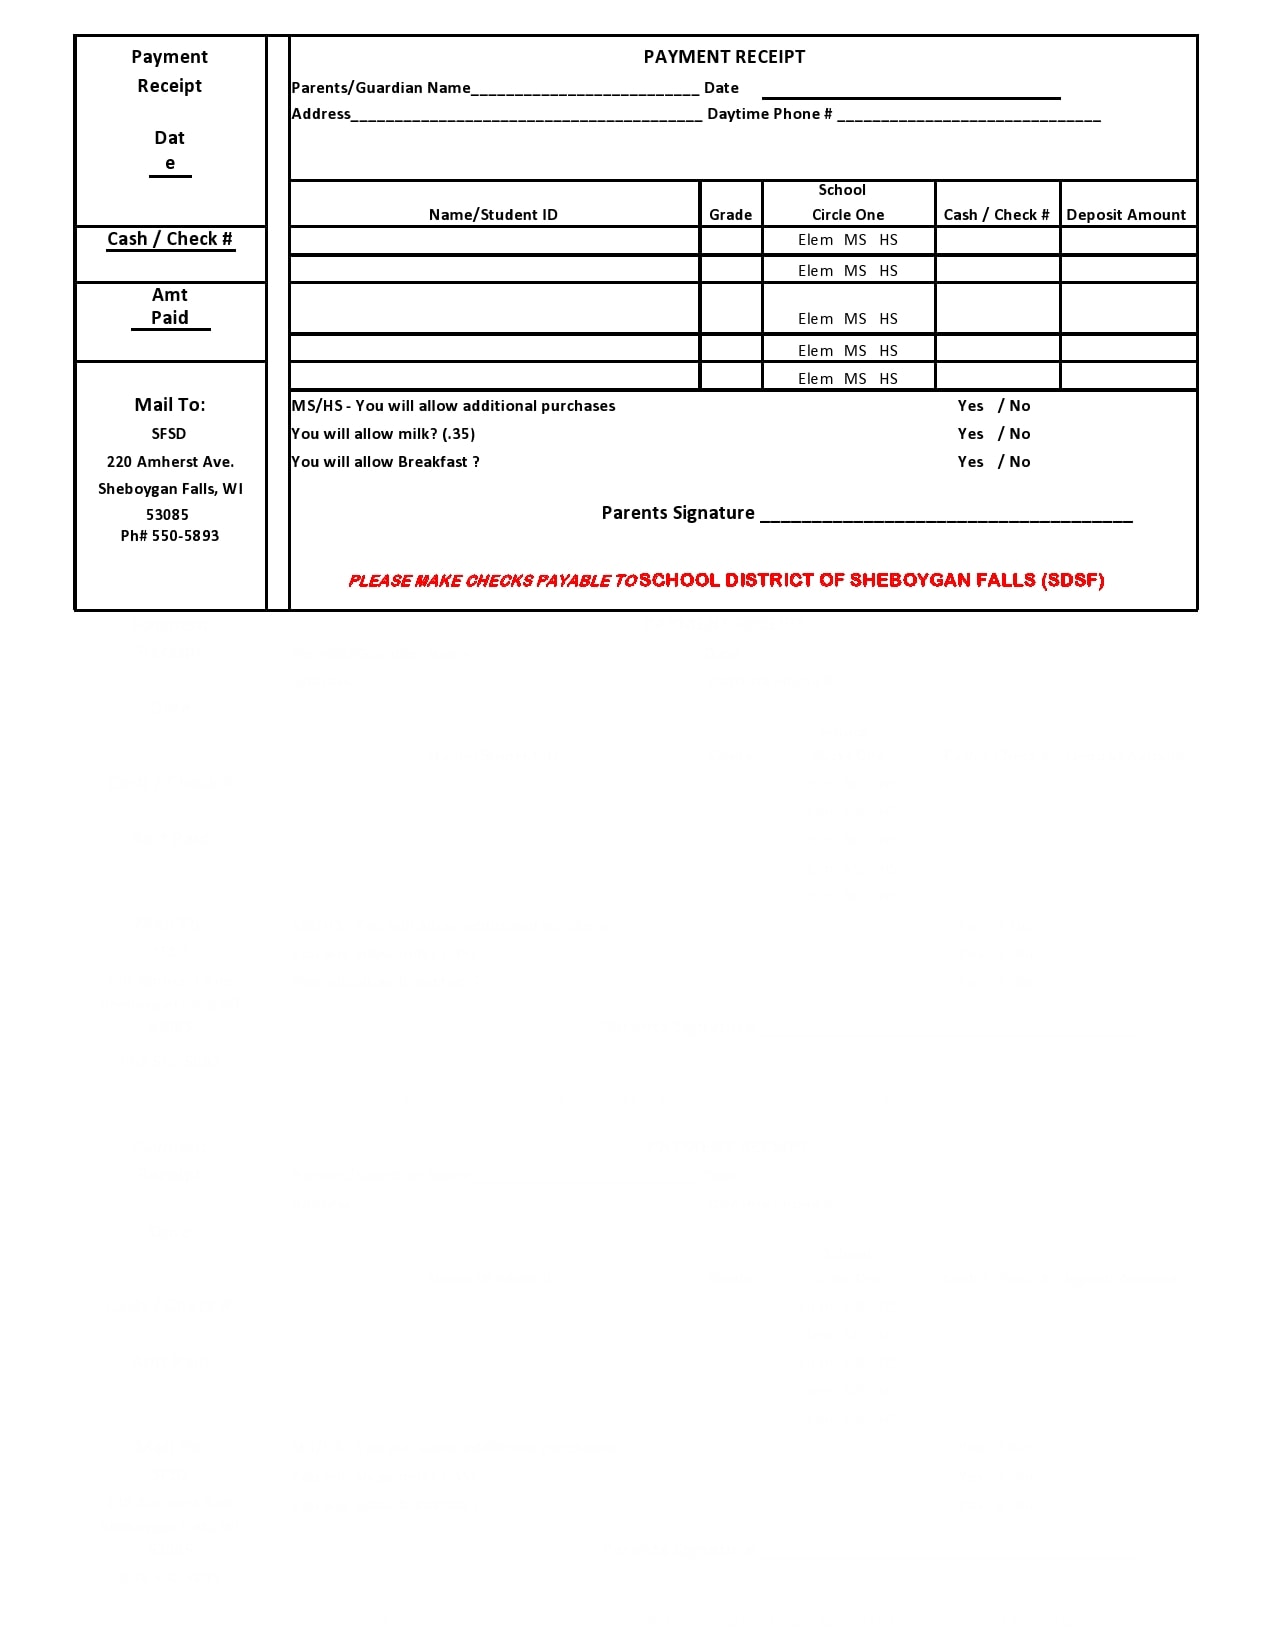
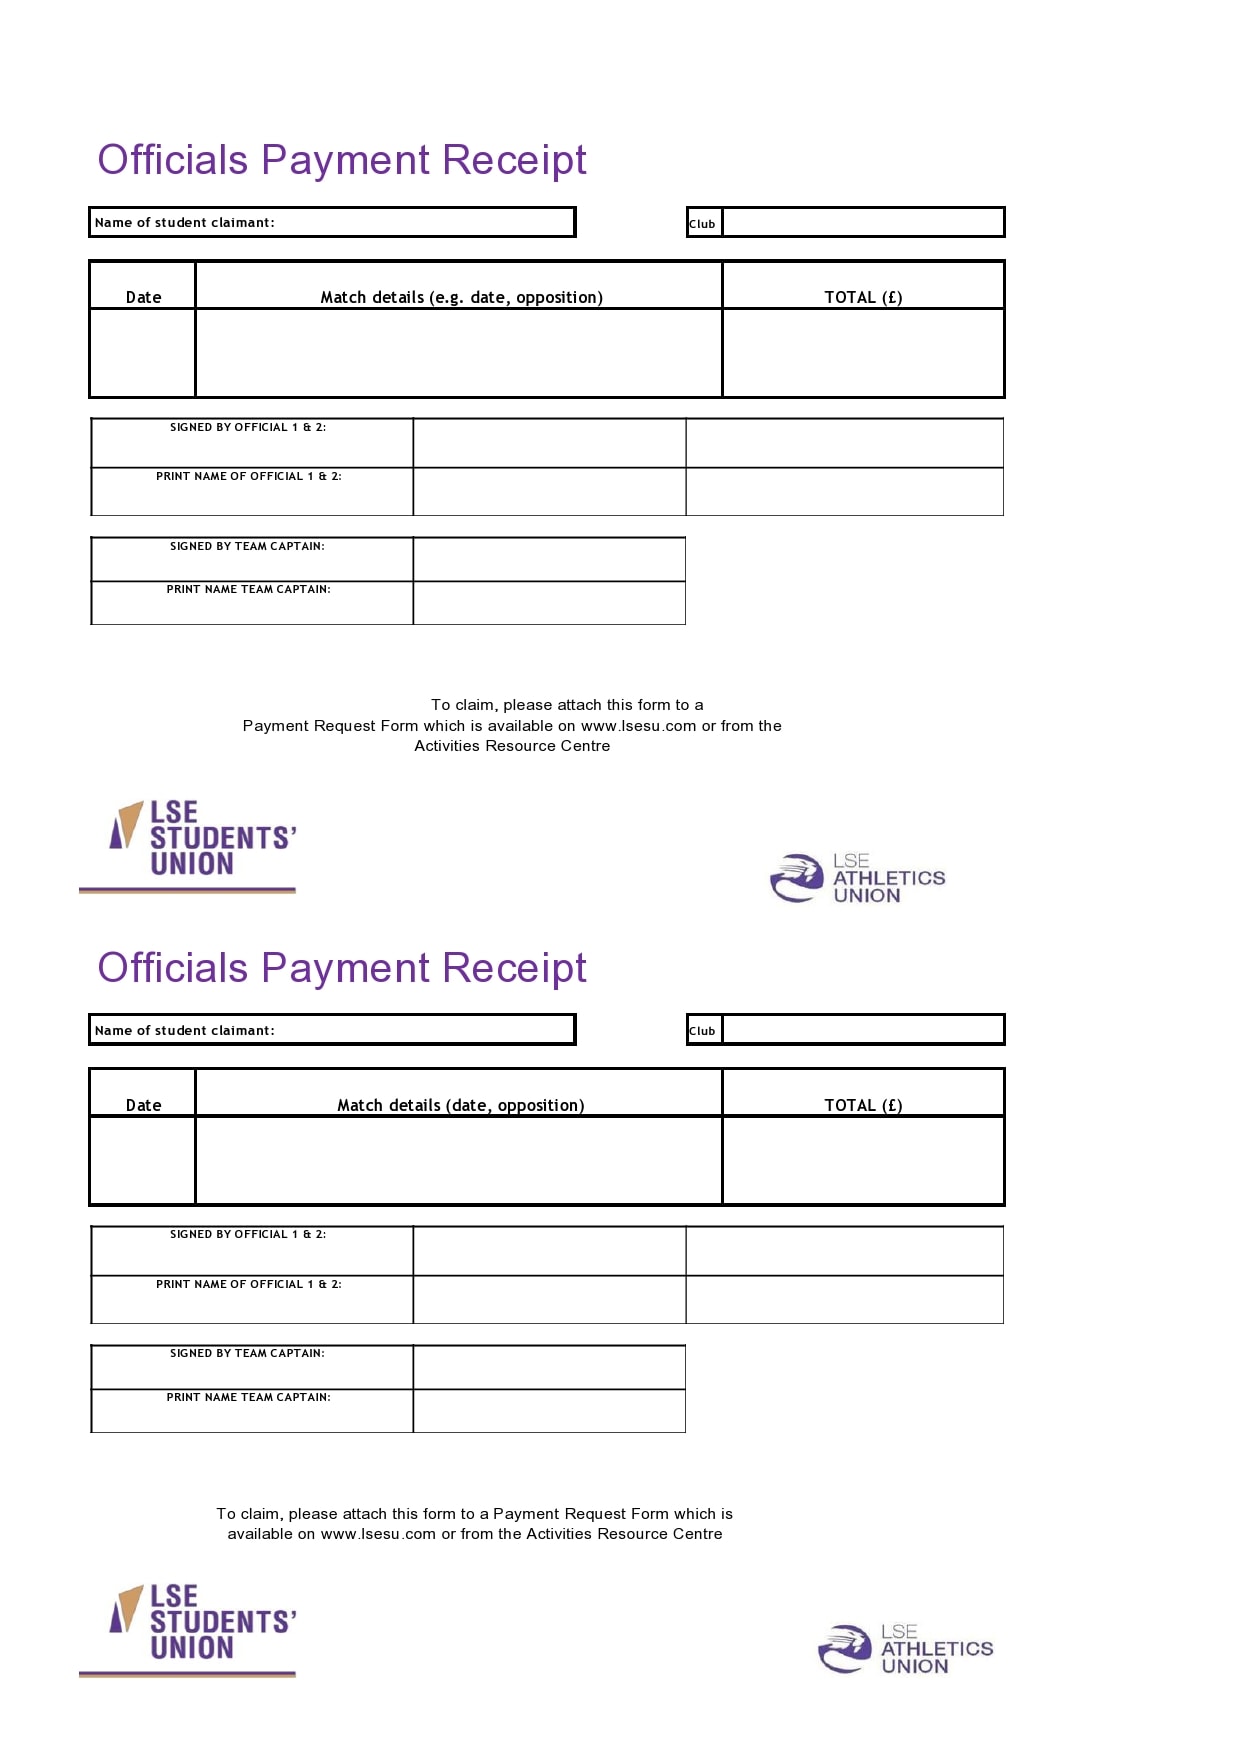
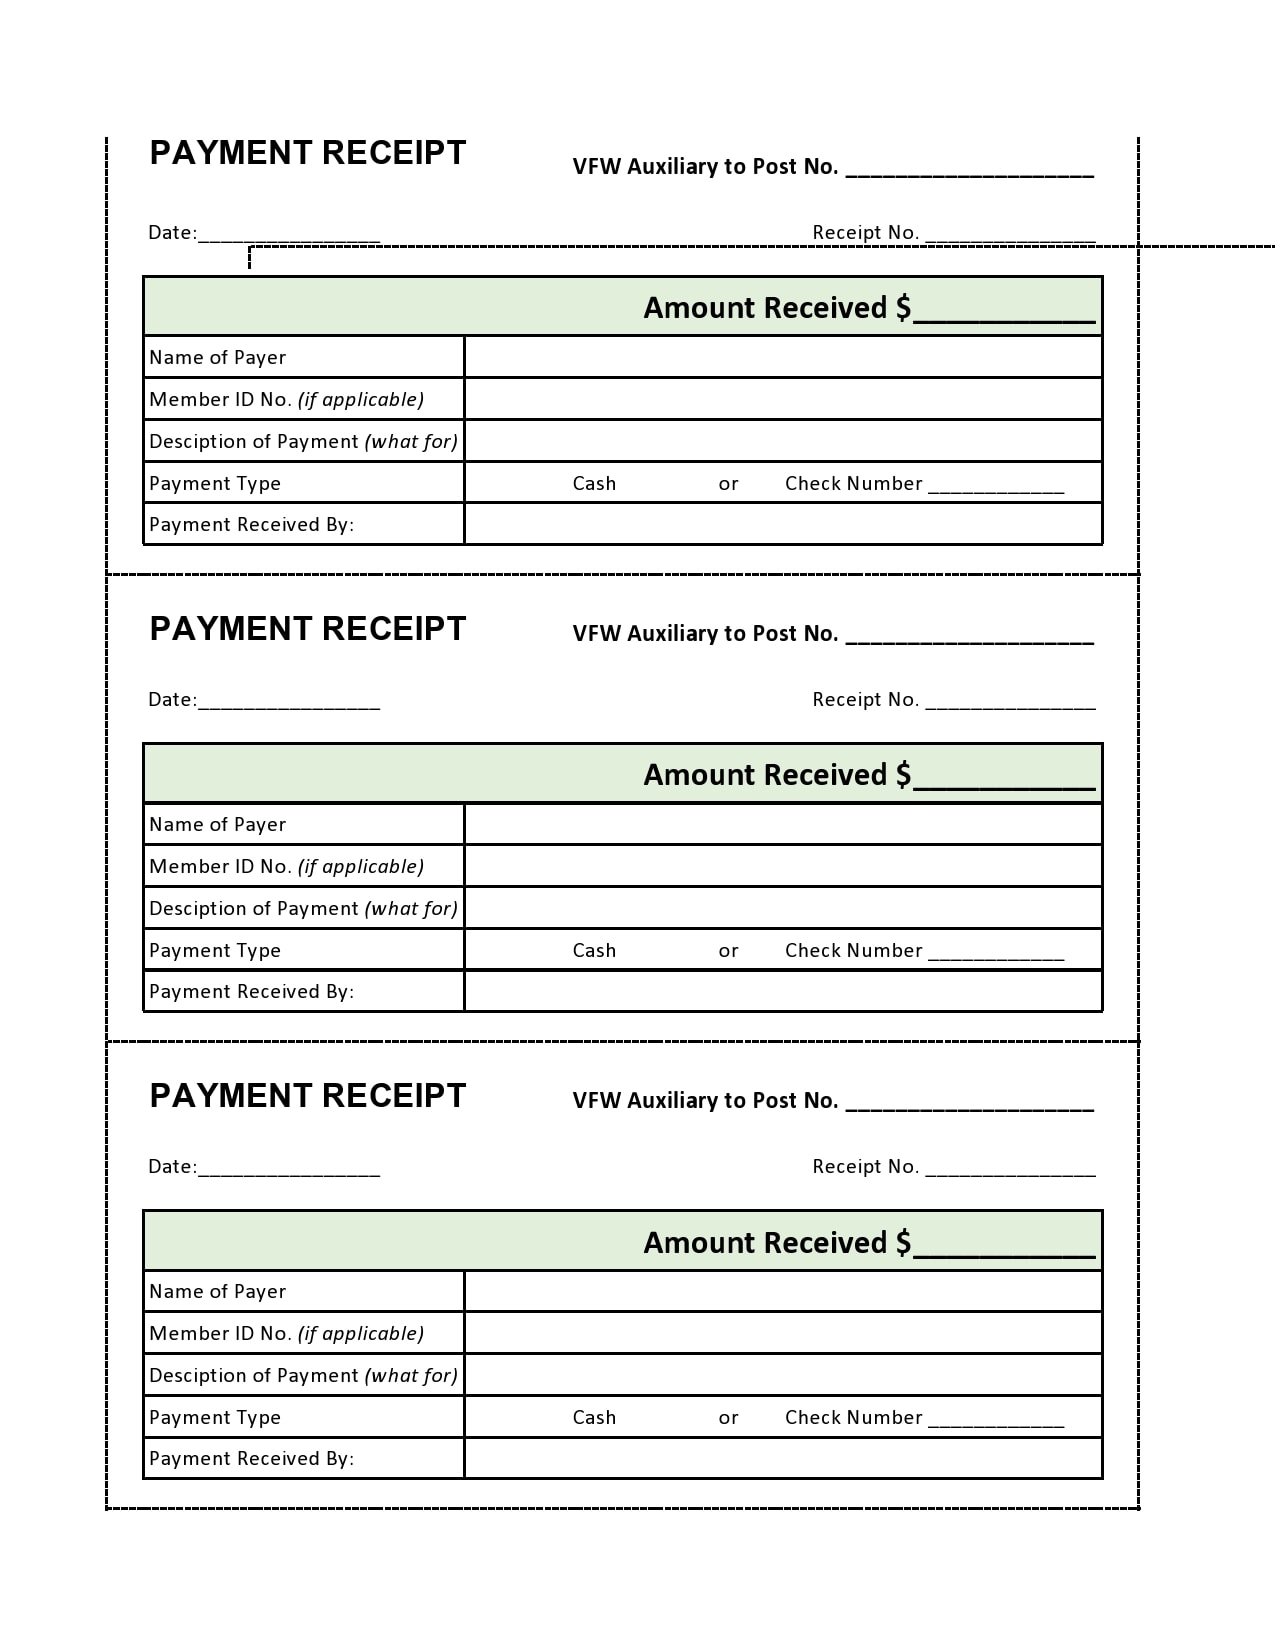
Payment Receipt Templates
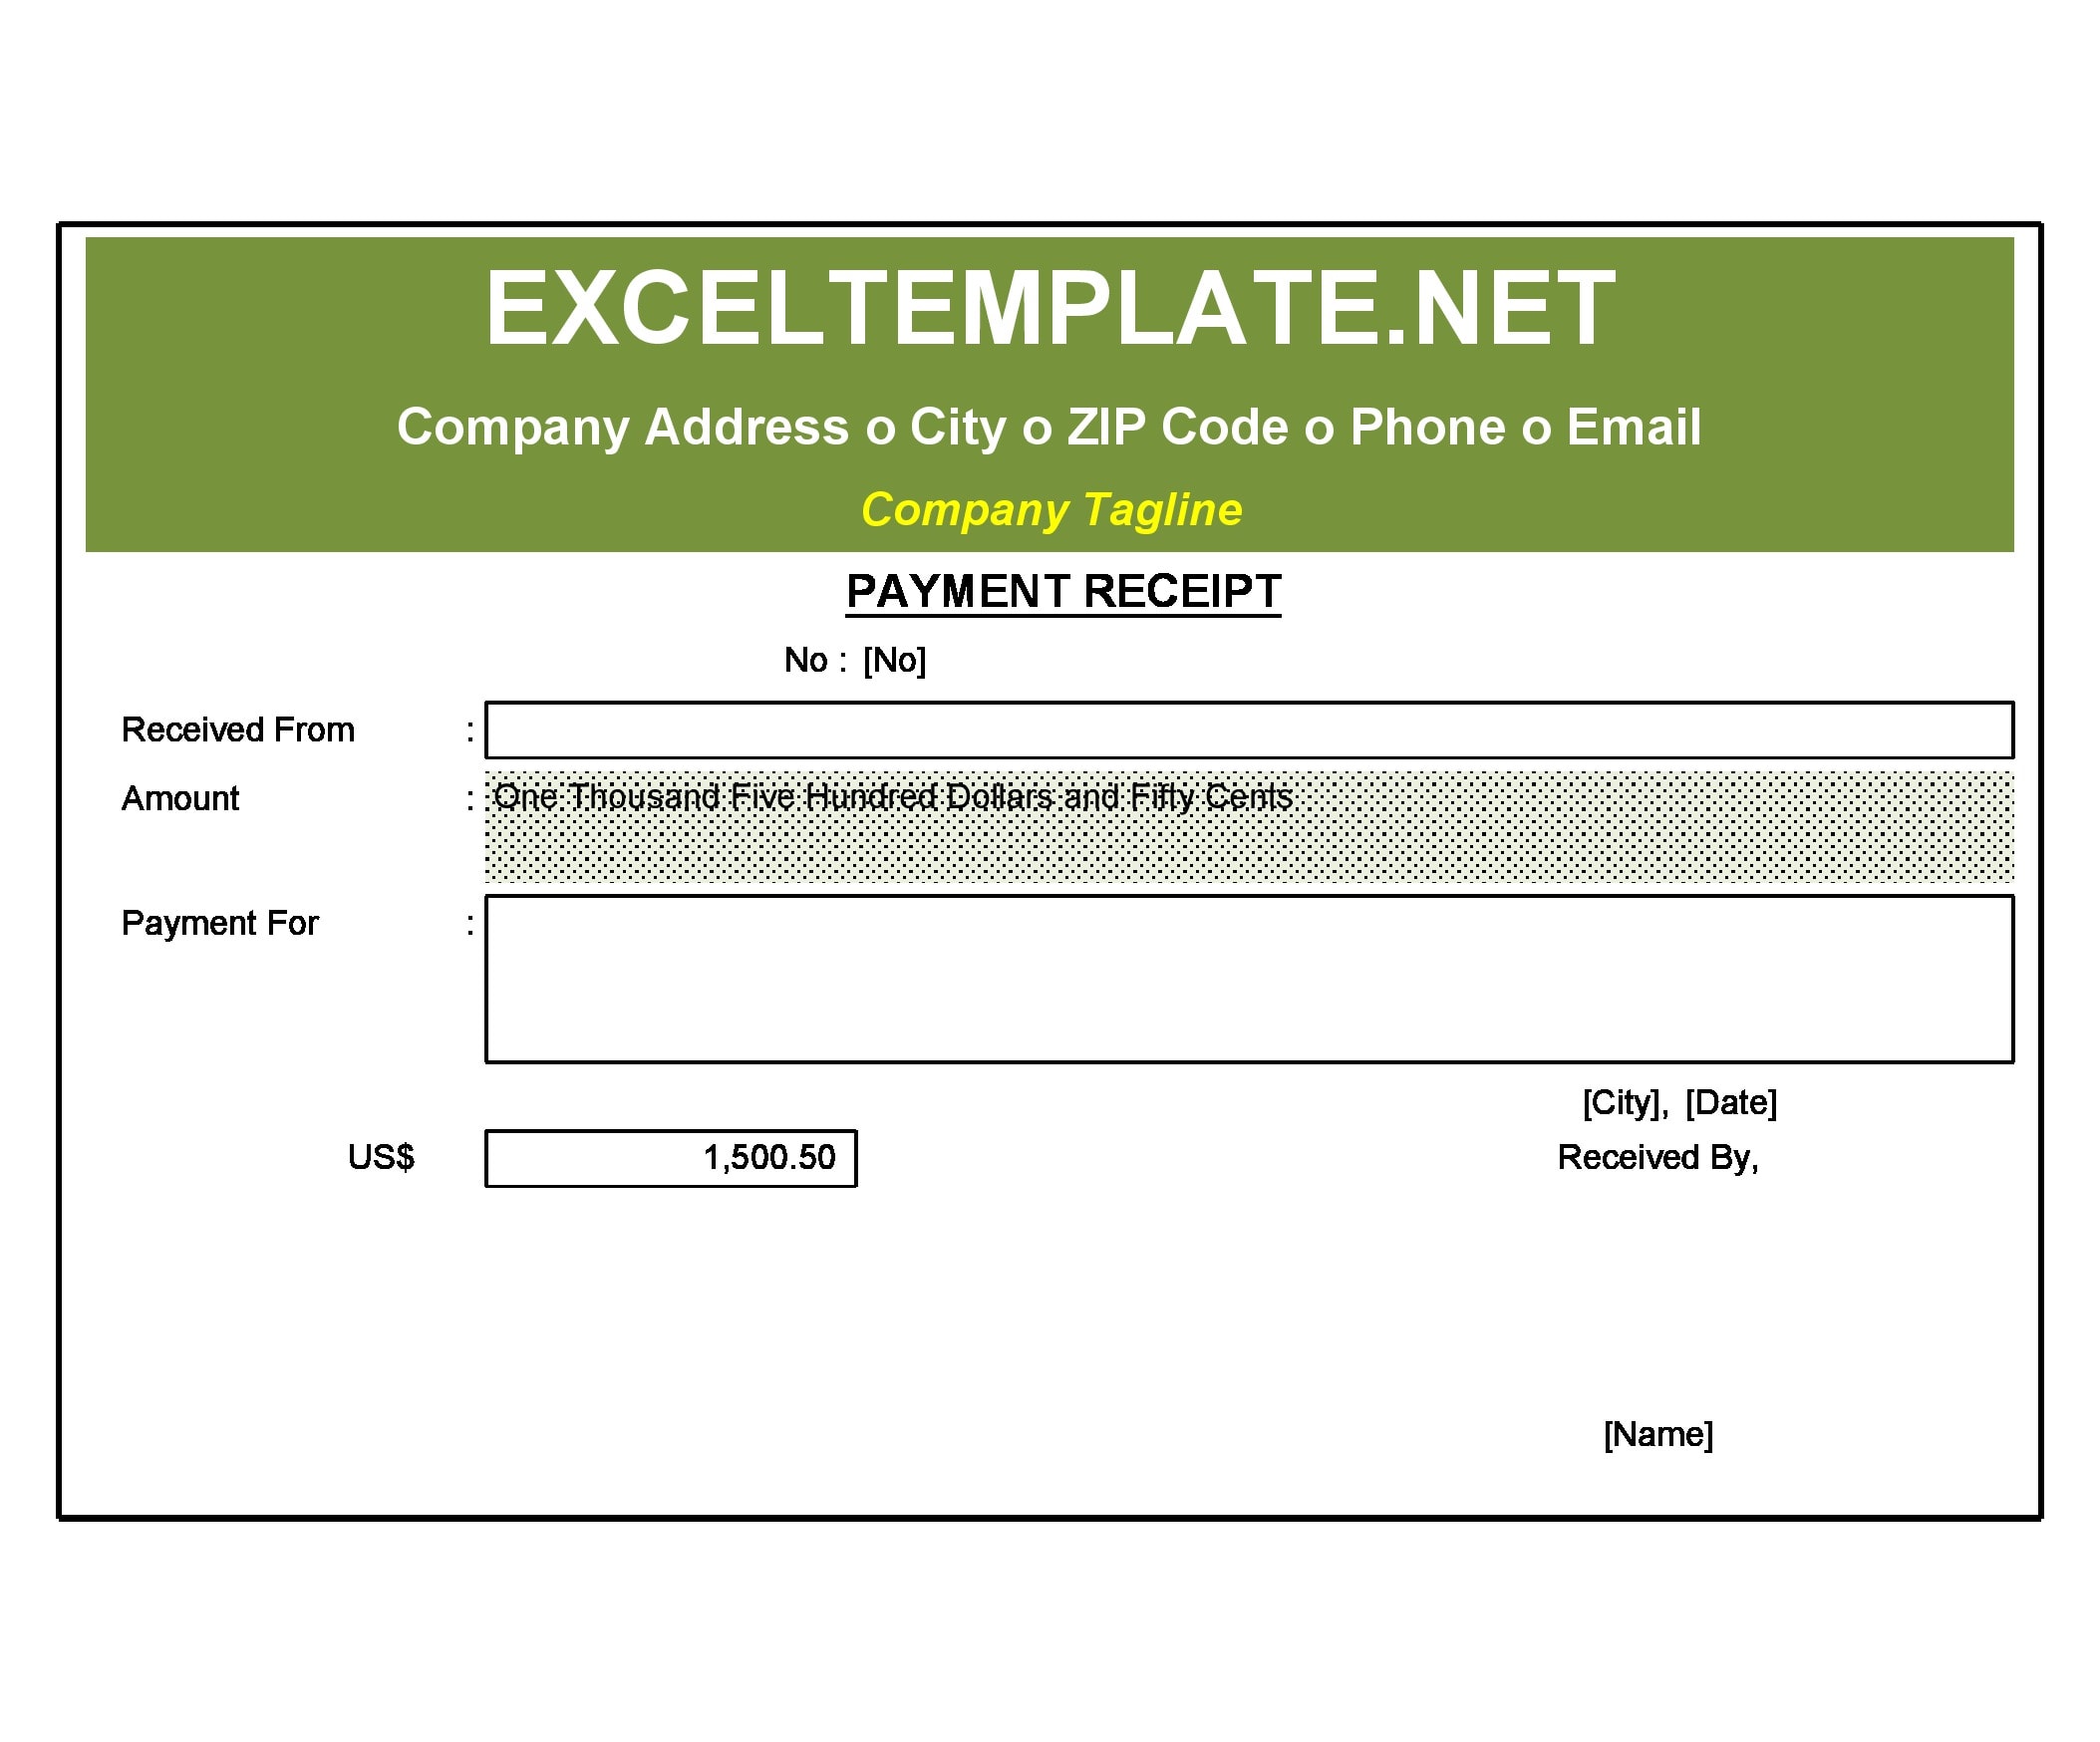

What is a payment receipt?
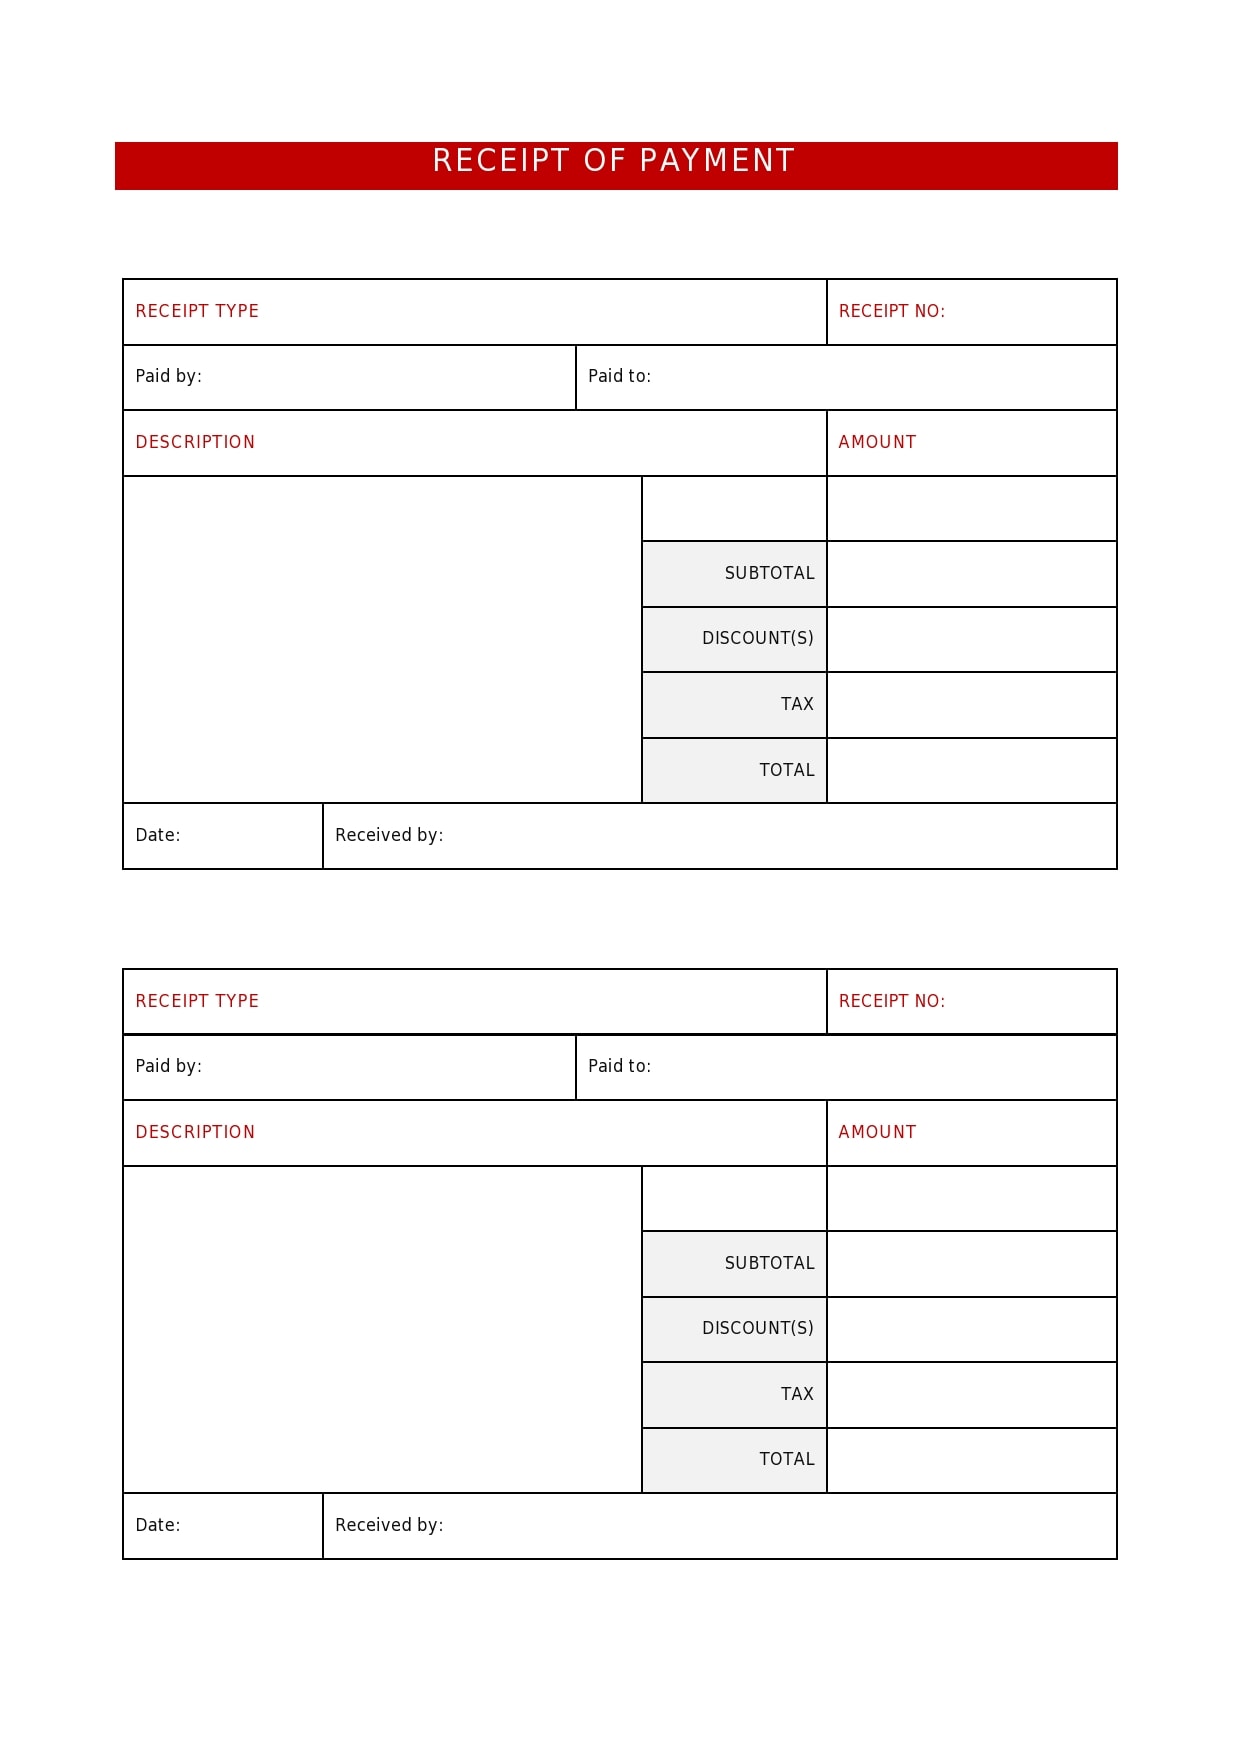
Also referred to as a receipt of payment, a payment receipt template is a document given or issued by businesses to customers. This document serves as proof for either a full or partial payment made. This means that every purchase made requires the issuance of this receipt.
Additionally, the document plays an important role in the sales communication process making it useful to you and your buyers. For instance, when a customer decides to exchange the product they bought or wants to return a purchase, producing this receipt helps you verify that they purchased the product from your store.
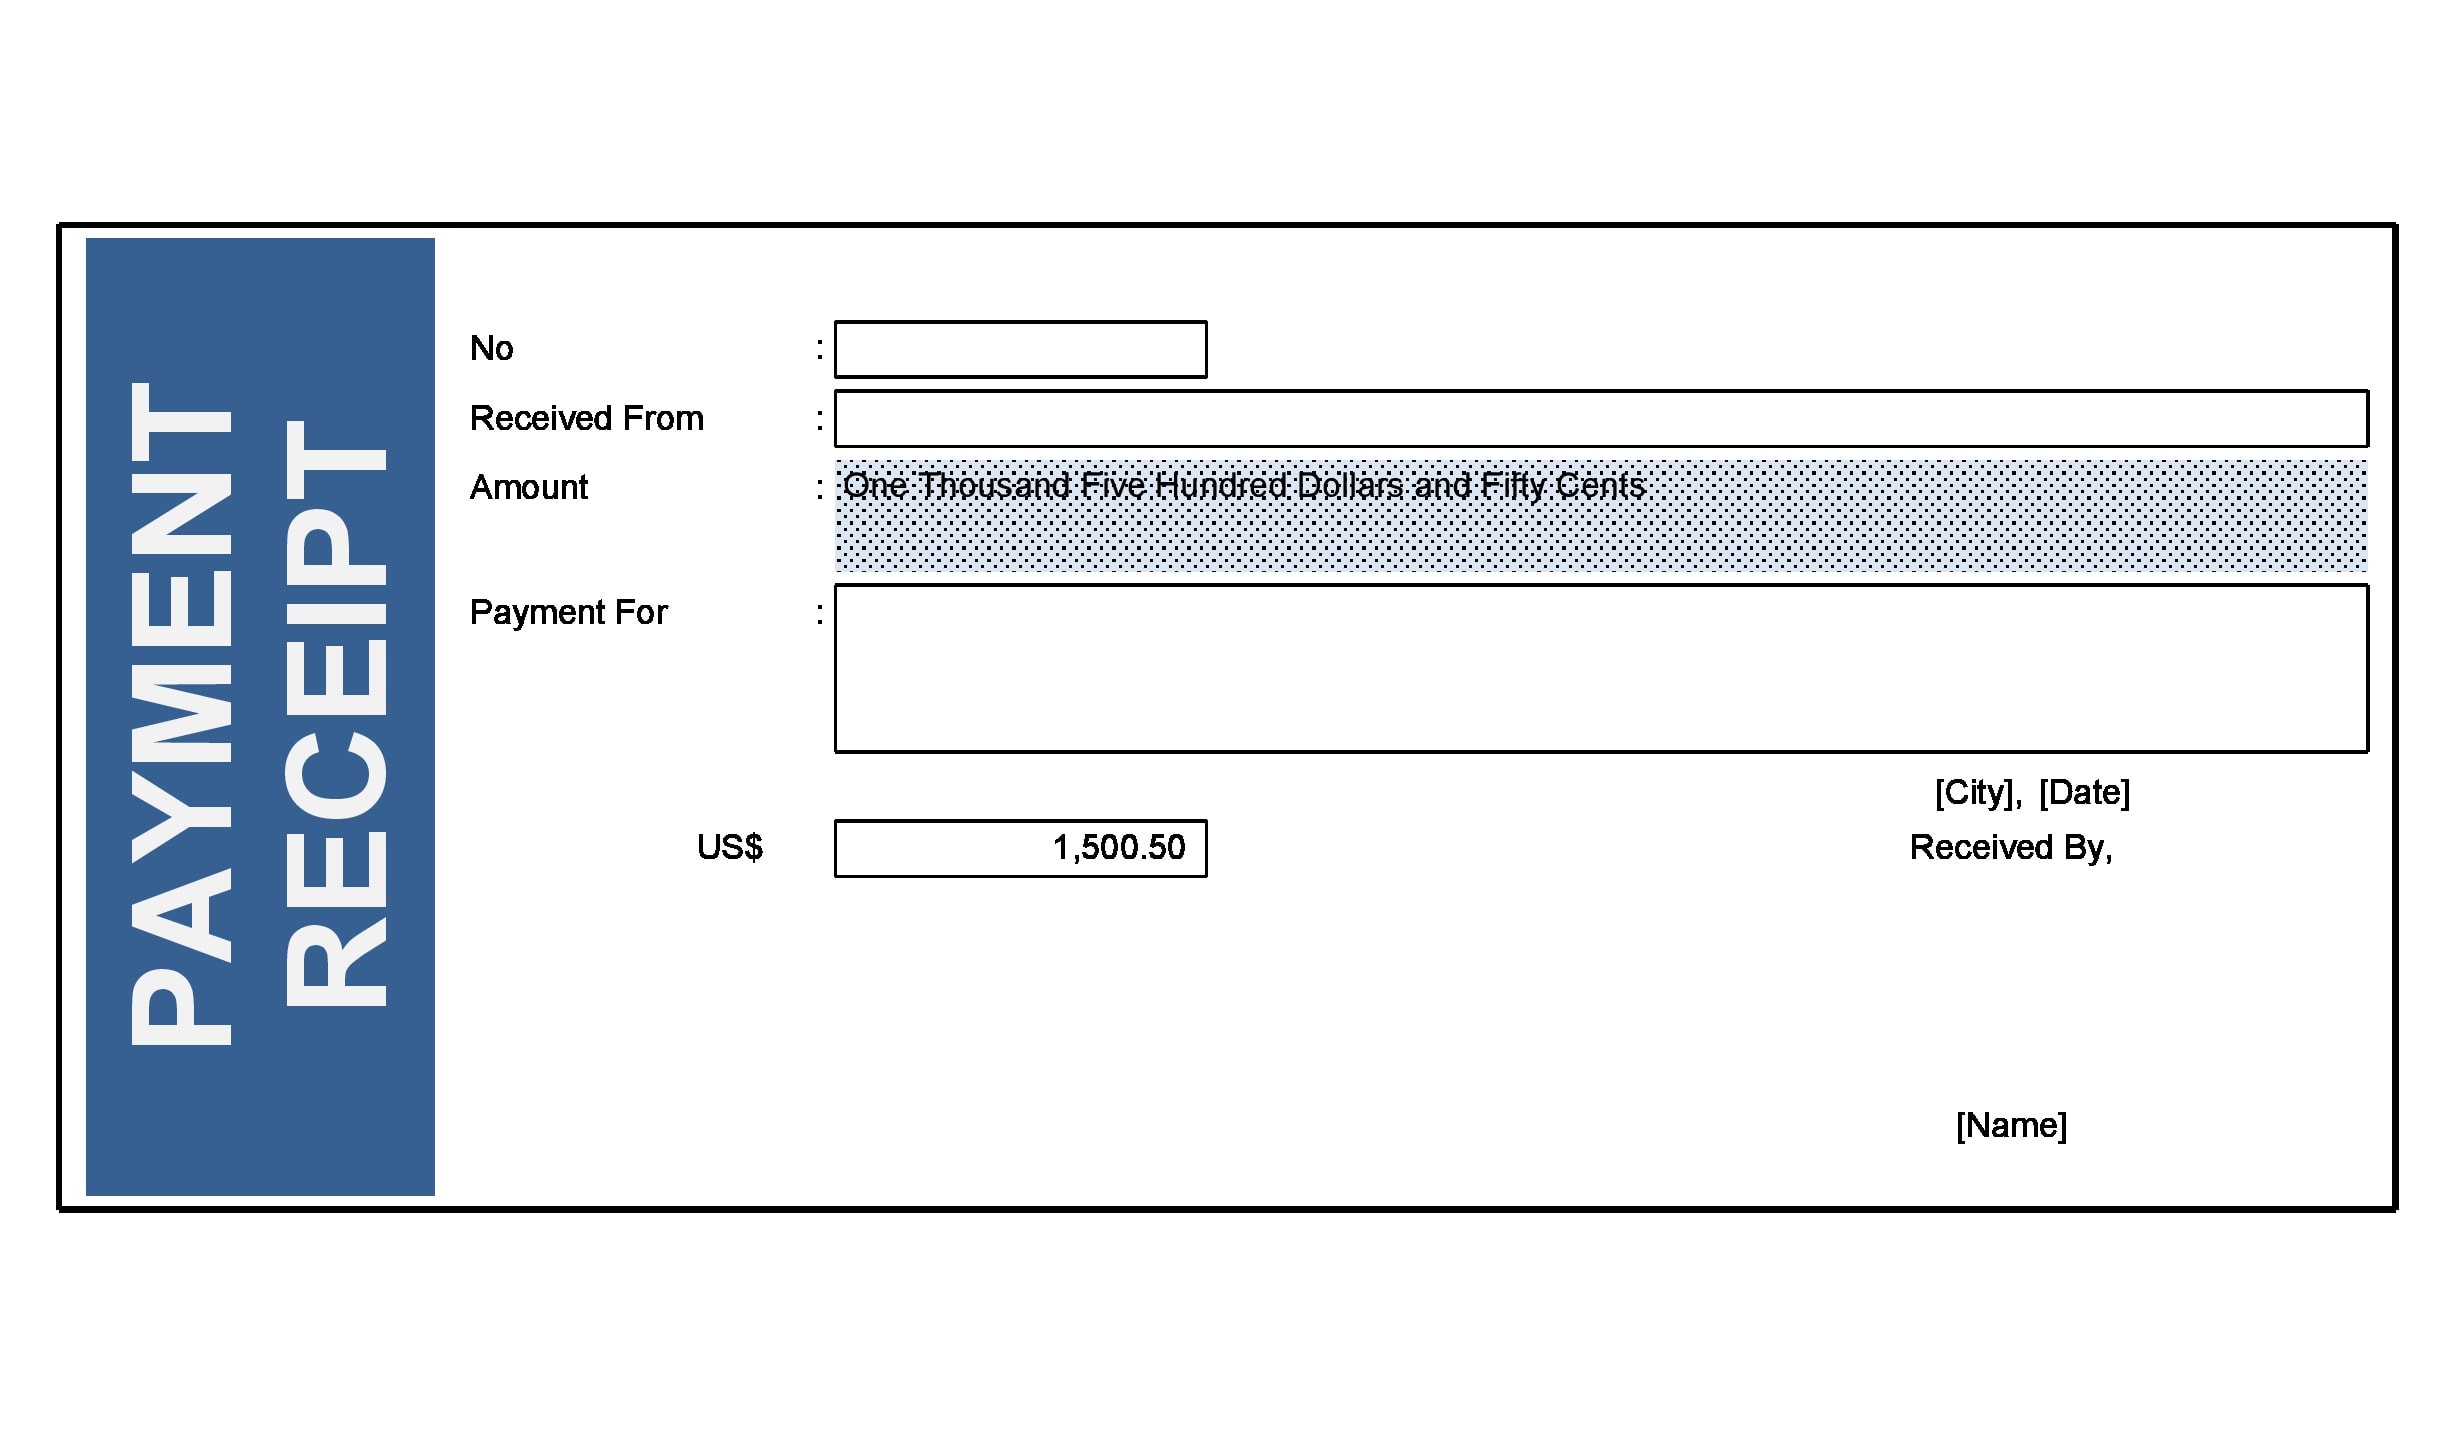
Sales Receipt Templates


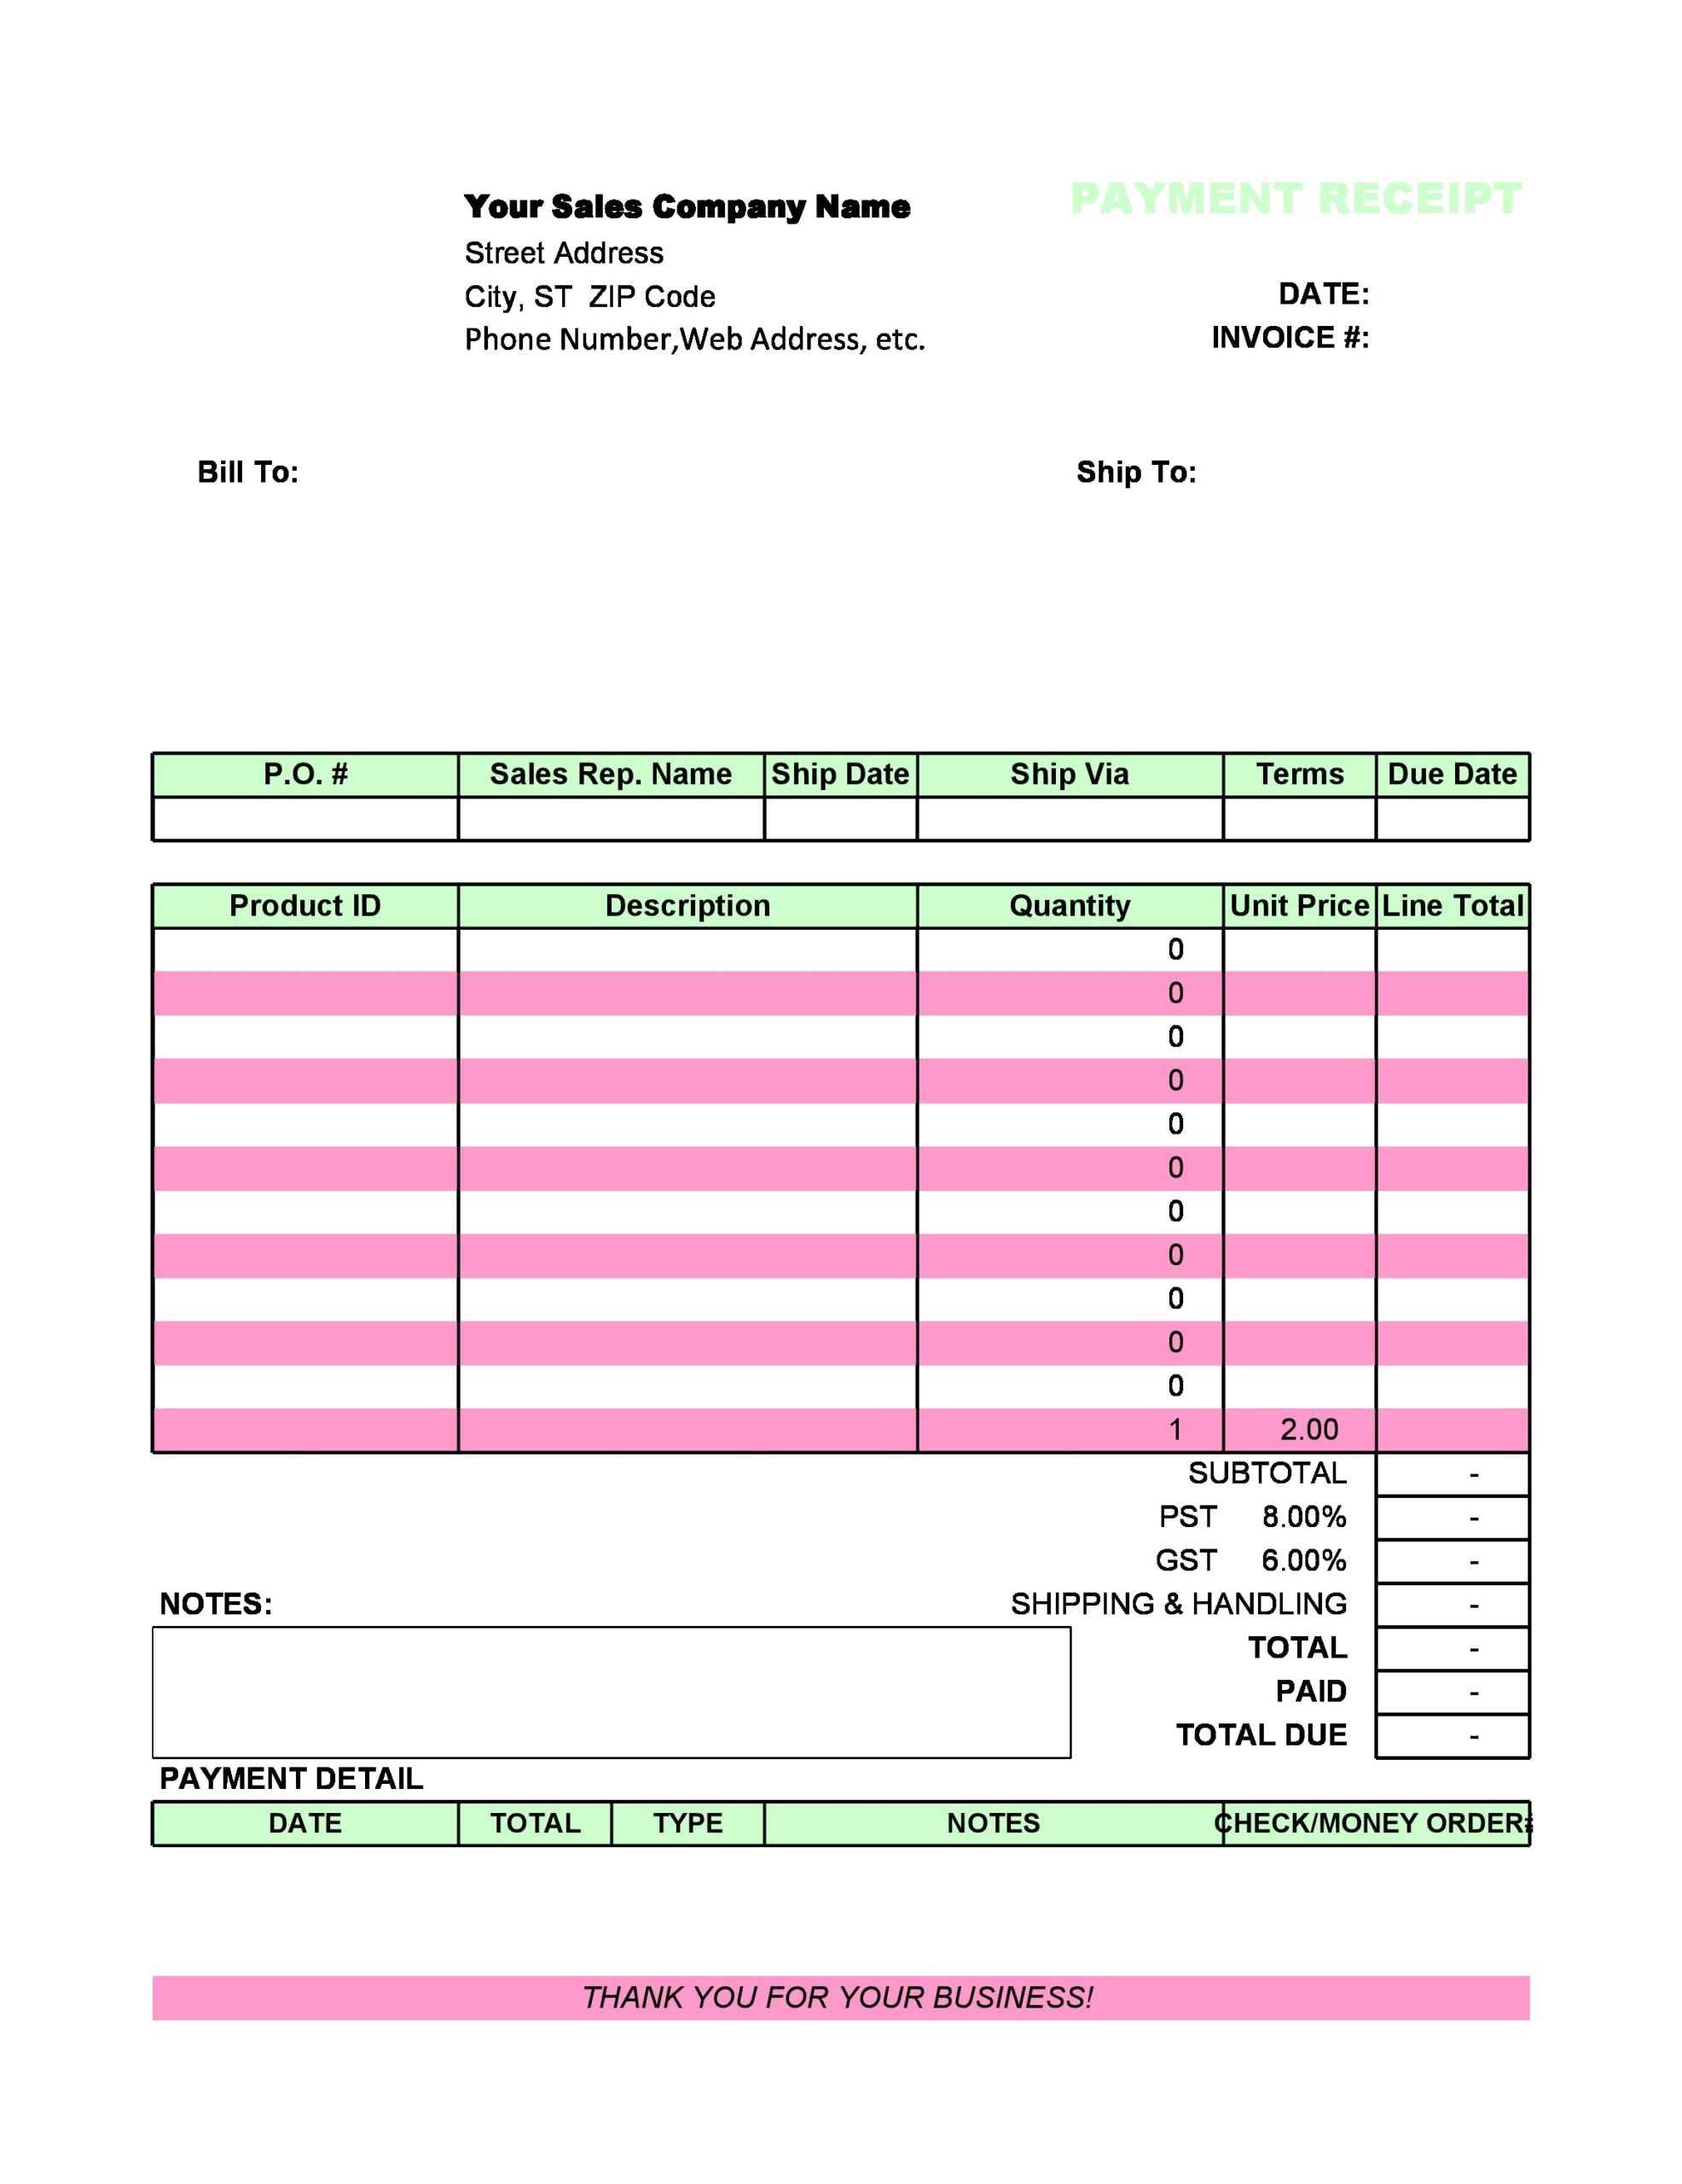
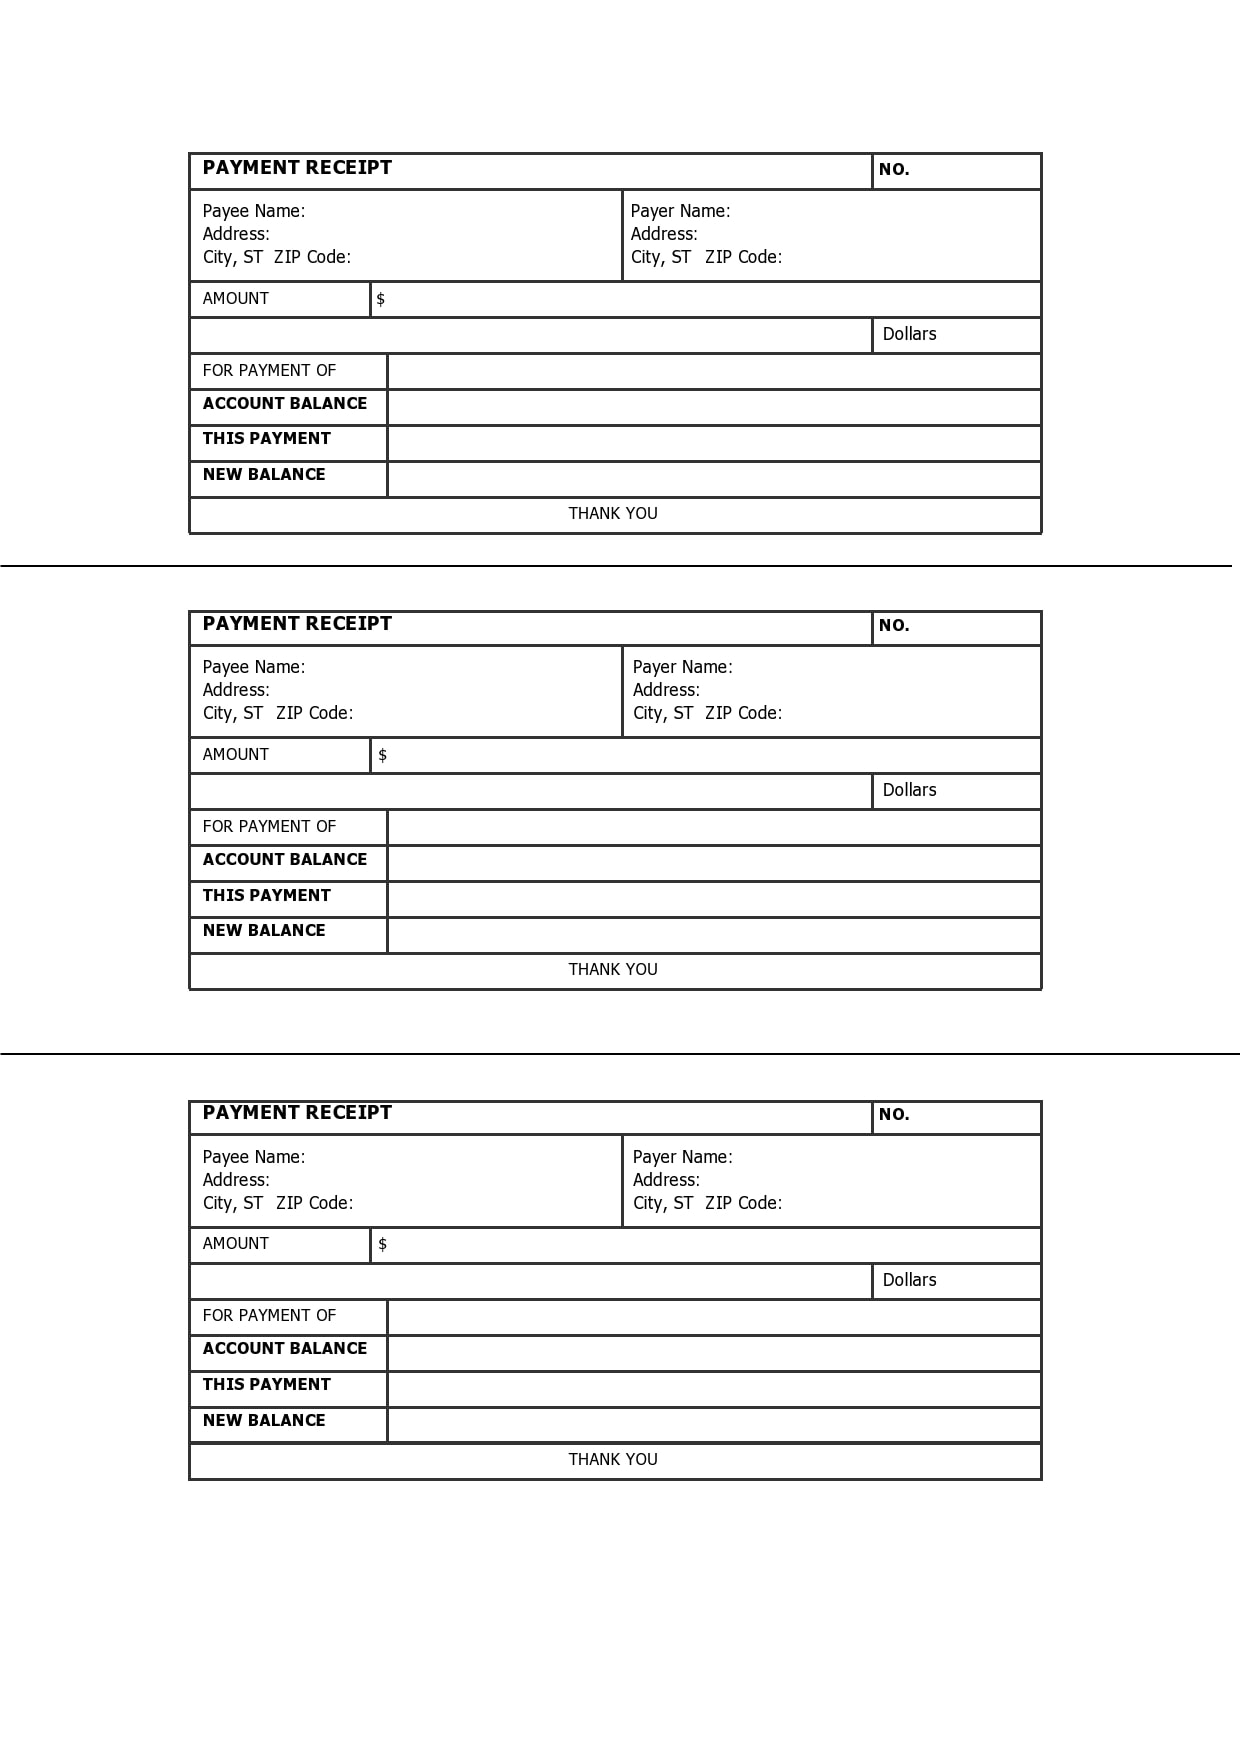
What to include?
There are no standard rules that state the information that you must include in a payment receipt template. However, there are details that are typically found in a payment or sales receipt template to make it effective:
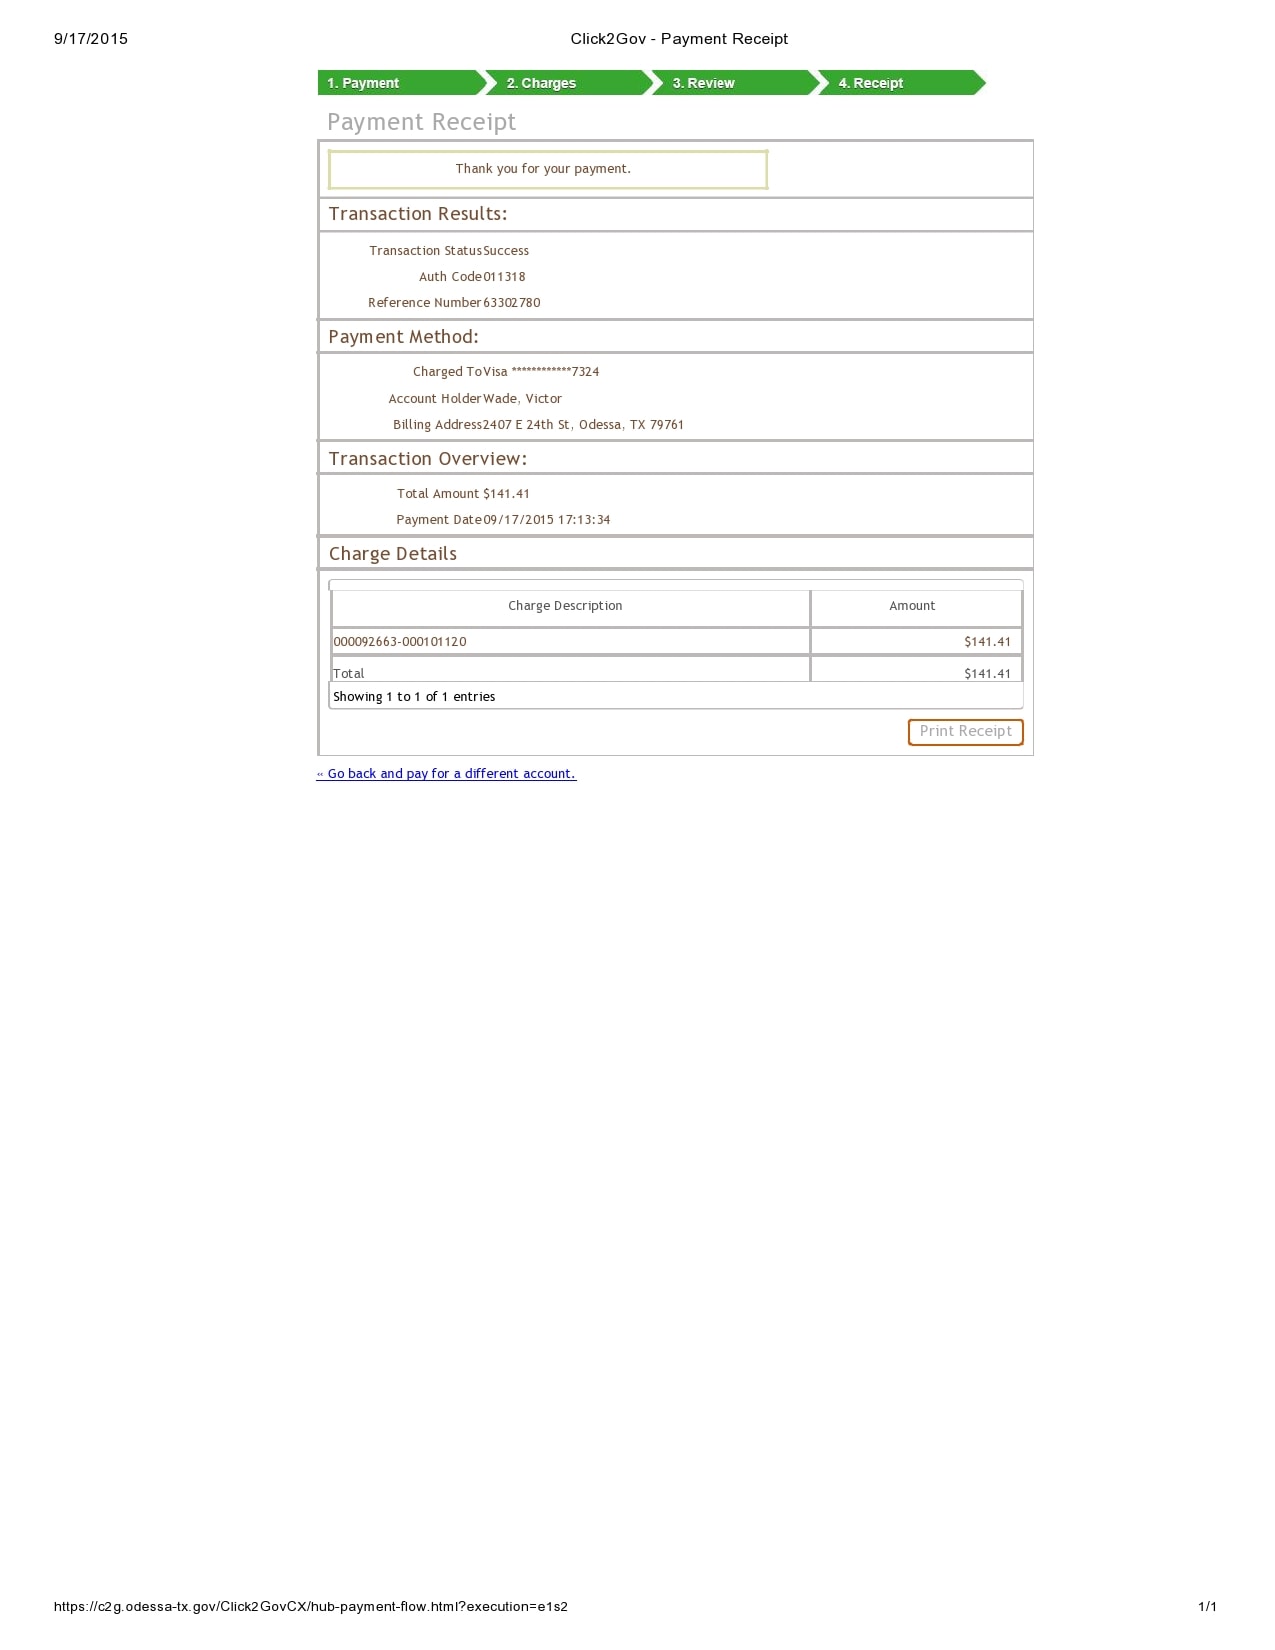
- Payment date: This refers to the date when the buyer makes a full or partial payment.
- Amount received: This refers to the amount that the buyer paid in exchange for the services or goods they purchased.
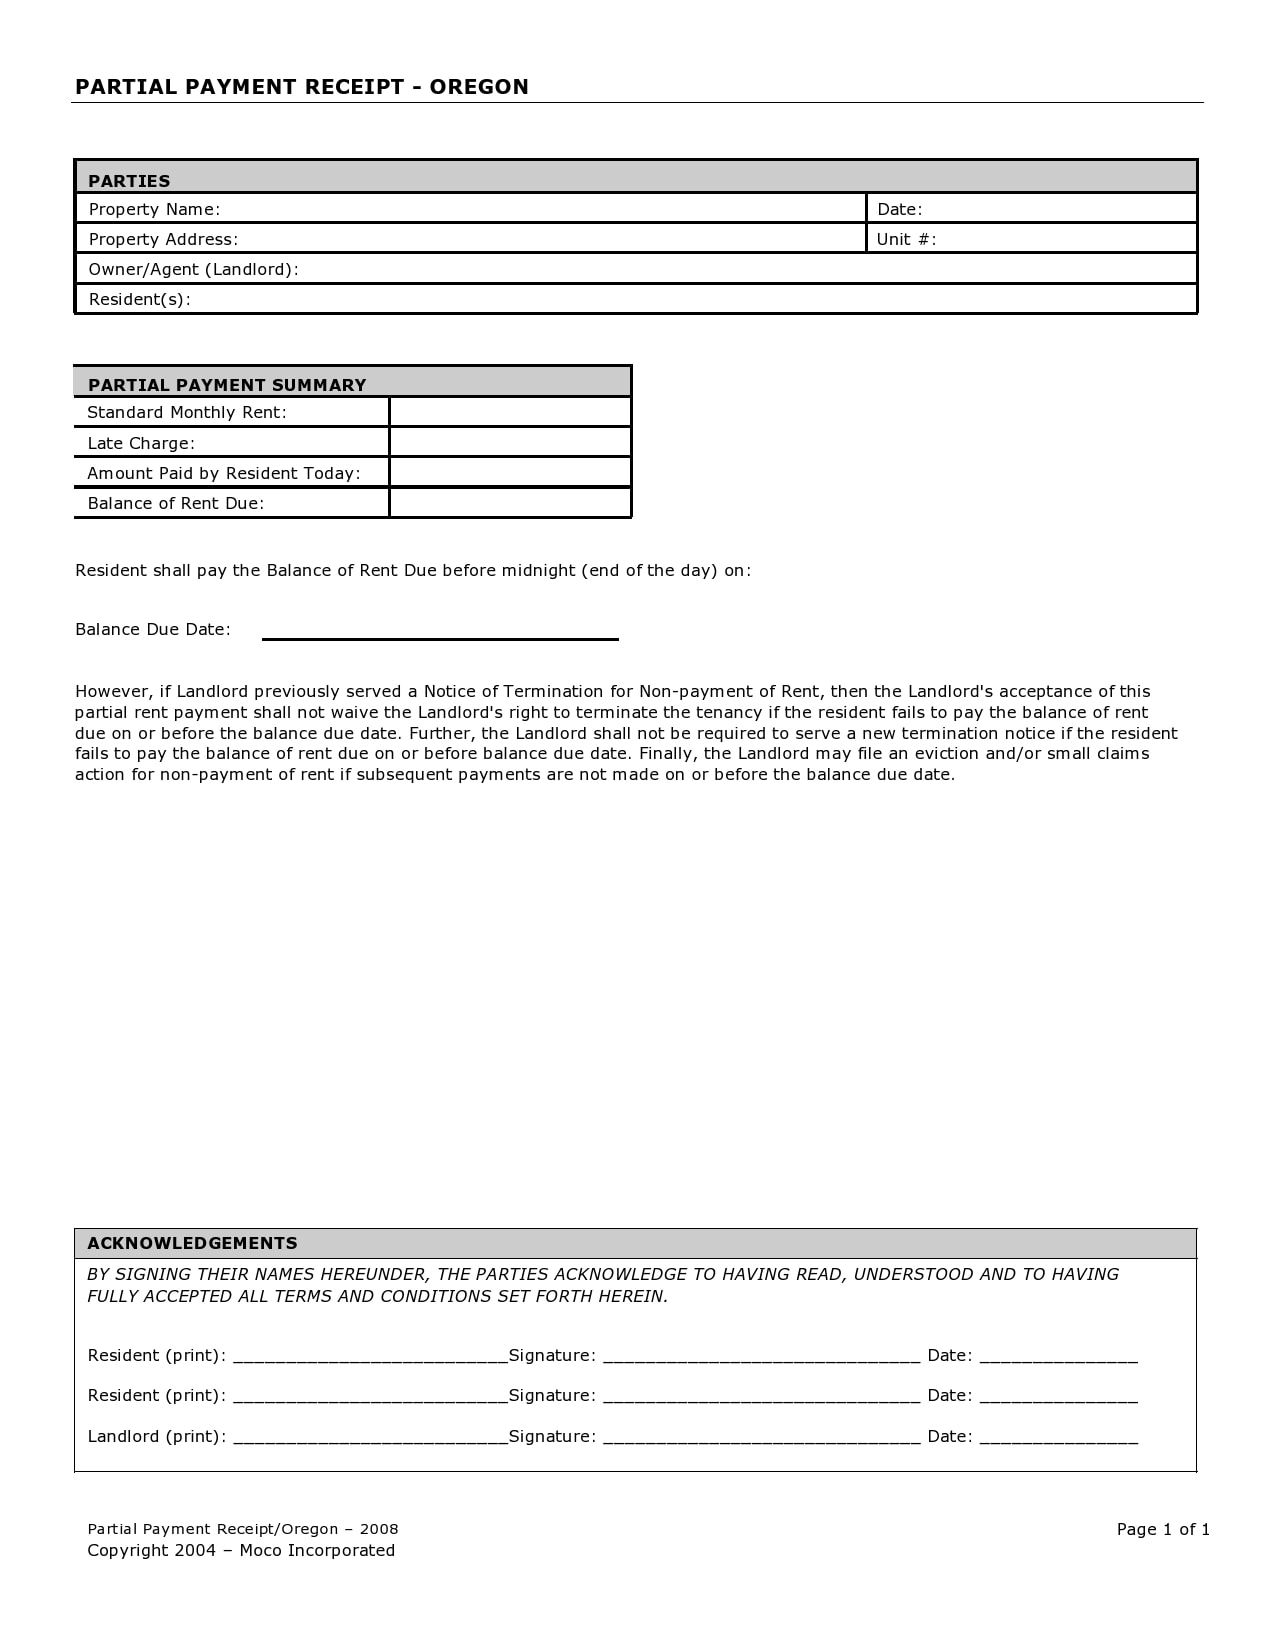
- Balance: The amount owed by the buyer if they made a partial payment.
- Your details as the seller: Basic information about your business.
- Quantity: The volume or amount of goods purchased.
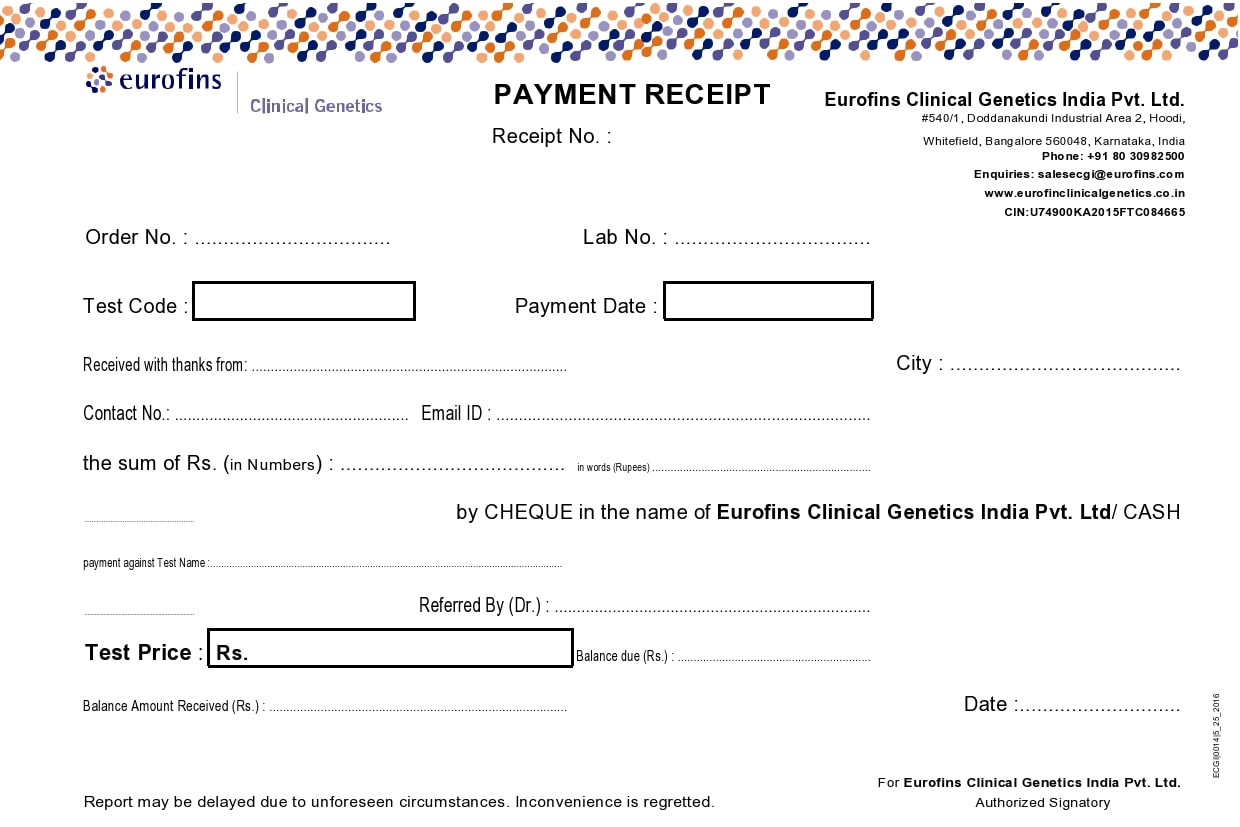
- Business logo
- Invoice number
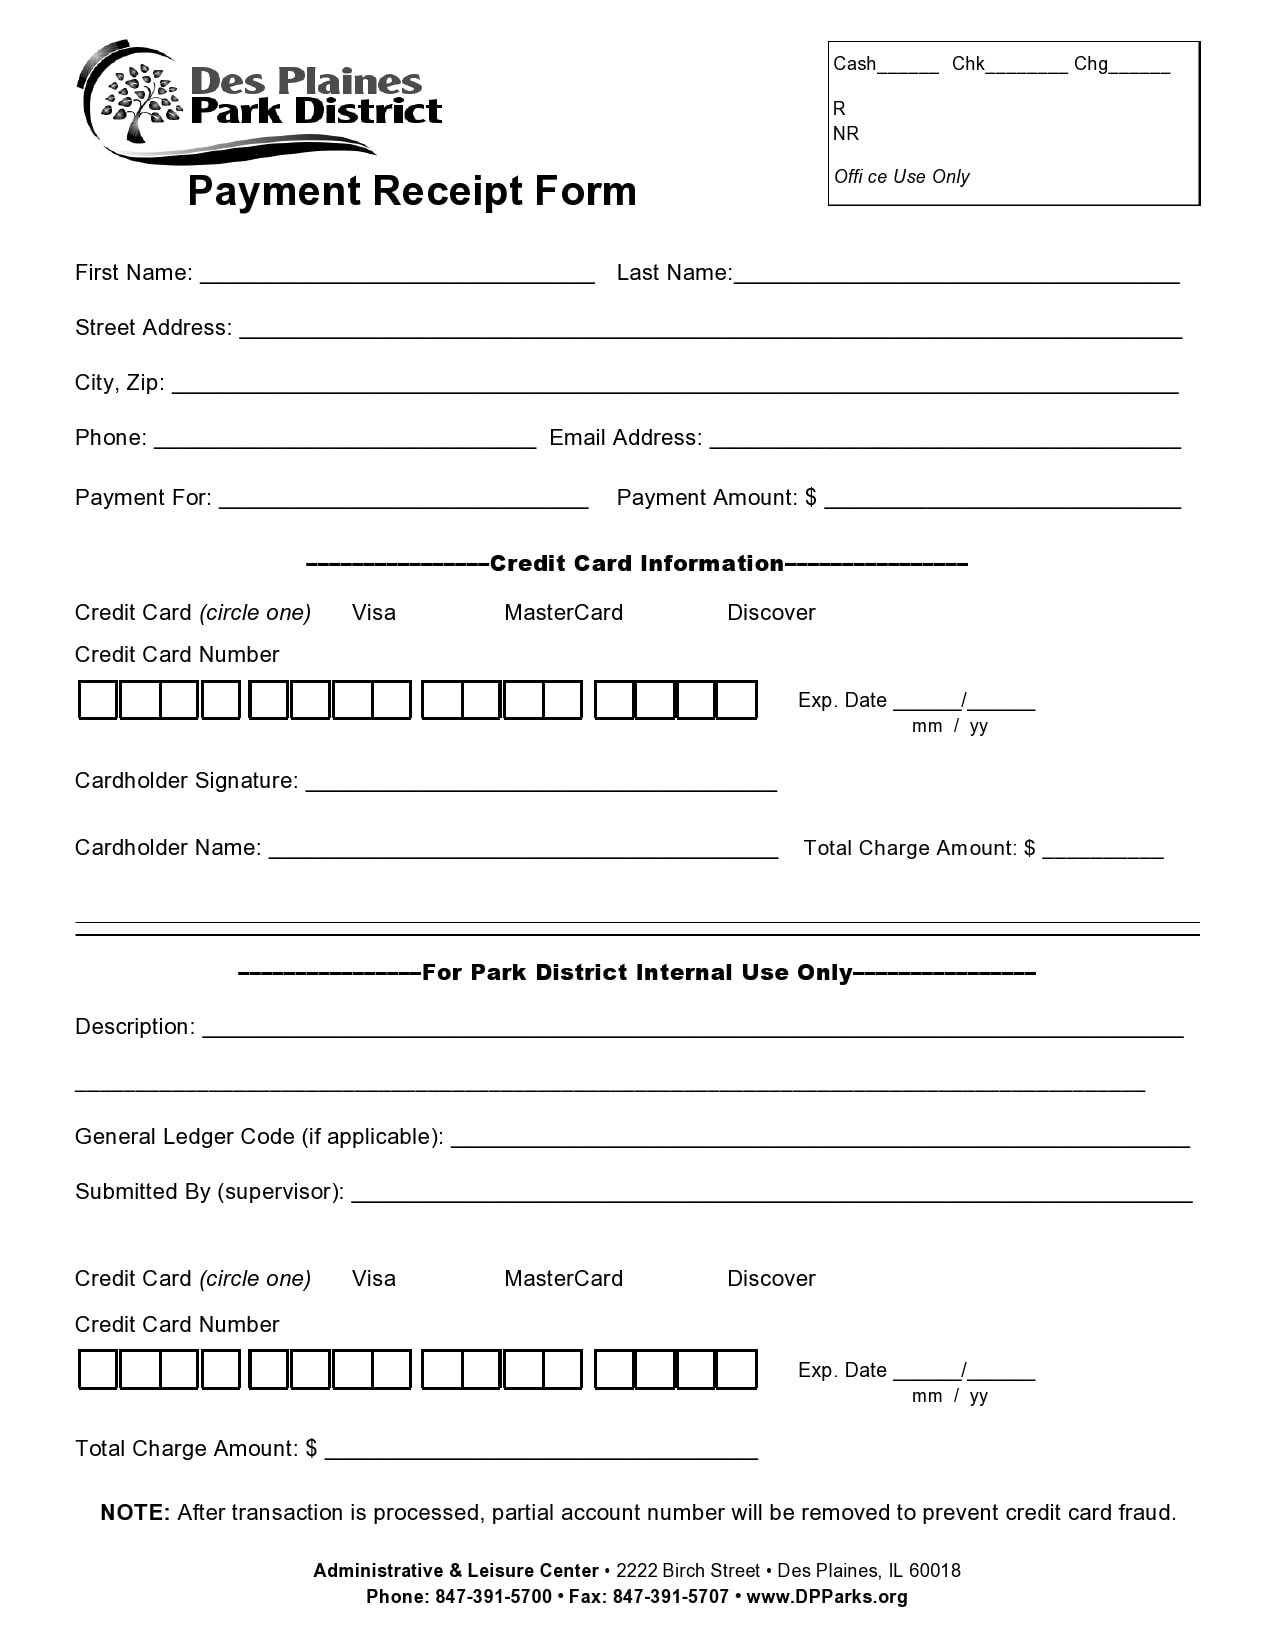
How do I make a payment receipt?
A payment receipt template serves as a document that a customer paid for a product or service. You can provide a receipt of payment to a customer either by handwriting one on a sheet of paper or by creating one on your computer with a template.
As a business owner, you should know the importance of properly writing this receipt as you can use for a variety of reasons. To make your own receipt, follow these steps:
- Purchase a receipt book for your business
You can buy this at any office supply store. Some even come with sheets of carbon paper that you can reuse. Most of these books are usually pre-numbered with the headings already in place, thus, making it easier for you.
It’s recommended to get a booklet with 2-copy forms so you get to keep a copy for your business’ records. In the case where you don’t have a booklet or you have run out of pages, you can handwrite the receipt on a piece of paper and have it photocopied.
When handwriting the receipt from a booklet, place the carbon paper between the original form and the copy. Write on your receipt using a pen and make sure to press hard enough so that the information gets transferred to the copy. - Include the receipt number and the purchase date
When filling the receipt, write the complete date when the sale occurred and the receipt number in the next line. Each receipt must have a unique number so that it’s easier to track every sale you’ve made.
Receipt numbers generally start with 001 then go up a number for each receipt issued. You can do this beforehand so that you won’t have to write the number each time you make a sale.
If you run out of numbers, you can go back to the beginning. Just make sure to write the date on each receipt. Fortunately, most ready-made receipt booklets already have printed receipt numbers. - Write the name of your business along with your contact details
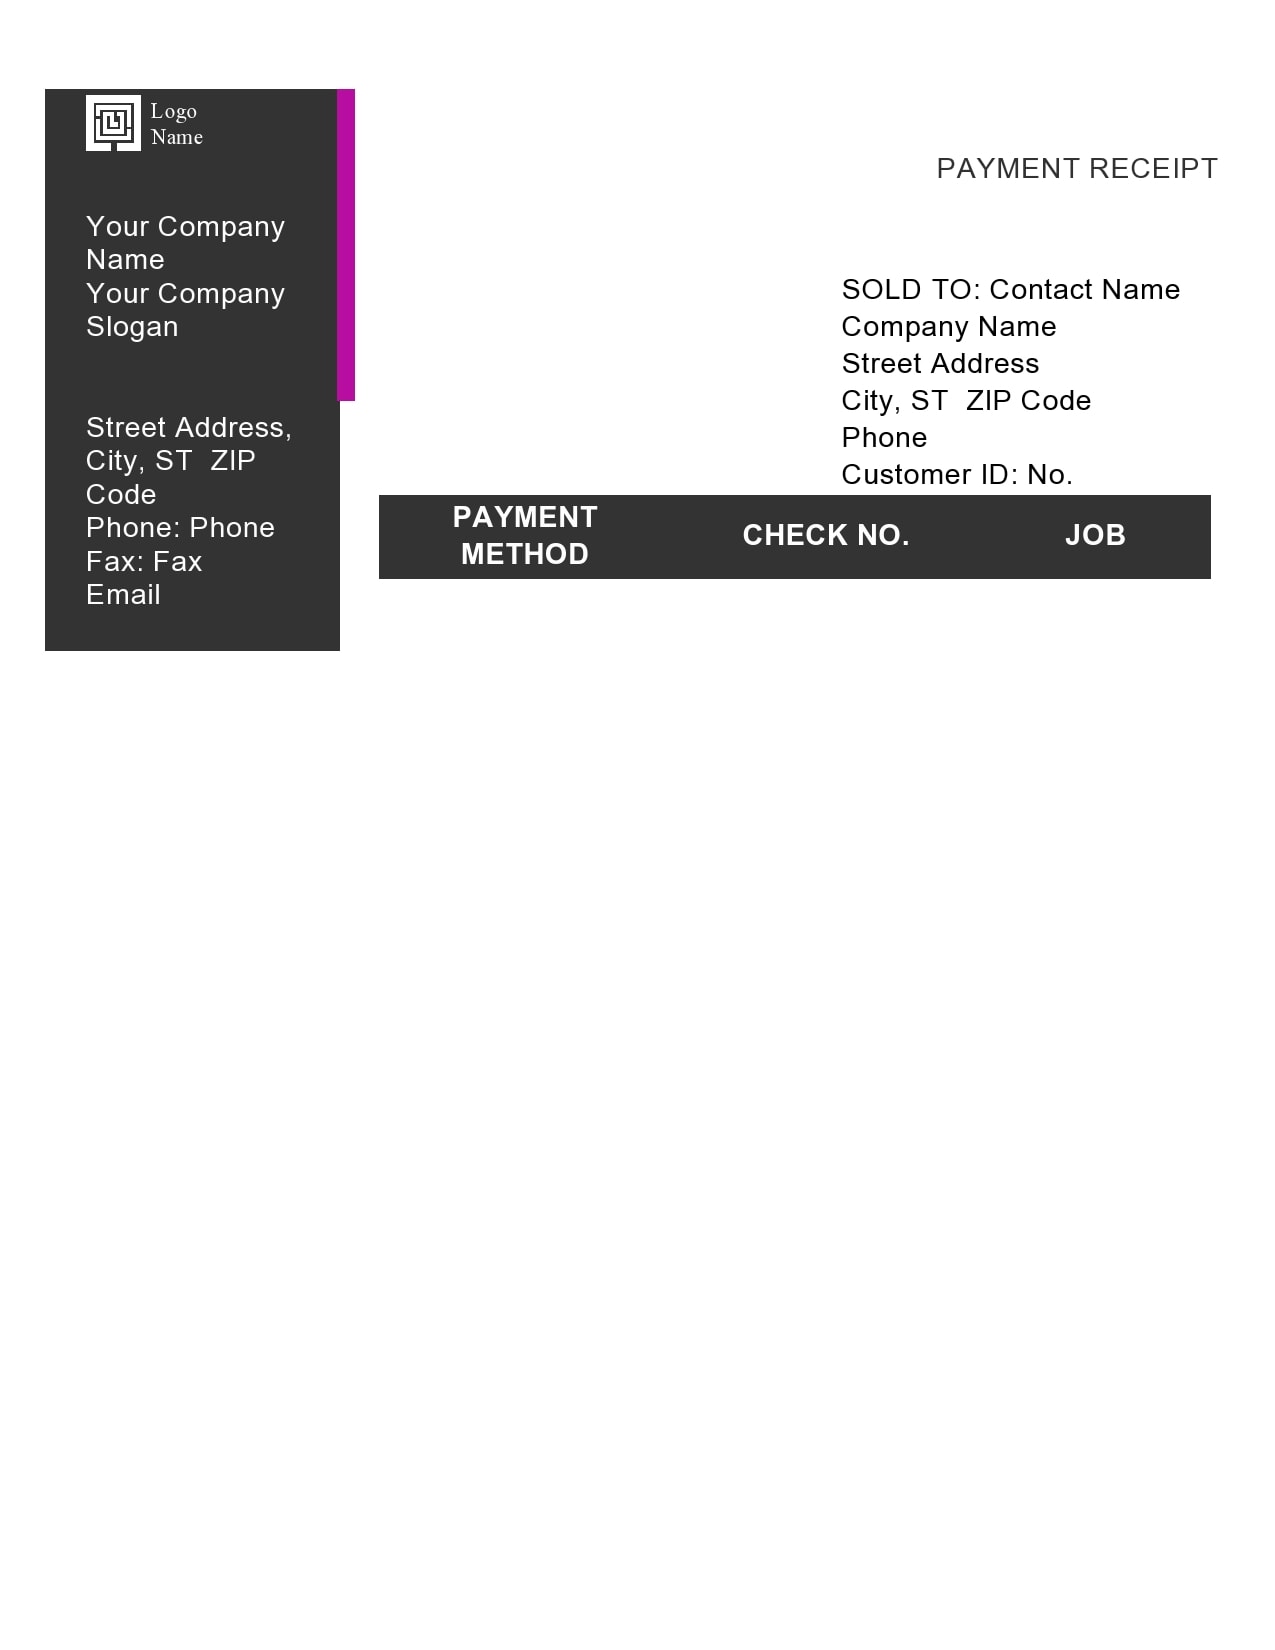
At the top-left part of your receipt, add your company’s name and your company’s contact details. If you prefer, you may also include other information like your social media profiles, website or your business hours.
All of this information proves that your business made a sale and it helps the customer reach out to you if they need something. If you run a small business, you won’t need a business name. Instead, you can write just your complete name as the seller. - Itemize the items bought and their prices
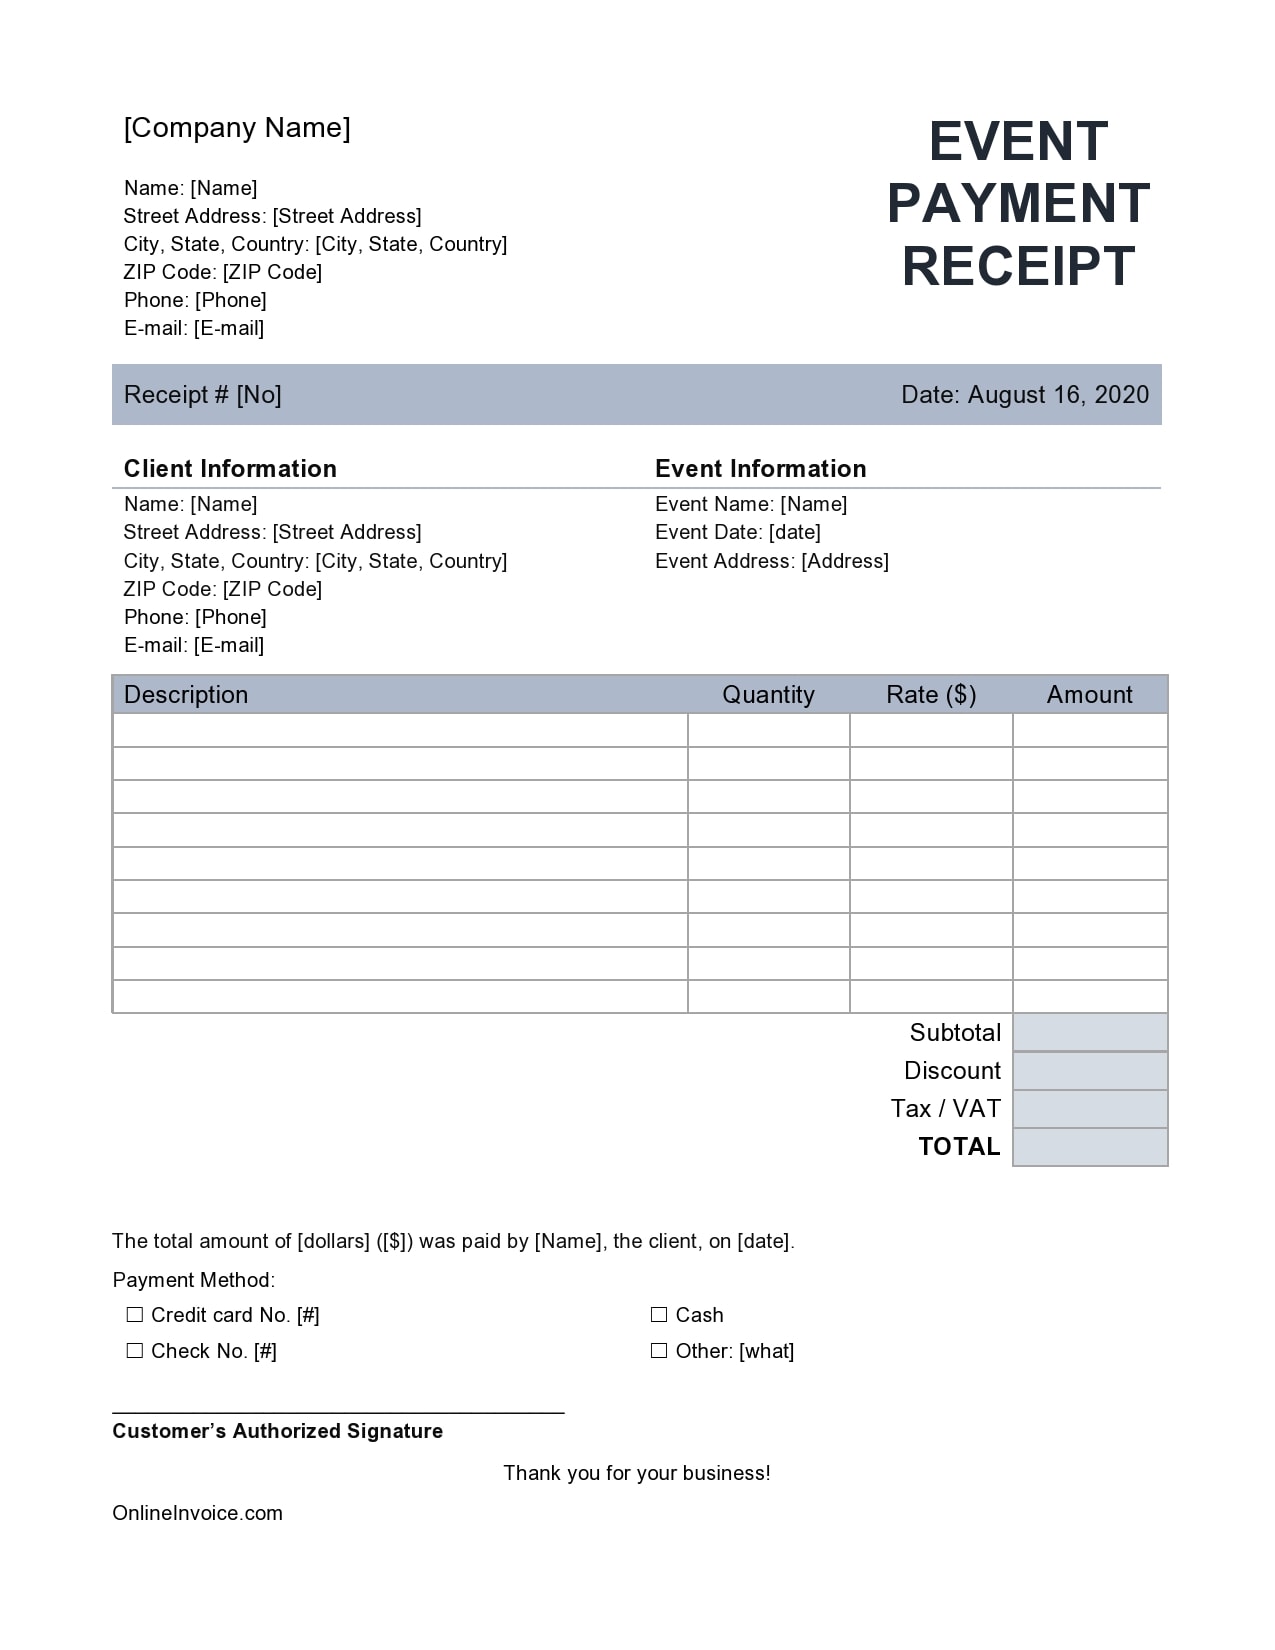
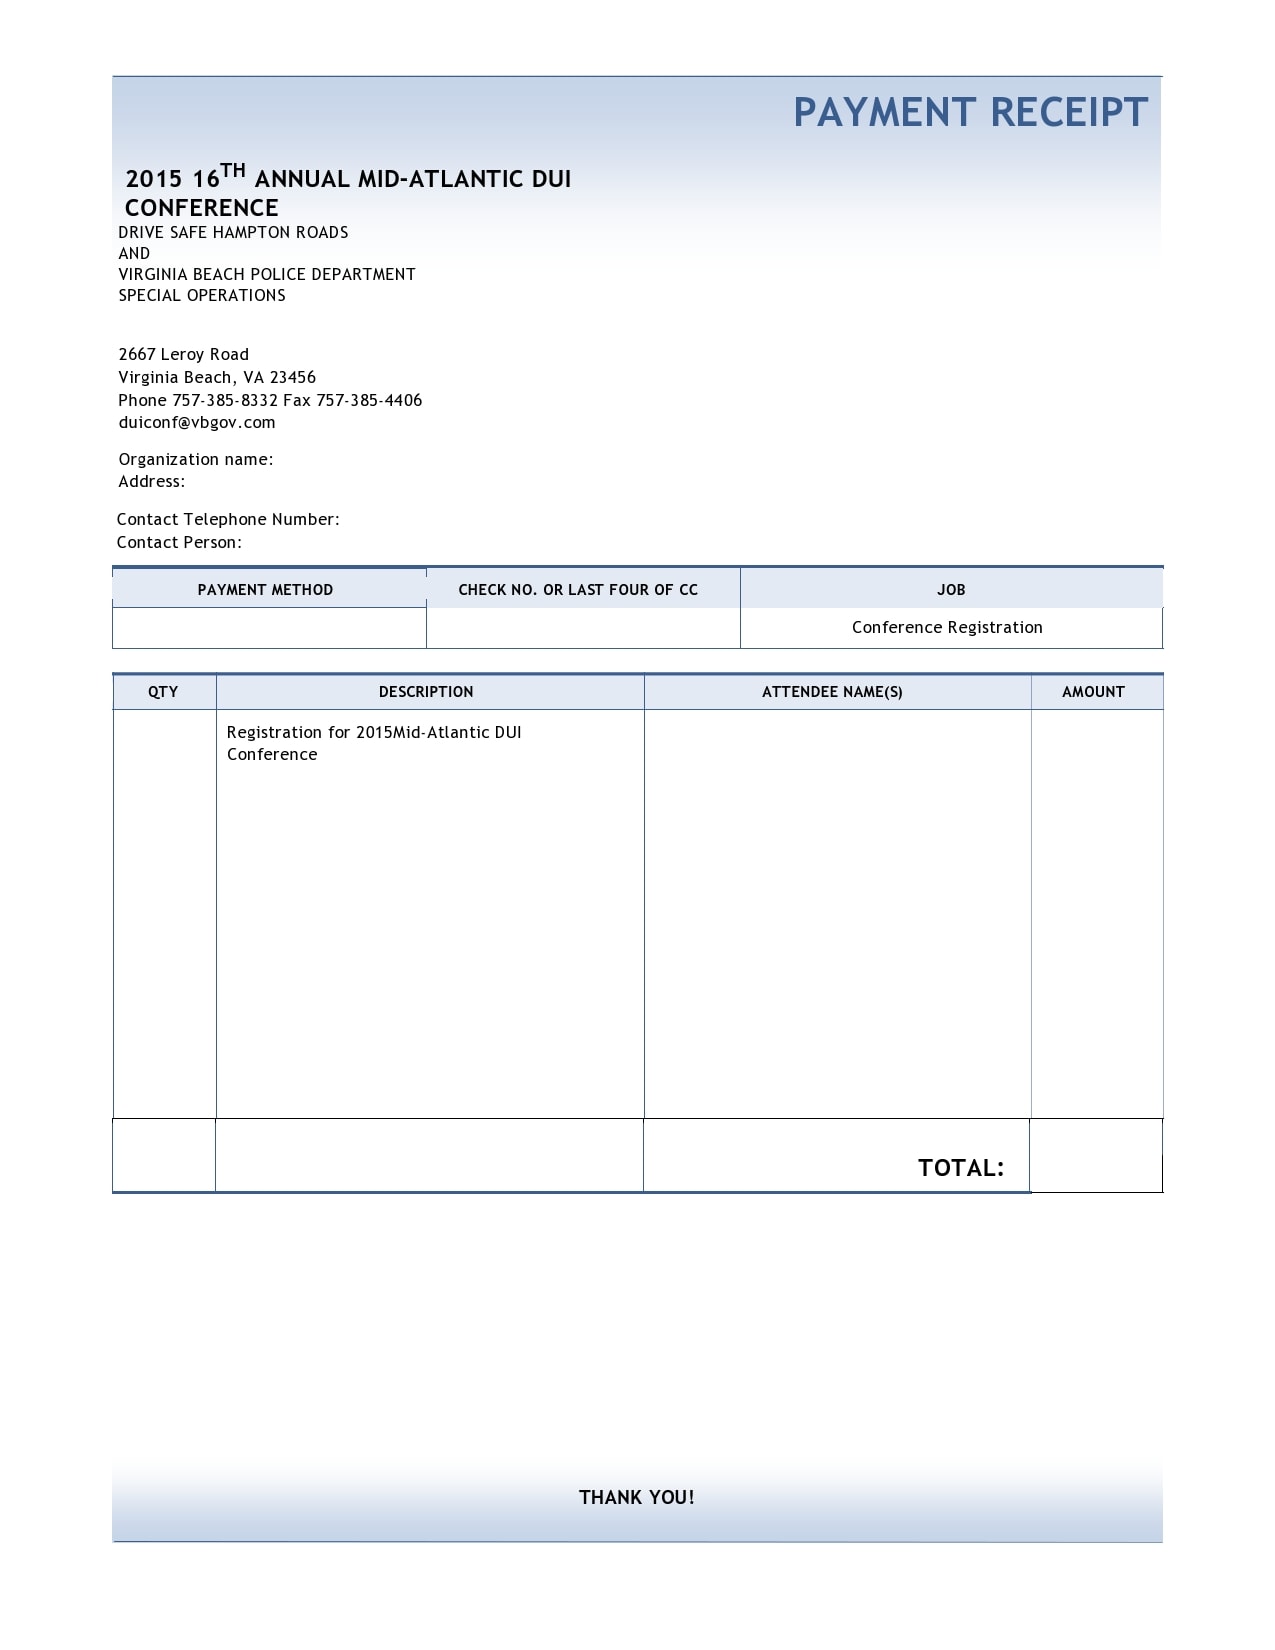
Start writing the names of the products on the one side of your proof of payment receipt and the cost on the other side. If there are more than a single item sold, list the items and their costs in rows. - Indicate the subtotal
The subtotal is the total cost of all the products purchased before you add the taxes and other fees. Add the cost of each product purchased then write the subtotal at the very bottom. - Add taxes and other fees
Add the taxes and other charges on one side and the values of these fees on the other side. Next, add all of the applicable taxes and fees to the subtotal to get your grand total. This is the amount that your customer will have to pay. - Write the name of the customer and their payment method
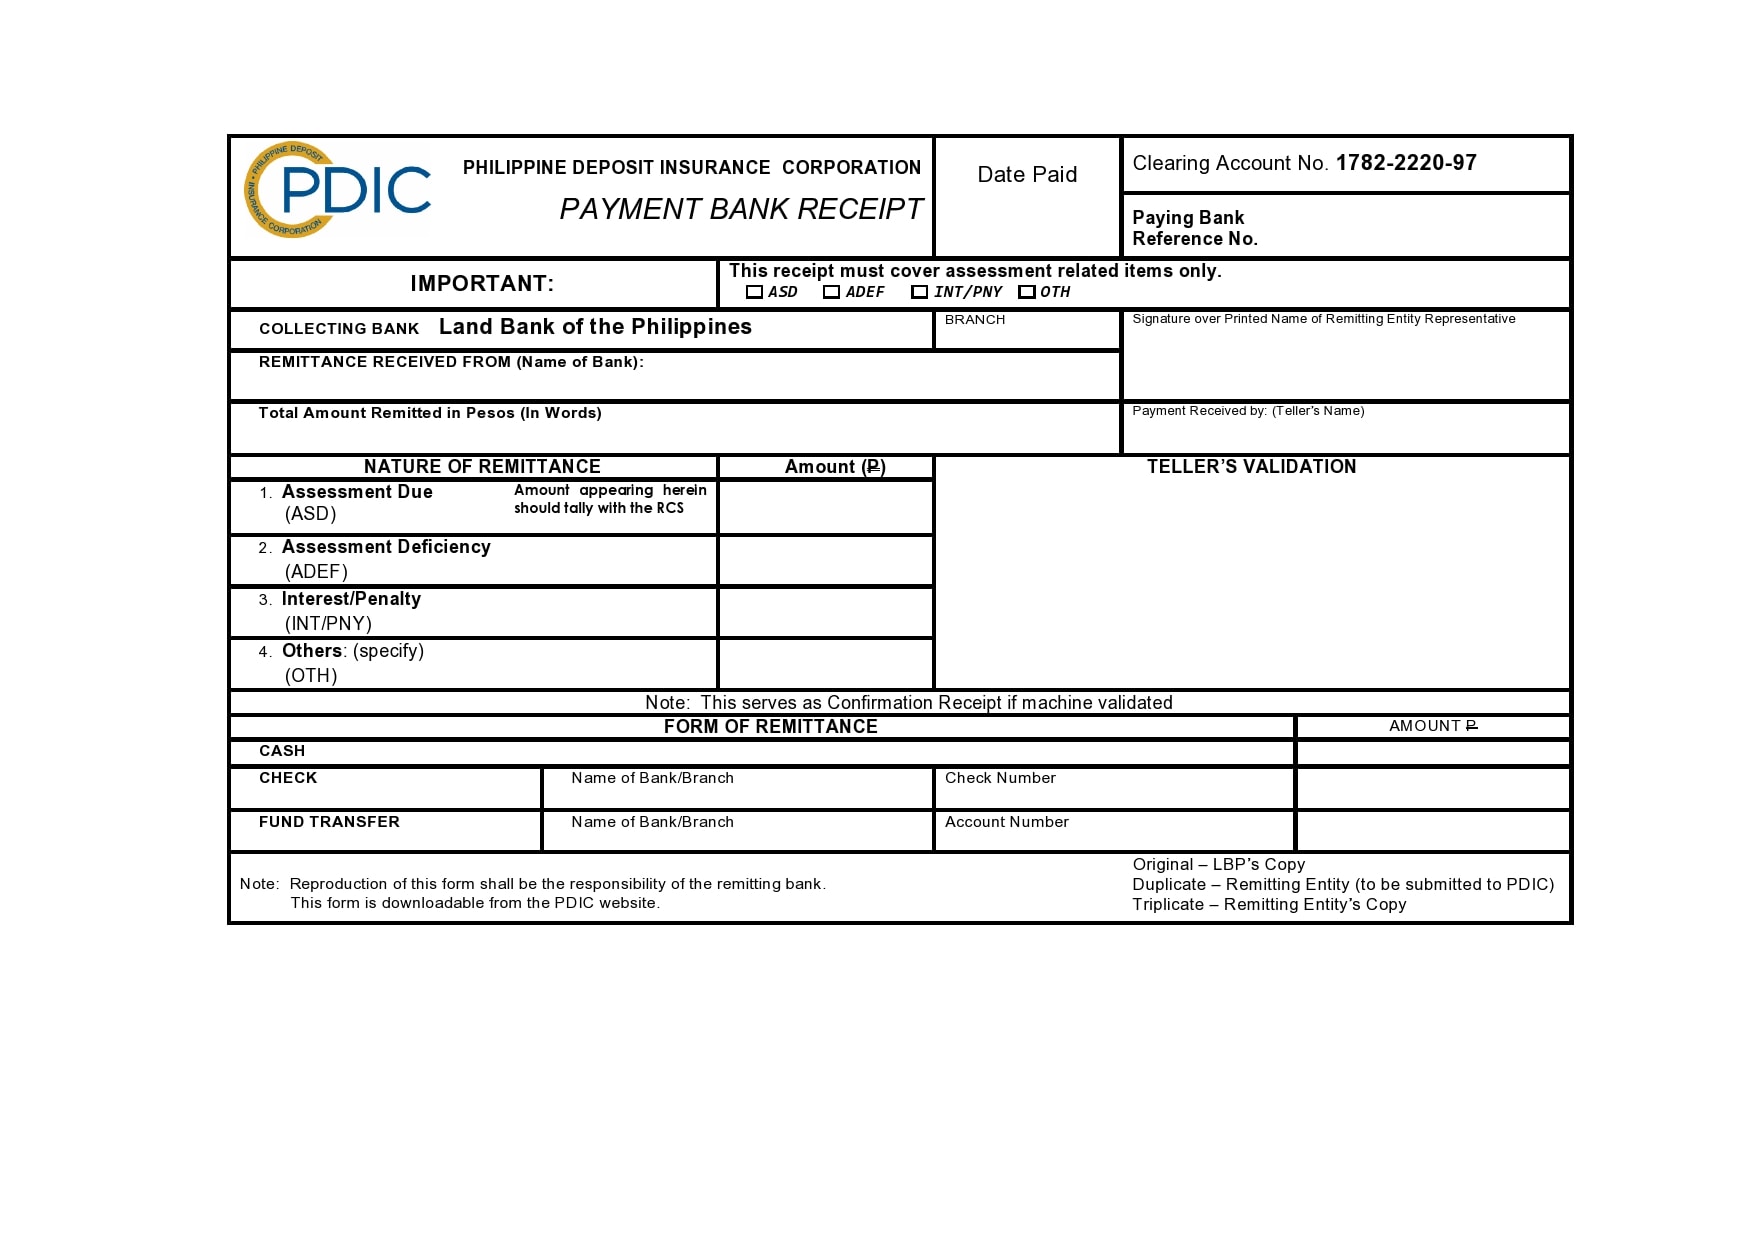
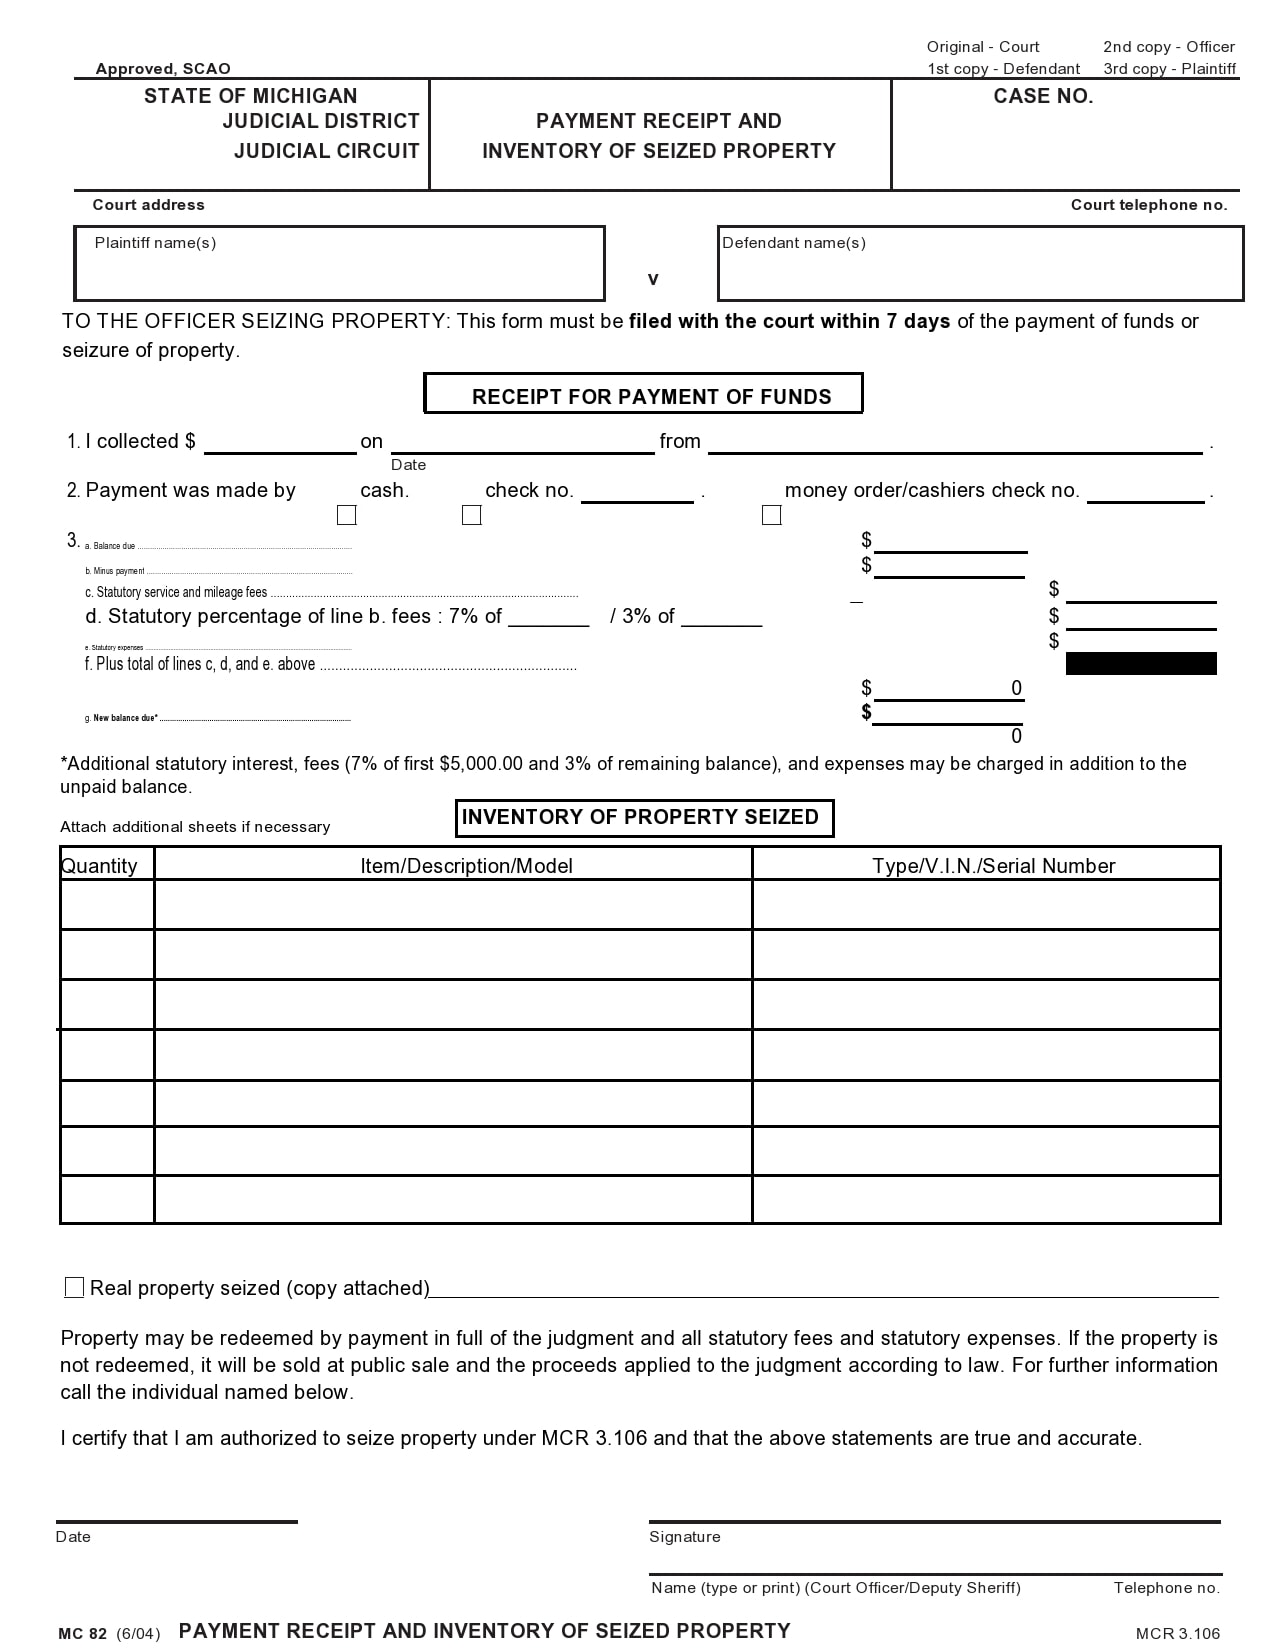
Your customer can make their payment either in cash or through a credit card or check. Write the full name of the buyer on the last line of your receipt. If payment is through credit card, ask the buyer to sign at the bottom. Finally, make a copy of the receipt for your business’ records. Then you would give the original receipt to the buyer.
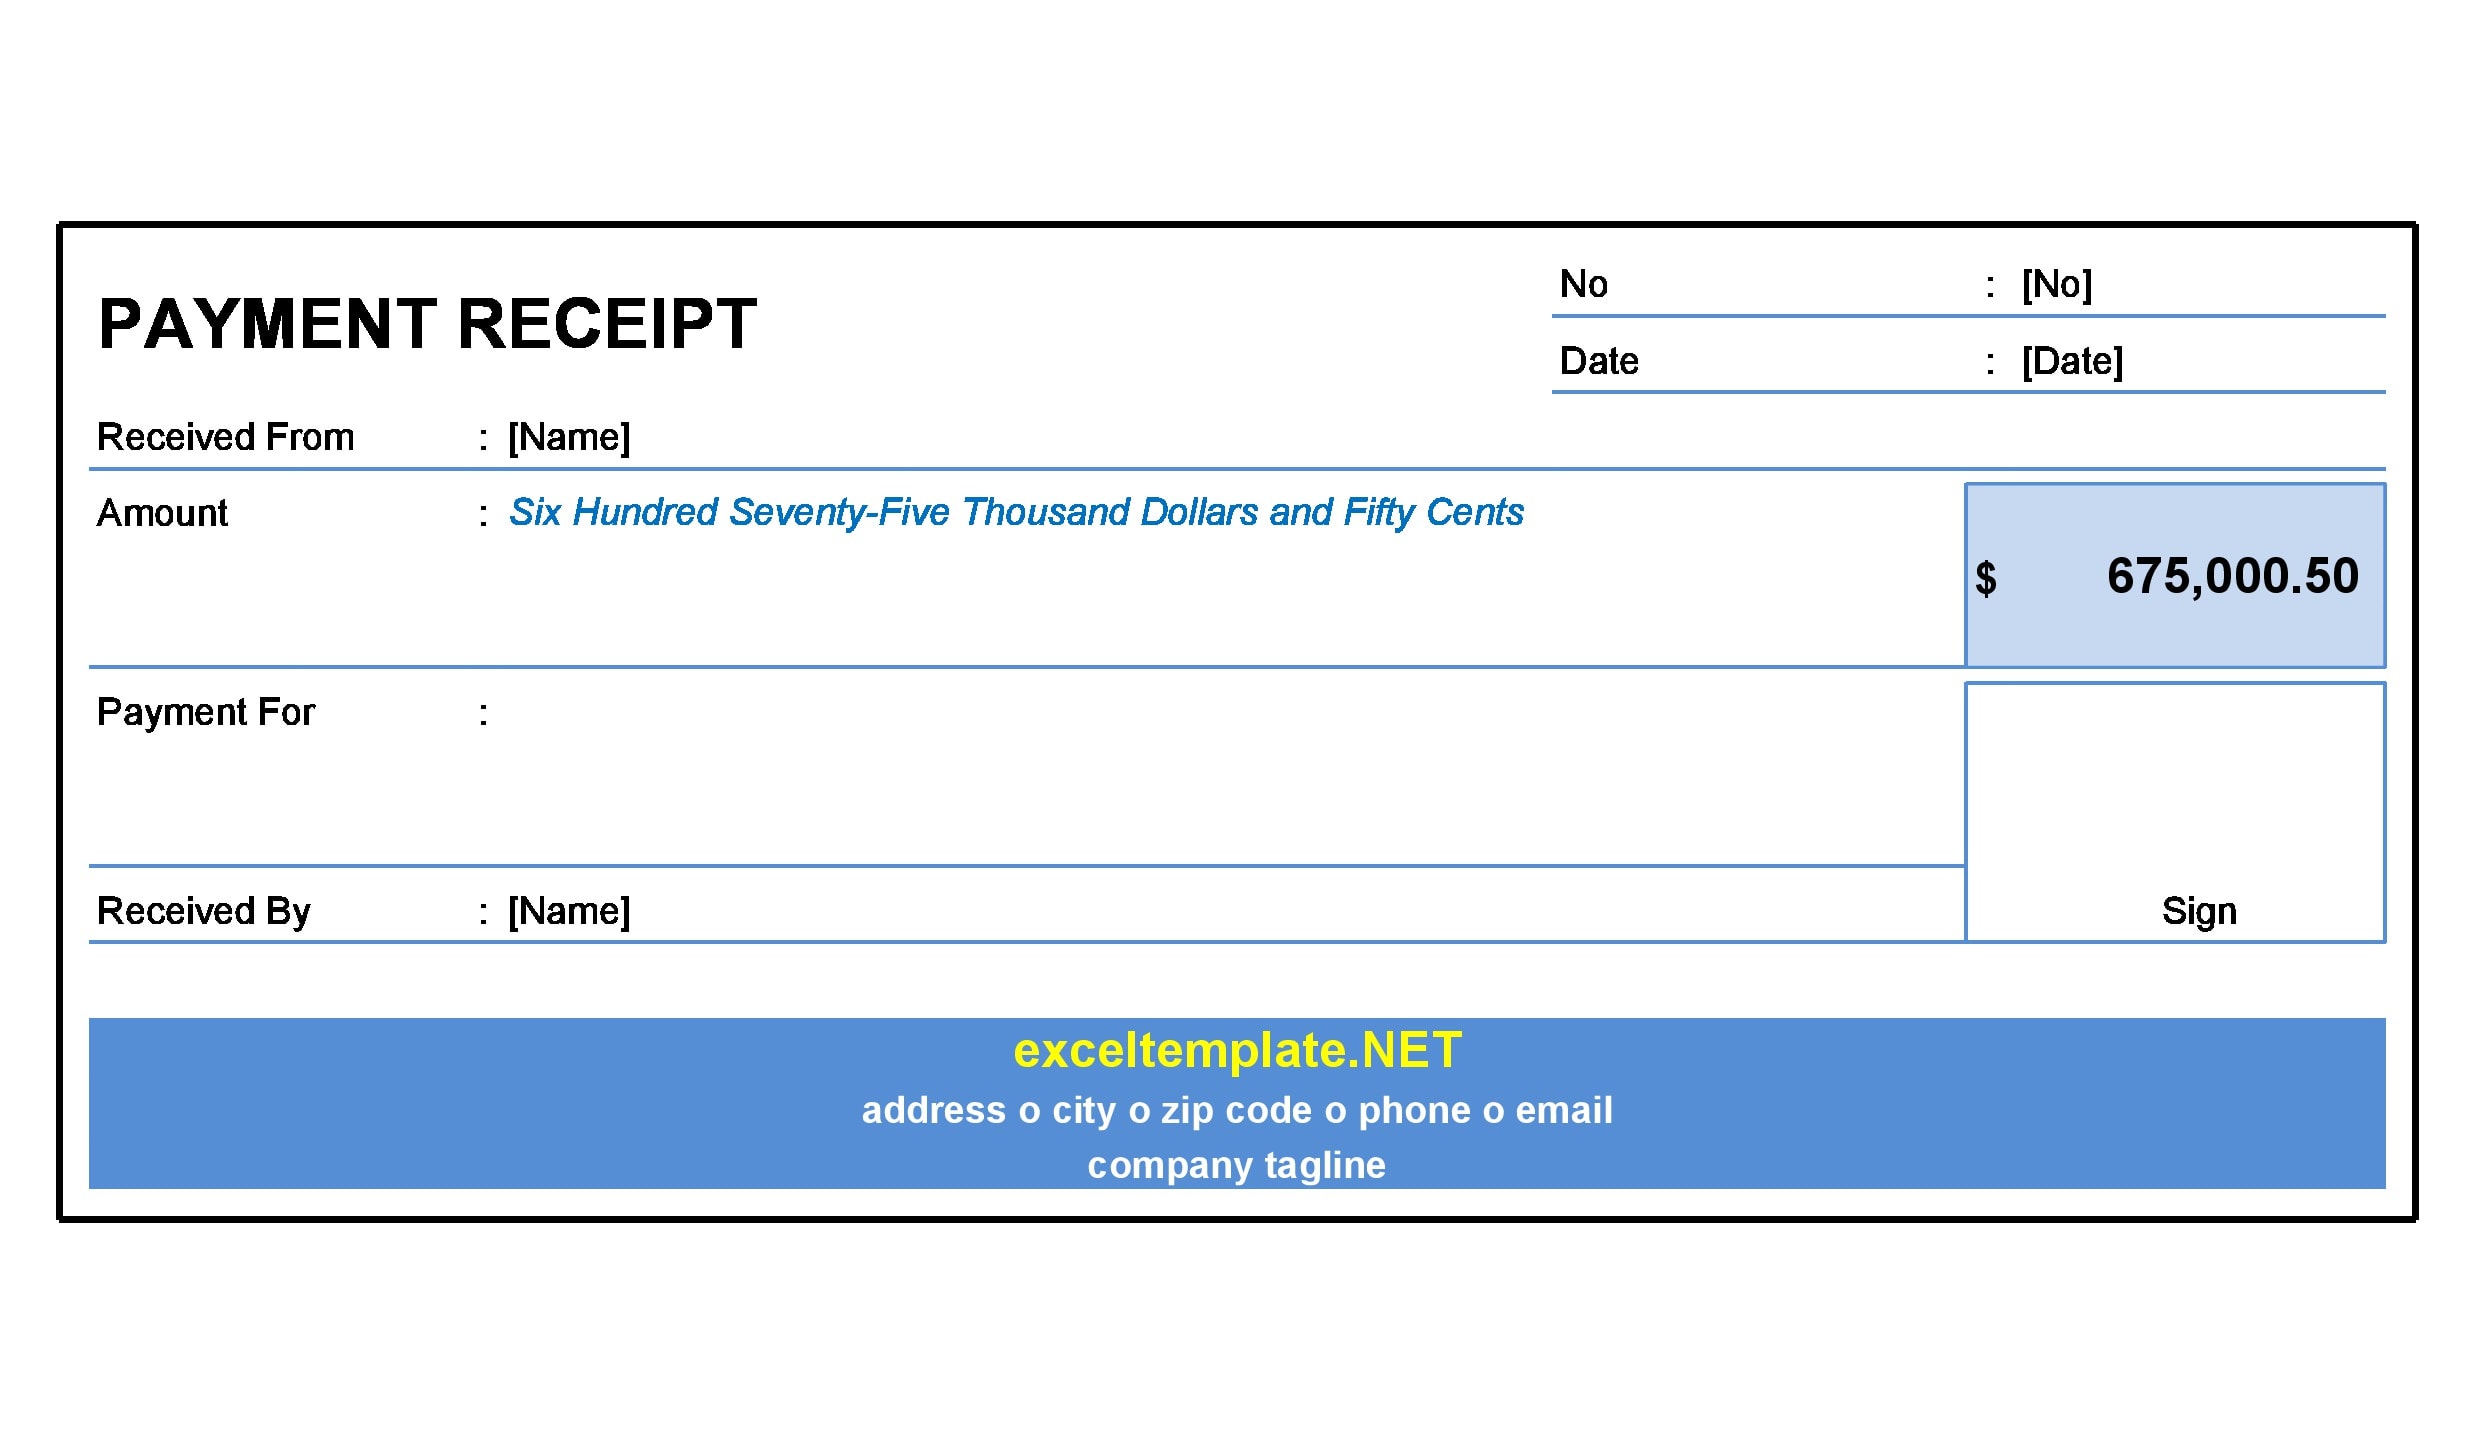
Proof Of Payment Receipts
How does it differ from an invoice?
A payment receipt template and an invoice contain similar information and they also have similar formats. The biggest difference between these two documents is the time when you issue them. For the Invoice, you would issue this after you have rendered the service or given the product but before the buyer makes the payment.
As for the paid in full receipt, which contains the same information as an invoice, you would issue this after the buyer makes the payment. Moreover, a receipt documents for you and the buyer that you have completed the transaction.
A payment receipt is a document that proves a transaction has transpired between a payee and a payer. If you intend to create your own template, the easiest way to do this is by downloading a template. You will also find a variety of samples online which you can use as a reference if you choose to make your own.


")