
Binders are important items in offices and even in homes. They can be used by anyone and everyone – from homemakers who’d like to organize recipes and other documents to professionals who would like to keep office files organized.
Binders come in a wide array of sizes, colors, and types. They also come with a lot of accessories such as inserts, sheet protectors, sticker or photo pages, dividers with tabs and binder spine labels. All these accessories would aid you in organizing whatever you plan to place into your binder.
Contents
Homes and offices would benefit a lot from the use of binders and once you have your own, you could start customizing it by adding binder label templates or binder spine labels to organize and differentiate all the binders you own.
In this article, you will learn all about the advantages of binders as well as how to make your own binder spine labels and binder templates, either for your home or for your office. Who knows, by the end of this, you’d be itching to go to an office supply store to start purchasing and customizing some binders!
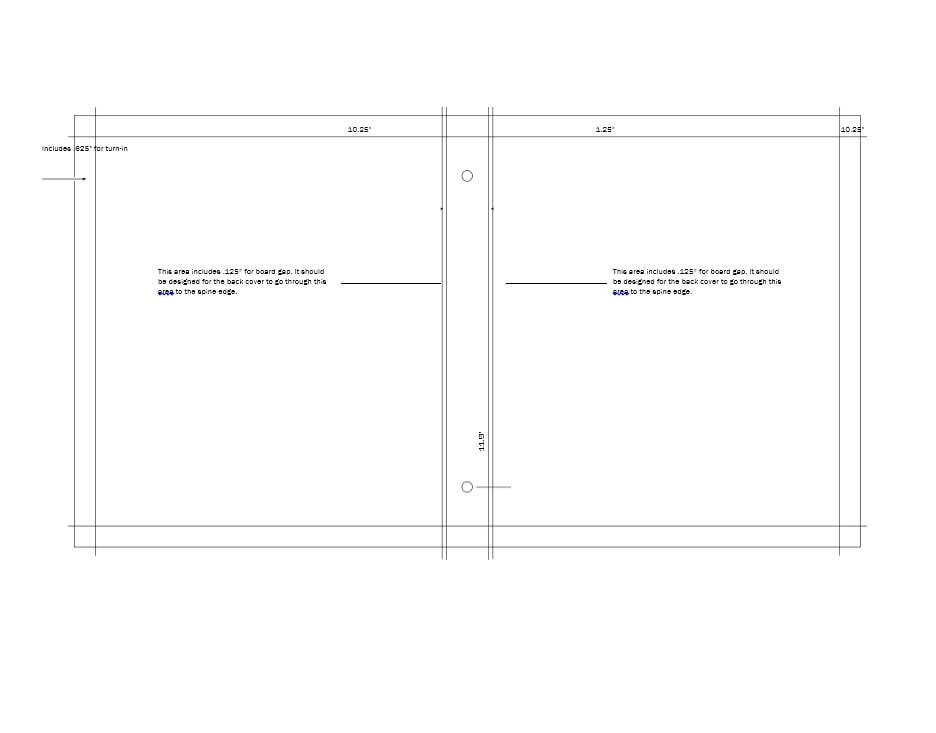
Binder Spine Templates


Uses and Benefits of Binders
Binders can be found in homes and offices and are quite a common and very useful item. If you haven’t yet bought a binder for yourself, then it would be helpful to learn how you can use your binders for. Here are the different beneficial uses for binders, which may help convince you to get one binder template for yourself and start organizing.
Keeping All Your Financial Information Organized
Financial information is very important and it is crucial to keep every record and every document organized. You can do this with the use of a binder. Though it is easy and convenient to store files on a computer, you should still have hard copies of all your files and documents in case your computer crashes or gets corrupted.
Binders come with a lot of accessories like tabs with different colors and such which you can use to simplify your storage for easy reference. Make a binder spine label or a binder template which says “finances” or “financial information” and keeps everything related (such as receipts and spreadsheets) to your finances in that binder. Information such as your insurances and investments or banking and budgeting information should be organized so you can access them whenever you need to.
Personal Portfolios or Professional Work
Whether you’re a freelancer, a beginner at the work environment or a seasoned professional with a lot of experience, having a personal or professional portfolio which contains all of your work samples is the key.
You can keep copies of all your work along with your resume and recommendation or reference letters in a professional looking binder with a sleek design. You should present your binder in such a way that it reflects the contents so your clients or employers would know what to expect from you from the first impression given by your binder.
Presentations and Promotional Information
When your job involves giving presentations and giving out promotional information or materials, these files, documents, and materials would be kept safe in a durable (yet still stylish) binder.
If you use a professional looking binder which contains all the information and materials you need would give a good impression to your clients and possibly make a sale! Professionals and companies often use binders when making presentations. Start building your own binder and make sure it’s complete and professional looking before you start using it in the workplace.
Use it as a Scrapbook
Binders are sturdy and easy to obtain. Another use for them is to make a durable binder where you can store photos and make a scrapbook. As binders come with a lot of accessories, you would have the option to customize your binder/scrapbook as much as you want and store everything you need to in it. From photos to simple mementos, it’s all up to you. Also, binders would keep your photos and everything else safe from being destroyed so you will be able to keep them for years and years.
File Your Recipes
Fan of cooking? Then you’ve probably already tried searching for recipes online or from other sources. Gather all the recipes you’ve found and organize them in a binder. It would be like having your own personal cookbook – only more organized and which contains only recipes you want. You can keep on adding pages to your binder by simply adding plastic sheets and inserting the recipes in them.
There you go! Binders do have a lot of uses and advantages, and these are just some of them. Basically, having a binder would help you get more organized with files, documents, and all other things. Also, remember to make your own binder spine labels so you can keep all your binders organized in your home or in your office.
Binder Spine Labels

Kinds of Binders
Now that you know the different beneficial uses of binders, it would be helpful to learn about the different kinds of binders to help you choose. These different kinds of binders would be ideal for different uses and before making binder spine labels, you’d have to know what size – which varies according to the kind.
Binders with Hard Covers
Hardbound binders are usually made with leather or plastic. Plastic hard cover binders come in a wide array of colors – from pastels to louder shades. Offices commonly use these kinds of binders as they are sturdy and can be sorted and organized by colors.
Aside from this, binder spine labels can also be placed on their spines to indicate what the binders actually contain. Leather hard cover binders, on the other hand usually come in a limited range of colors. These kinds of binders come in different sizes and thicknesses – from a half inch thickness to 3 inches thick.
Binders with Soft Covers
These kinds of binders are most commonly made with heavy paper or thin plastic, which also come in different colors. Plastic covers are opaque, translucent or completely transparent so you can see the first page of the contents of the binder. Soft cover binders are usually thinner that hardcover binders and can only contain a few sheets. These kinds of binders are usually used for presentations and promotional information.
Ring Binders
Ring binders have two, three or four circular metal rings situated along the inside spine of the binder. Holes are to be punched into the sheets of paper or plastic sheets with holes should be used as inserts if you don’t want to have to punch holes in your paper.
The rings are opened either by pulling them apart or using a mechanism at the top or bottom of the metal and closed by snapping the rings shut. Ring binders come with soft or hard covers, depending on your needs and they also are available in a wide array of colors.
Binders with Arch Mechanisms
Binders with arch mechanisms are the kinds which are able to hold the most papers. These kinds of binders have straight sides which are made of metal which keep the left and right sides of the filed documents straight.
The rings on binders with arch mechanisms stay closed even if you’ve inserted mounds and mounds of papers and it is already bulging. These kinds of binders also come with either soft or hard covers.
What are Binder Spine Labels?
Now that you know a lot about binders, let’s move on to binder spine labels. What exactly are binder spine labels and binder spine label templates? Simply put, these are pieces of paper or board which are inserted into the clear pockets in the outside spines of binders.
Usually, labels are written on them before being inserted in the spines of binders to indicate the contents of the binder. These can be very useful so that if you have more than one binder, you don’t have to open each and every one just to find what you need to.
Simple as they are, there are different ways to make these templates, which would be useful to know. Read on and find out how to make your own templates to place into your binders.
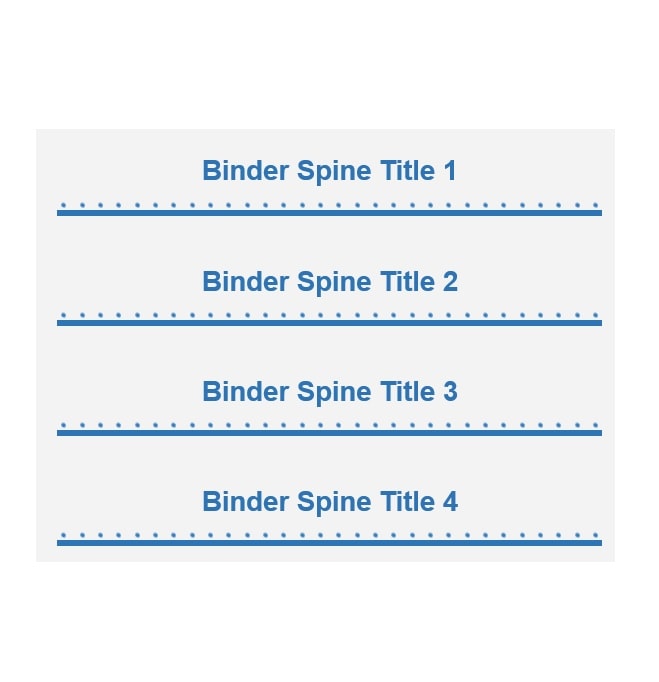
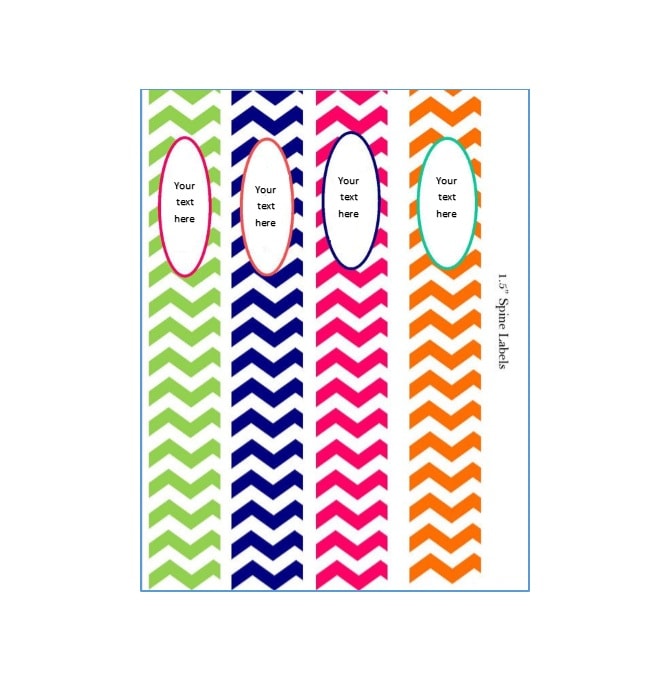
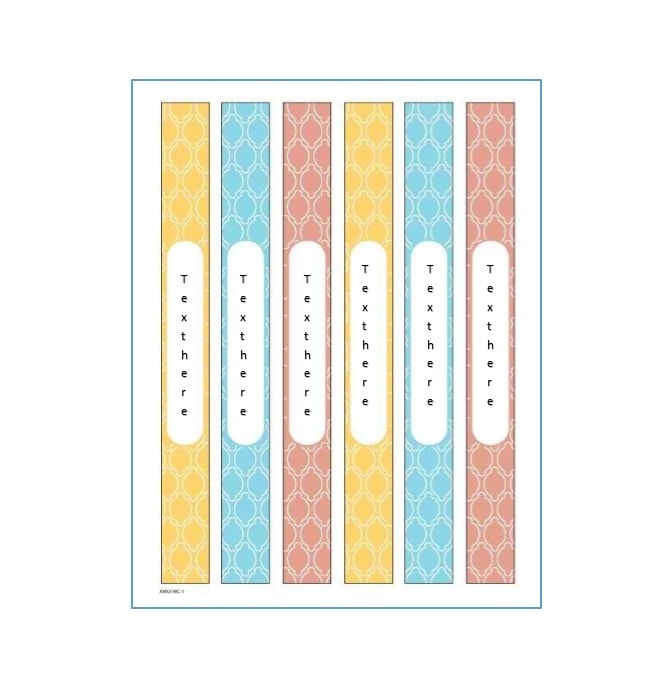
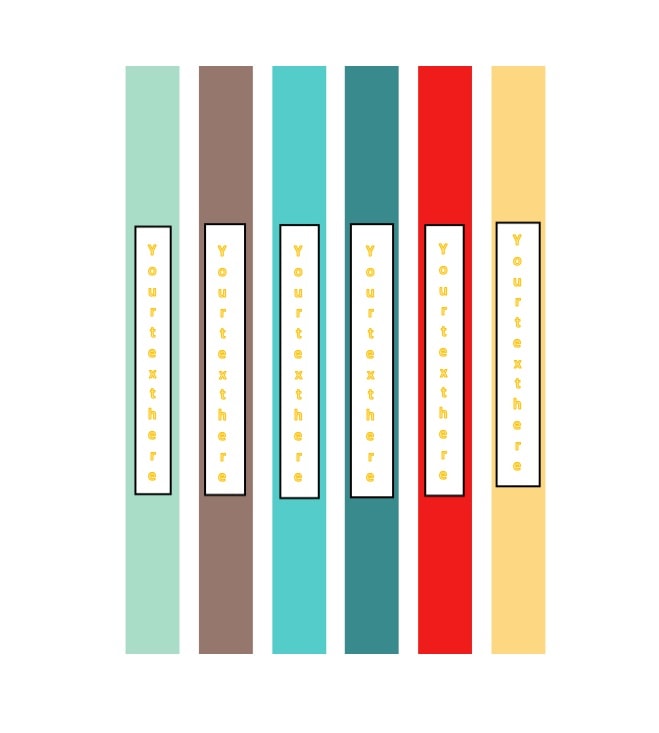
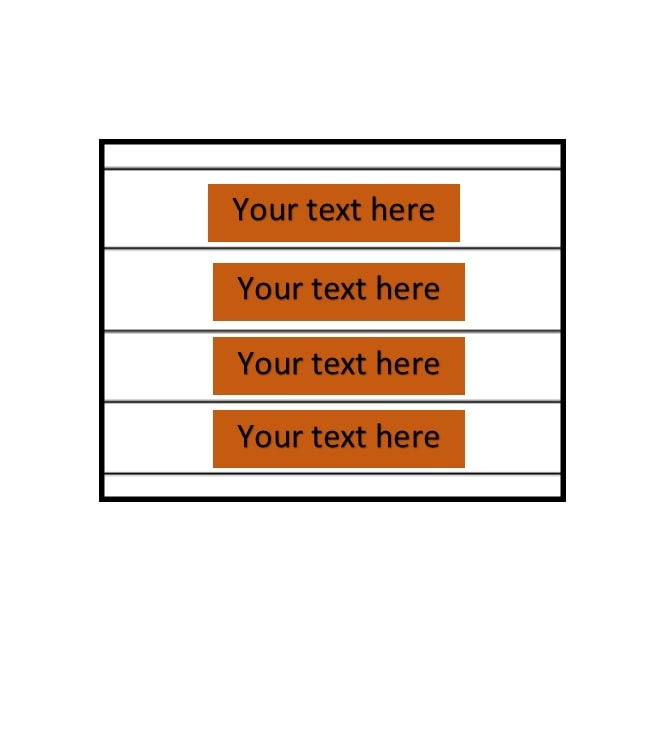
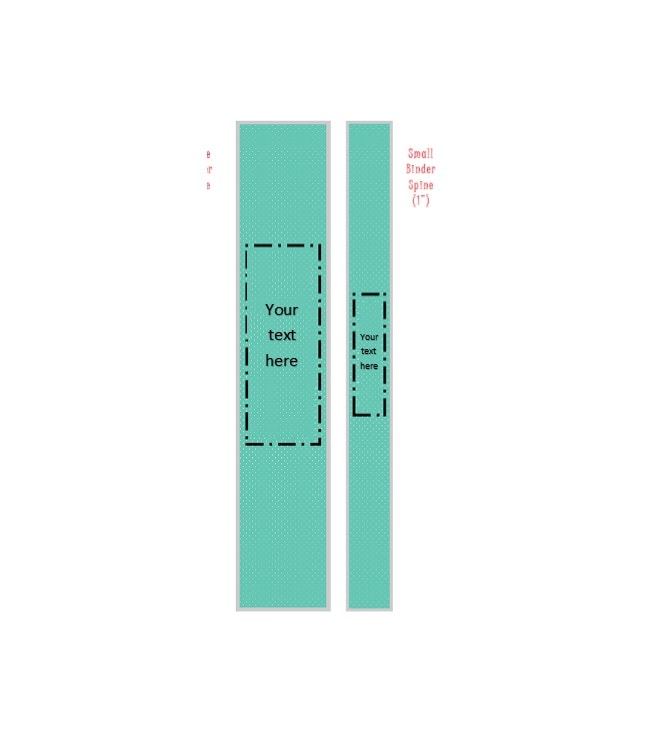
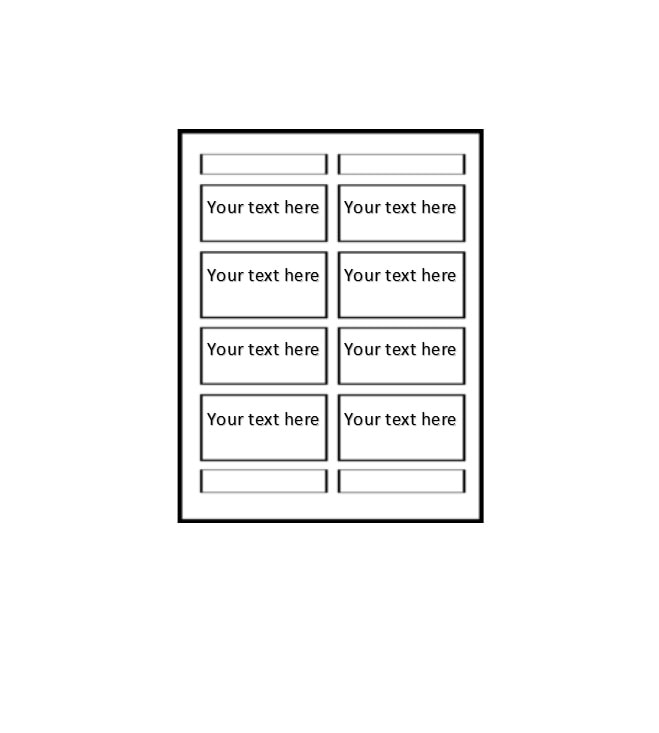
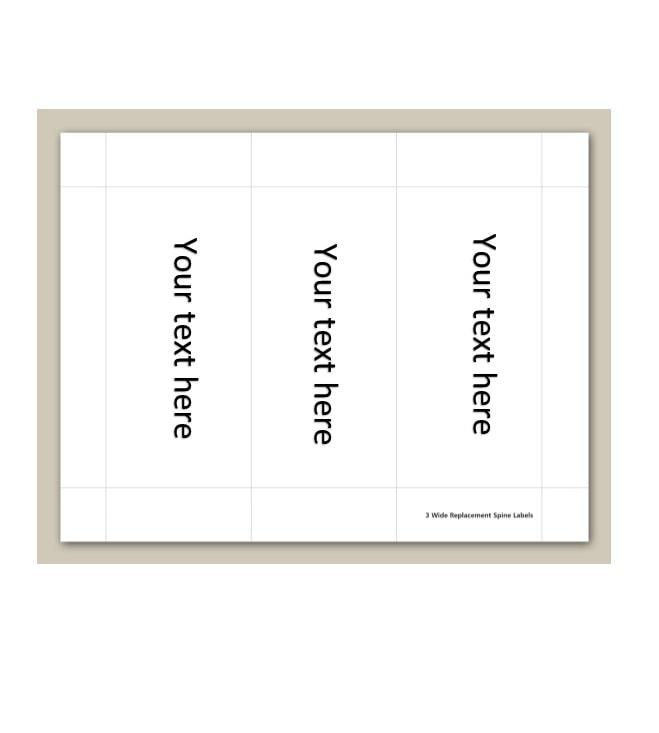
Printable Binder Spine Inserts


Ready Made Binder Spine Label Templates
If you’d like to make your binder spine label templates easily, you can make them in two ways. Here we will discuss steps in how to edit ready-made templates to suit your binder needs:
Use Built-In Templates in Microsoft Word
- Open the software and open the search function. Type in the word “binder” and press enter. This will show you different templates which you can use.
- Click on the template of your choice in order to see a bigger version of it on the Preview pane.
- As soon as you have made your choice, click on “Download” to gain access to the template you want to use.
- Click inside the text box and type your text to replace the sample text.
- When you’re done, print your templates.
Templates Online
- Go to the “Microsoft Templates” website and look for the “Browse by Product” tab.
- Choose “Word” in that tab then search for “binder” in the search box.
- Download the template you want to use and click “Accept” when a Microsoft Service Agreement prompt appears.
- Open the file in Microsoft Word and click “Enable Editing.”
- Edit the template and print out your label.
Easy, isn’t it? All you have to do is download binder templates from the internet or from Microsoft Word, edit them and print them out for your personal use. If you’d like to be more creative and end up with a personalized label, then keep on reading to find out how to make your own templates.
How to Make Your Own Binder Spine Label Template
If you prefer making your own binder labels from scratch, then these steps will guide you. Though office binders are more simple and professional, you can make binders in your home more personalized and creative. This would include the binder spine label for your binder.
Here are a few steps and tips for you to make a good, sturdy binder spine label template for your home (or office, if you wish to):
- Find the perfect material for your label. It could be any kind of heavy paper or cardstock, which comes in a wide range of colors and textures. You can either match your label with your binder or pick a different color which complements the color of your binder.
- Heavy paper or cardstock is a lot more durable than ordinary paper, which would make your label last longer. It would also be a lot easier to insert your label using these materials as ordinary paper is too soft.
- However, make sure that the material you use can be inserted into the pocket of the binder intended for the label. If your cardstock is too thick, you might not be able to successfully insert it in your binder spine.
- Before designing on your computer, test your printer to make sure that it can handle the heavy paper or cardstock. Print out a test page and see if the material will go through and the printing is of good quality.
- If your printer is unable to work with heavy paper or cardstock, you can always print on ordinary paper and stick it on cardstock. This would take more time and effort but at least it will be sturdier. Just make sure that the entire piece of paper is glued down to the cardstock.
- Measure the exact length and width of the pocket intended for the label, which can be found on the spine of your binder. It would be advisable to take off a few millimeters from the edges so you can easily insert it into the pocket.
- If you have one on hand, you can just use an existing label or the label which comes with the binder so your measurement is exact.
- If you are planning to print your label by hand, either by plain writing or by using calligraphy, you should first cut out the measured label. This is so that when you are writing down your label or making a design, it will fit right into the shape.
- If you are planning to design your label on a computer, create a box with the exact measurements on the software before your start designing or typing.
- When designing a label in the computer, simple type the text you need for your label then start adding graphics or whatever designs you’d like to add. Then print out your label and cut out the exact shape, being careful to follow the lines.
- When designing a label by hand, you can use whatever materials you want to design. Pens, markers, crayons, pencils and such would be useful in making your label colorful and attractive. Just note that if you are working with glossy paper or cardboard, you need to dry the design fully before inserting it into the spine of your binder so it doesn’t smudge.
Follow these steps and tips and you’ll be making lovely and functional binder spine labels for your home or office in no time. Now all you have to do is insert them properly in the spine of your binder.
Inserting Your Binder Spine Label
Inserting your brand new binder label template into the spine of your binder can be quite a task if you don’t know how to properly do it. It’s quite easy, actually, if you follow these simple steps:
- Turn your binder inside out and stand it upright. To do this, all you have to do is open it and bend the covers until they are facing the opposite direction then place your binder in a standing position.
- Bending the binder this way would create more space in the plastic covering so you can easily insert your label. Positioning it upright then makes the label fall in easier into the plastic pocket or into the spine of your binder.
- If you are replacing a label and your binder is a bit older, you can just lay it flat on the floor so you don’t risk cracking it. This would still give you enough space to insert your label.
- Make use of a ruler to open the plastic gently. Slide it inside the plastic carefully to open up the pocket. For a binder with a wider spine, move your ruler gently from side to side to loosen the pocket and open it fully.
- Just be sure to not to tear the plastic or over stretch is so that it is already too loose and your labels will fall out when you insert them.
- Use a pencil, pen or ruler to hold the pocket open while you gently insert the label. You can also place a ruler at the end of your label and use it to slowly guide your label into the pocket.
- If your label doesn’t fit, simple trim off a few of the edges until it actually fits into the pocket. Once it’s in, try shaking it out to see if it’s secure and it won’t fall out.
Removing Your Binder Spine Label
Placing a binder spine label is easy compared to removing one. In cases wherein you have to remove the existing label (which only contains the brand and details of the binder) to place a new one or if you want to replace the label you’ve placed beforehand to upgrade it, you should also learn how to remove the label efficiently.
Here are a few simple steps on how to remove binder spine templates properly without damaging your binder or the pocket which holds the label.
- Just like when you are inserting a label, turn your binder inside out and stand it upside down. Open the binder and bend the covers until they are facing the opposite direction then place your binder in an upside down standing position.
- If the label is thin, small and loose, doing this might allow it to simply fall out. If now, then you can use a ruler to gently open the pocket, loosen the label and let it fall out by itself. This only works for labels which are significantly smaller than the pocket.
- If the label is a bit bigger, or it fits right inside the pocket, you can use a thin sized post it to help pull it out. Simply use the sticky part of the post it and slide it between the label and the pocket, the sticky part facing the label. Press the post it down firmly so it sticks to the label then gently pull it outward, making sure that the label goes along with it.


")
")
")